
Irishman's 120 tank build, kind of picture heavy!
- Thread starter Irishman
- Start date
Try copying and pasting the text you have in the MS Word file into a .txt (text) file or a similar plain text formatted file. Save it, assuming that works, copy the text on to the forum.
There might be something going on with the formatting in the word file that doesn't copy over well (the forum might only recognize plain text ascii characters) You could also try copying and posting less at a time. I don't know if there's a character limit per post.
Sent from my iPhone using Tapatalk
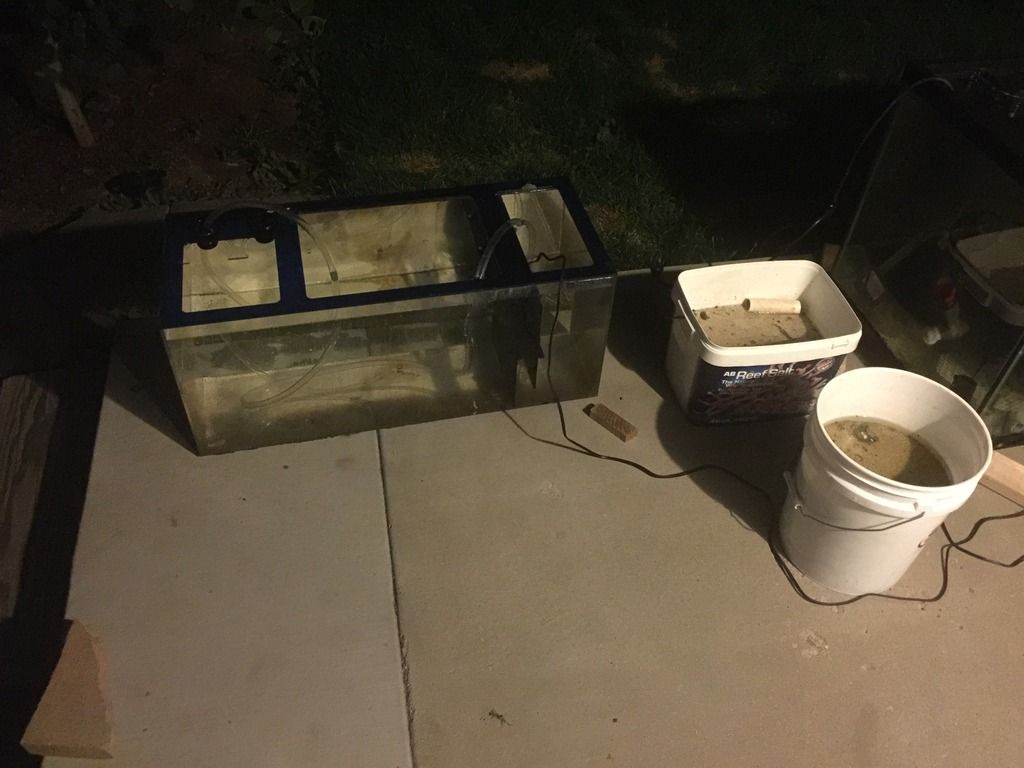
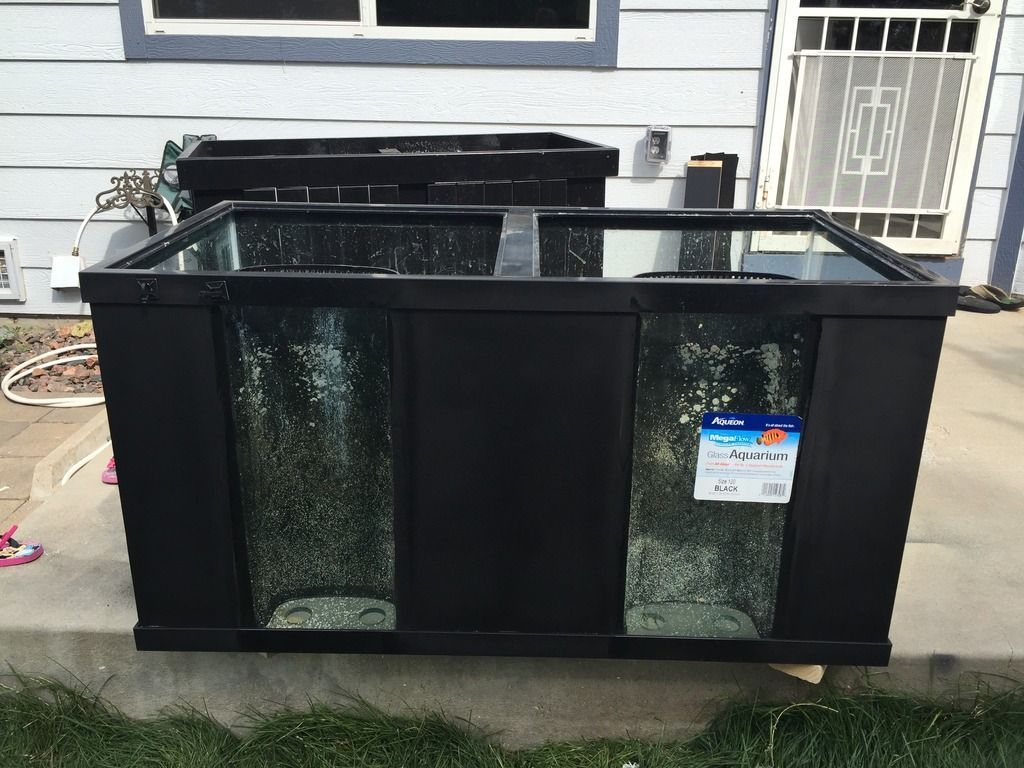
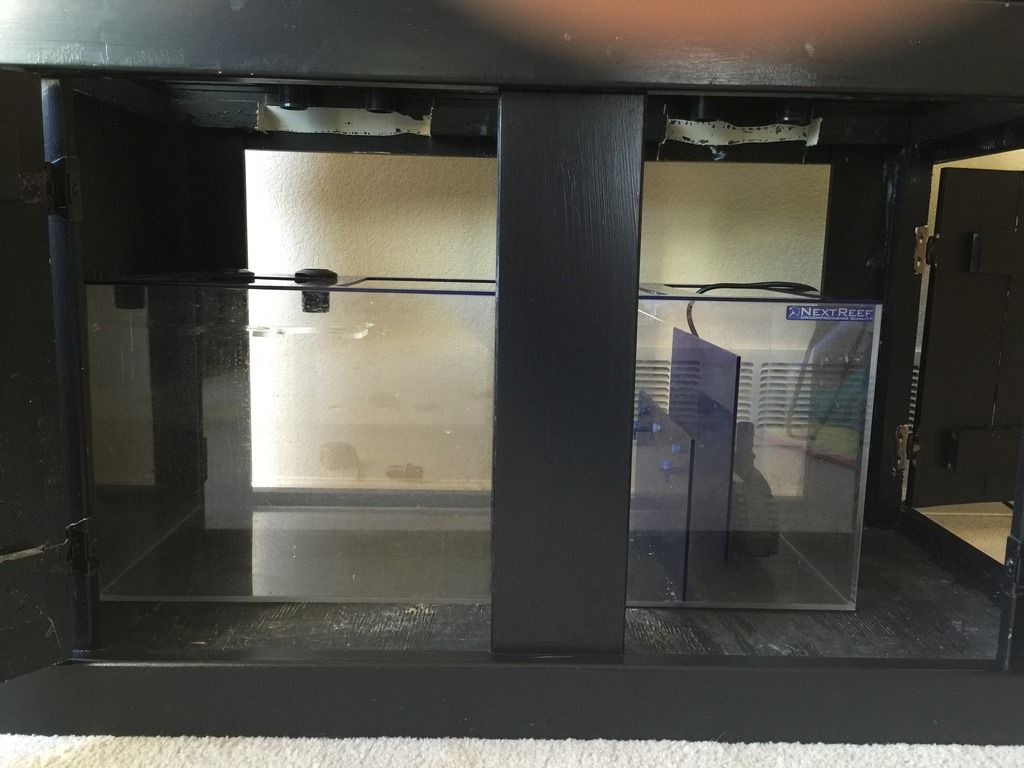
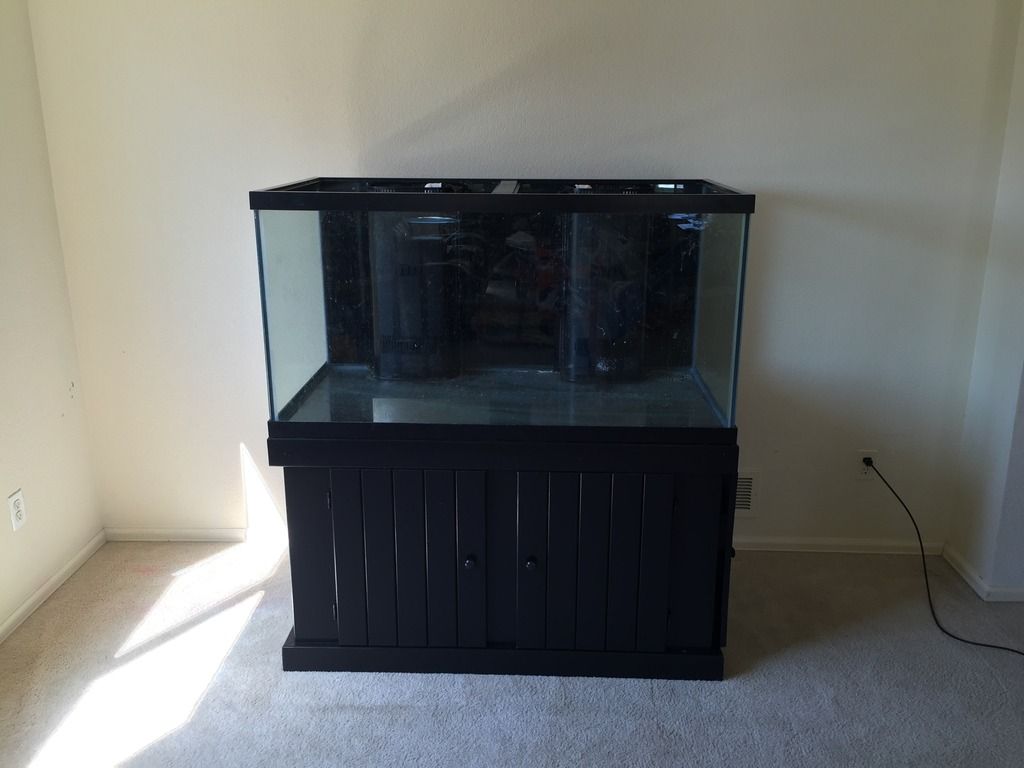
Here is my 120 build that I said I would start to put together. First off I want to thank Scott for helping move this tank and hooking me up with a killer deal on it, I wouldn’t have been able to find anything else like this for what I got it for. Next is thanking my wife on realizing on what a deal this tank was and letting me get another tank although she didn’t want it lol, she will learn to enjoy it I’m sure. Everything that came with; is the tank - 120 gallon: 48 ½ x 24 ½ x 25 ½ , dual overflow, roughly 75+ lbs. worth of sand, a ton of sea shells (as my daughter likes to call them). NextReef sump, Aqua C protein skimmer, heaters and some plumbing.
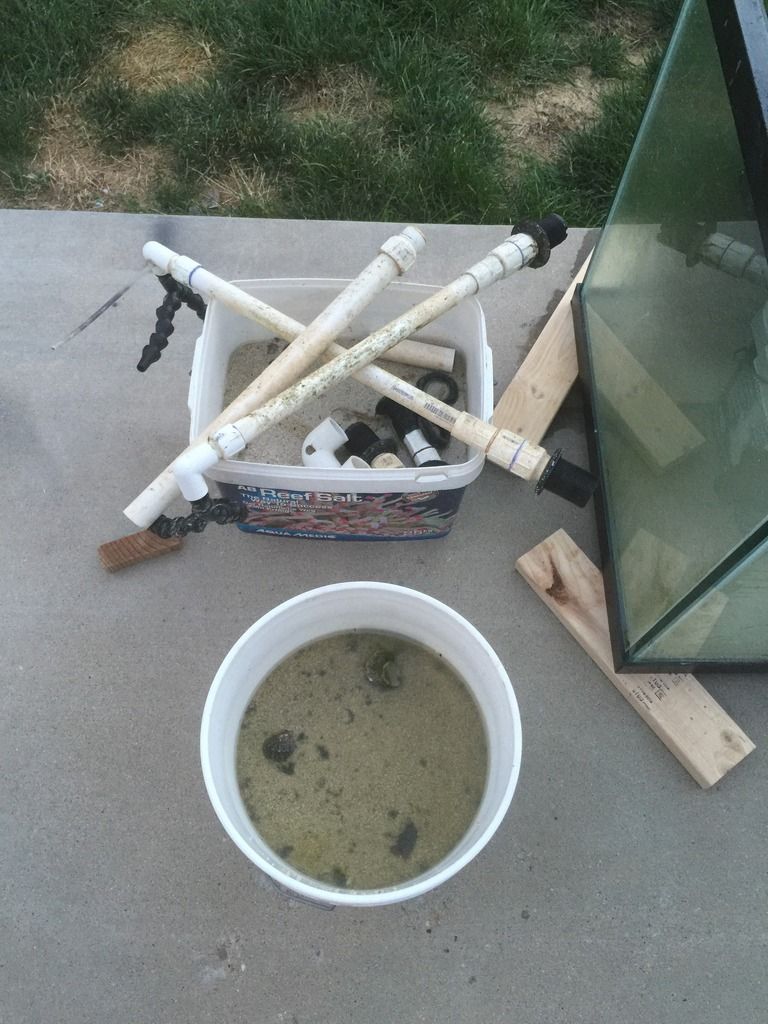

First thing I did when I brought it home was fill the tank and sump back up with water and pour 5 gallons of vinegar in the tank and a gallon in the sump and let it sit overnight.
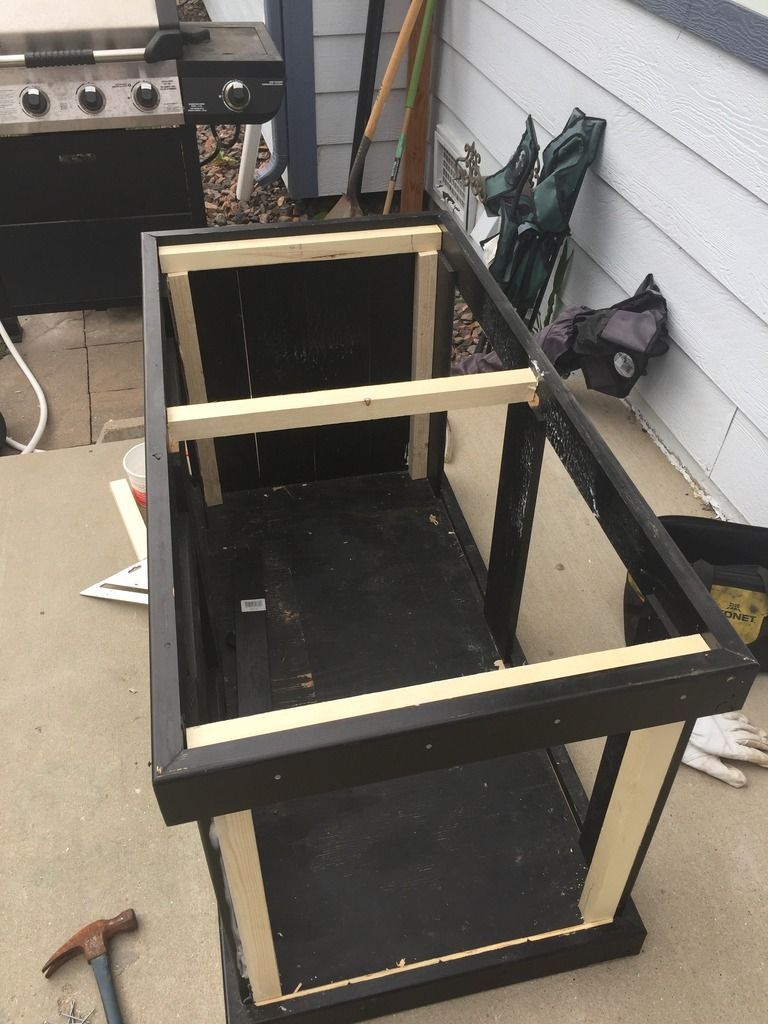
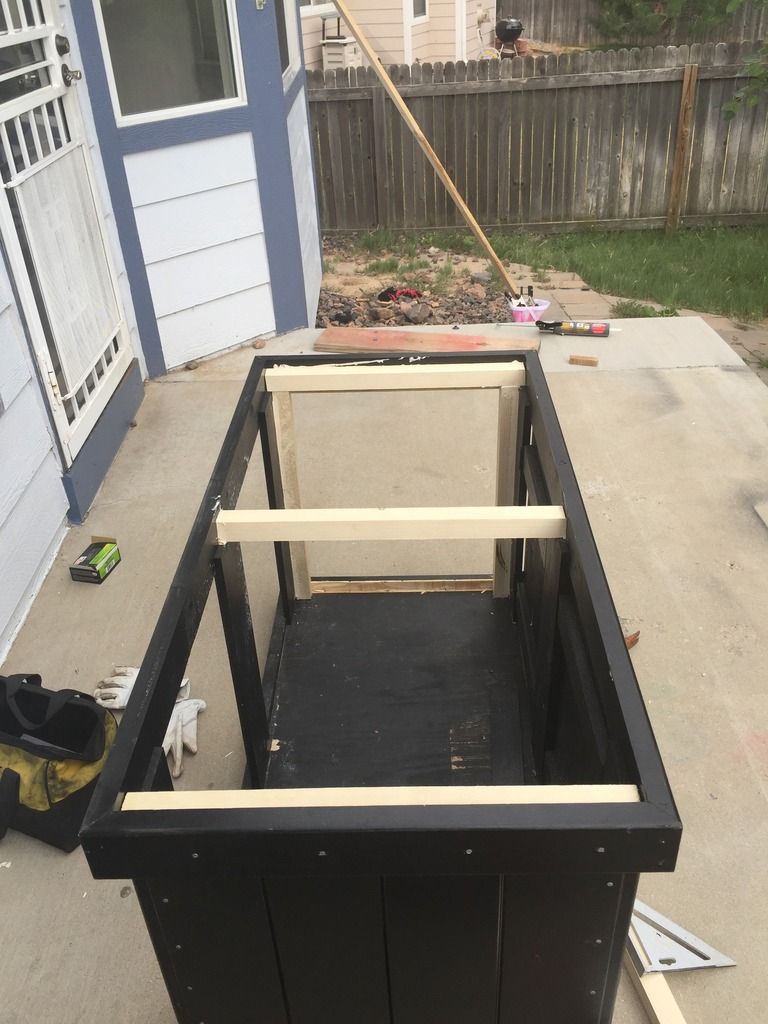
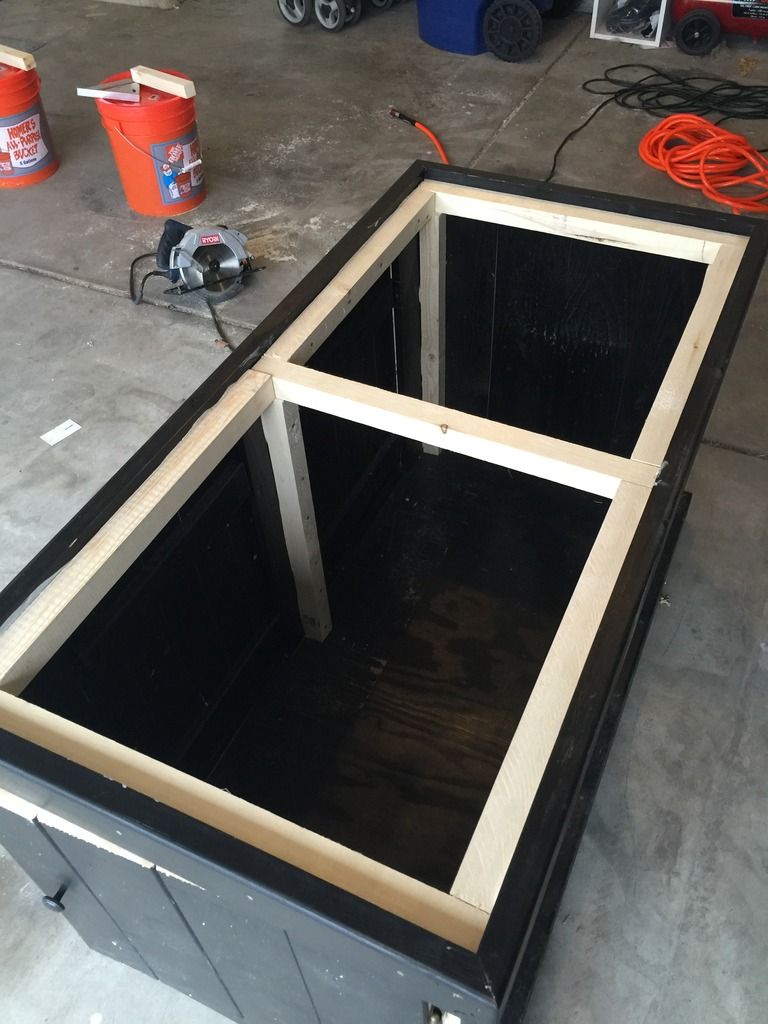
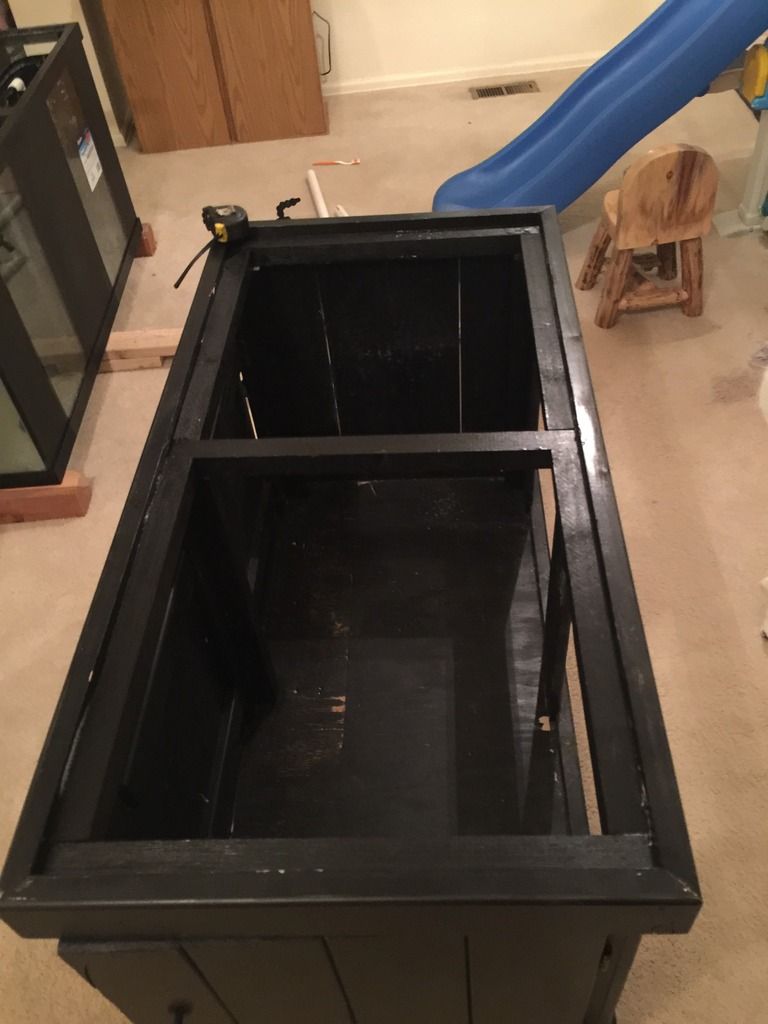
The following day I emptied the tank and let everything sun/air dry and started working on the stand. I took the side panels off and turned the panels into a door. I did this so it would be easier access to the sump and would be easier to pull the sump out for any reason it would need to come out. After turning the panels into a door I reinforced the whole stand with some 2x2’s. The reinforcement was all the way around the top of the stand, the cross section of the stand, corners of the stand were reinforced and the bottom/underneath the stand was done as well.
During the process of the stand the tank became dry so I also painted the back of the tank black and made sure to leave the overflows not painted. Another helpful tip from Scott!
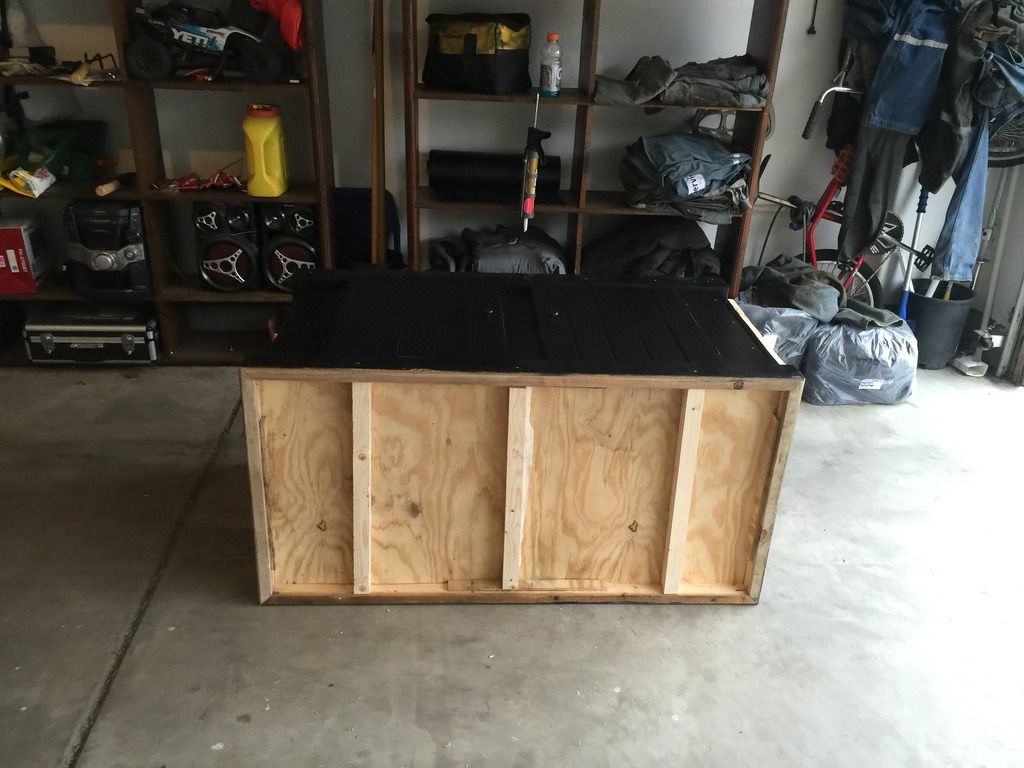
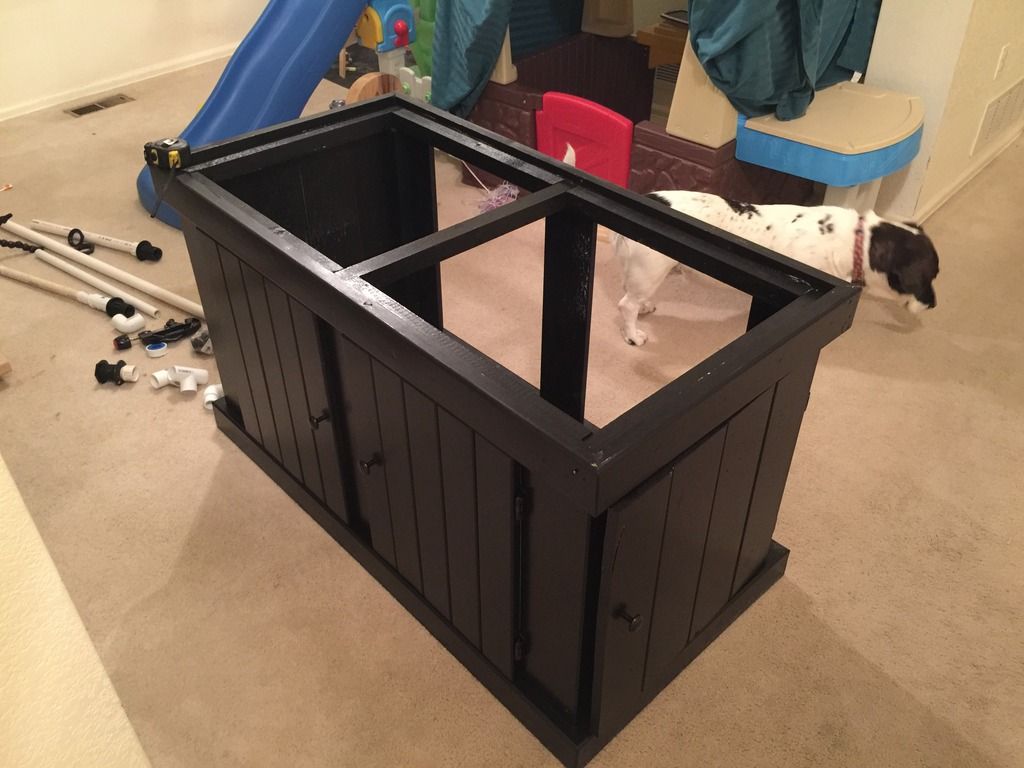
After I was satisfied with the reinforcement of the stand I painted all the 2x2’s black and had enough paint to put another coat of black all along the front and side of the stand. Made sure my daughter helped me out on this part as well!
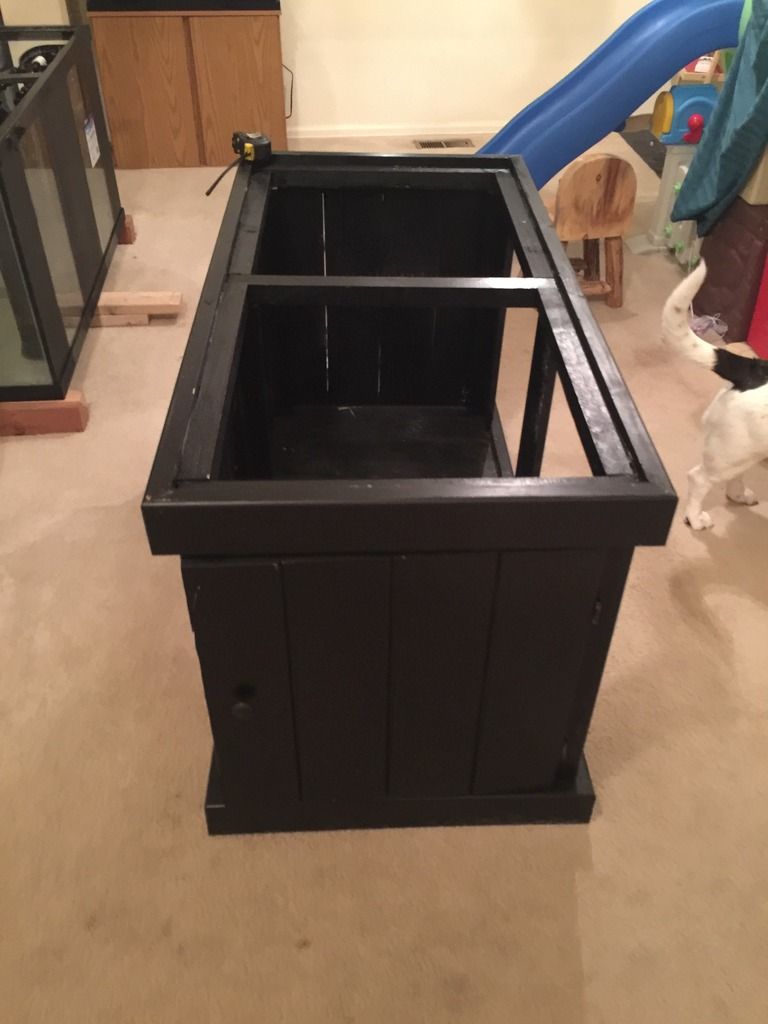
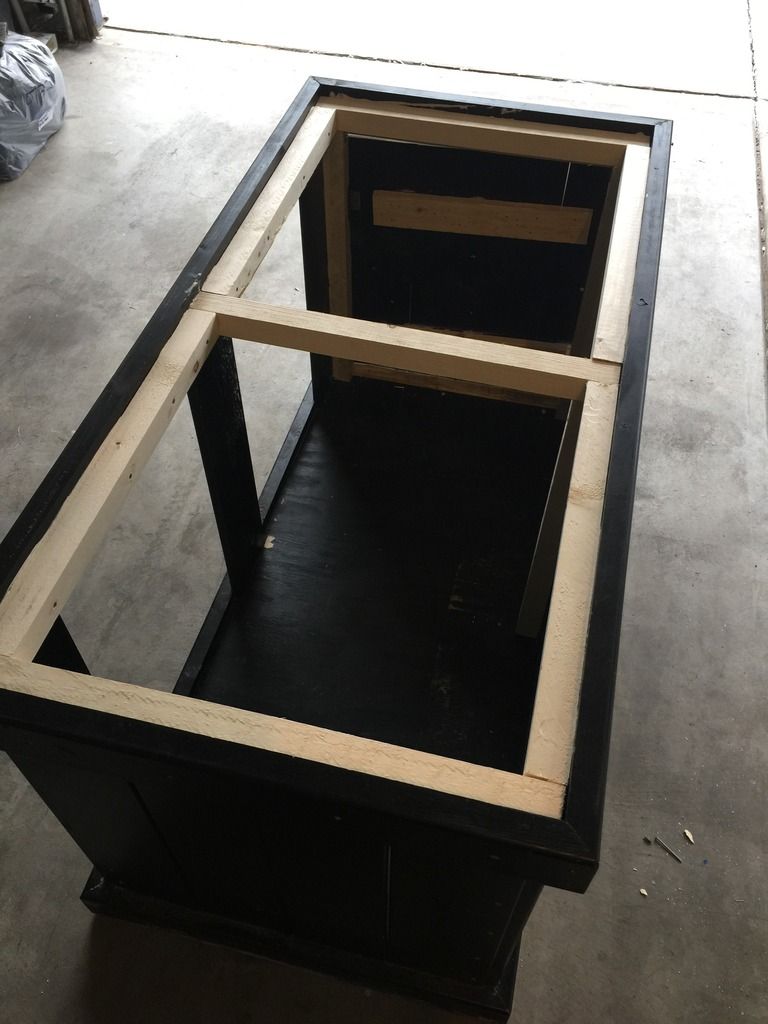
Before I put the tank in its final resting spot I realized that some of the supports I have running at the top of the stand won't work with the bulk head so I had to cut off a section of the reinforcement I did so the tank would go on fine.

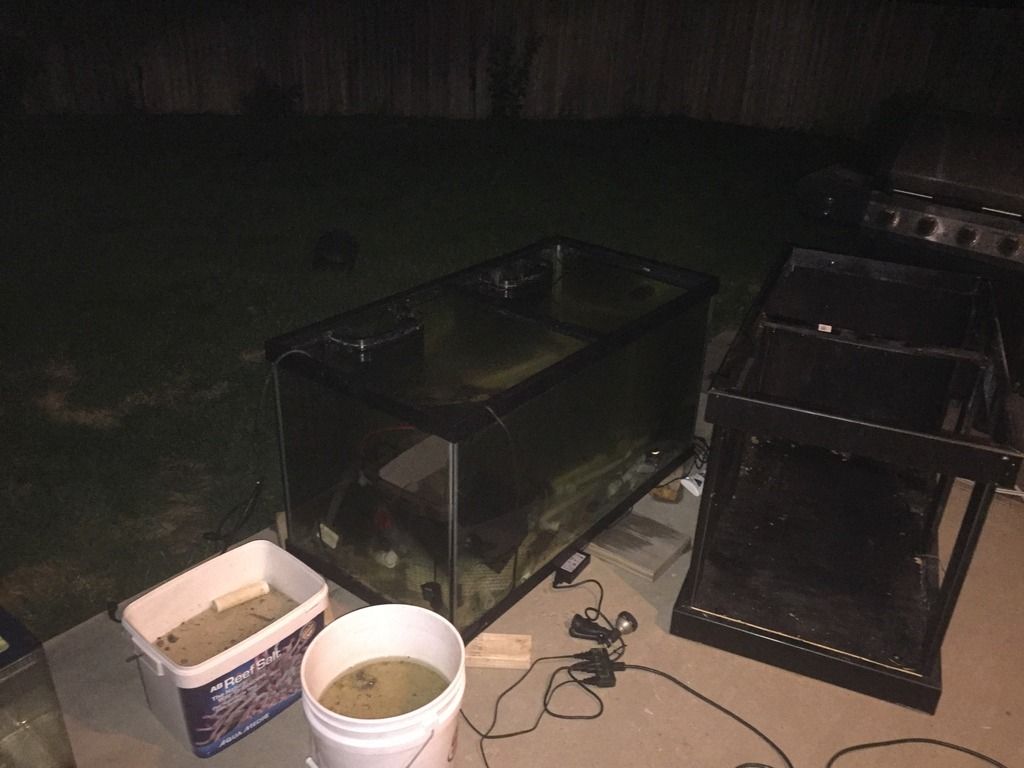
The stand was completed and dry and the tank was clean so I was time to find a forever spot for this tank in the house.
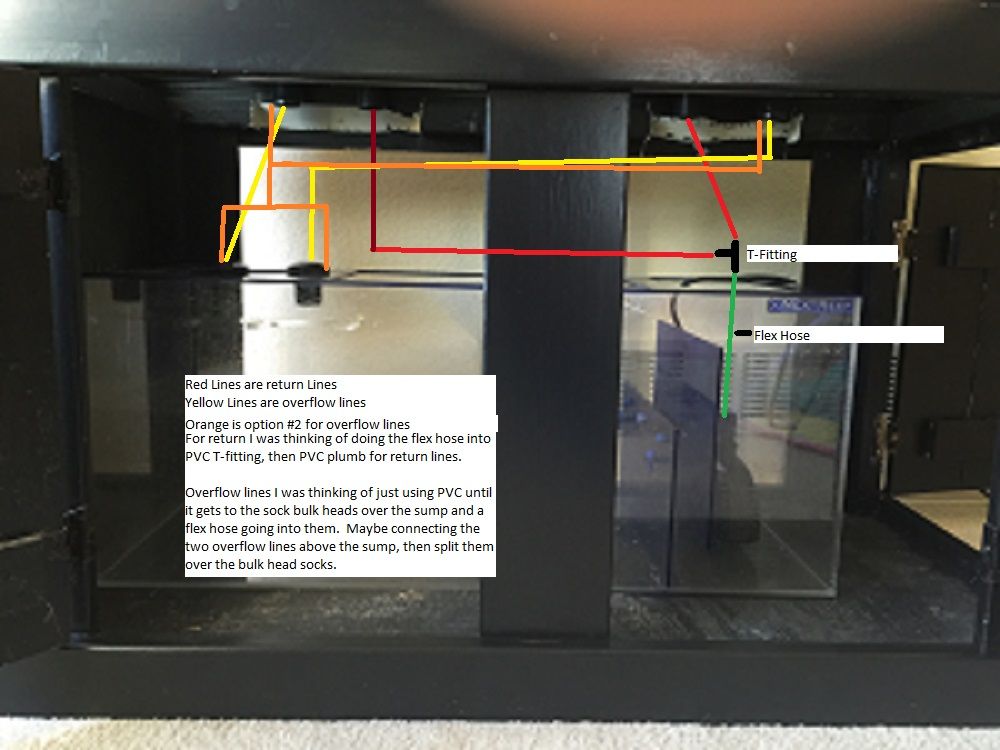
Once I got the tank in the right spot it was time for one of the most tedious processes of getting a new tank set up, the plumbing. I somewhat had an idea on what I wanted to do but still needed guidance from my fellow reefers at MASC. After a quite a few dry fits, some re-measuring, some pictures and a bit of swearing I was able to finally able come out happy with my plumbing. If anyone has any questions on it or would like to put their advice in on how I might have done something different or better I would still take that into consideration since my sump isn’t ready yet, so not everything is glued.
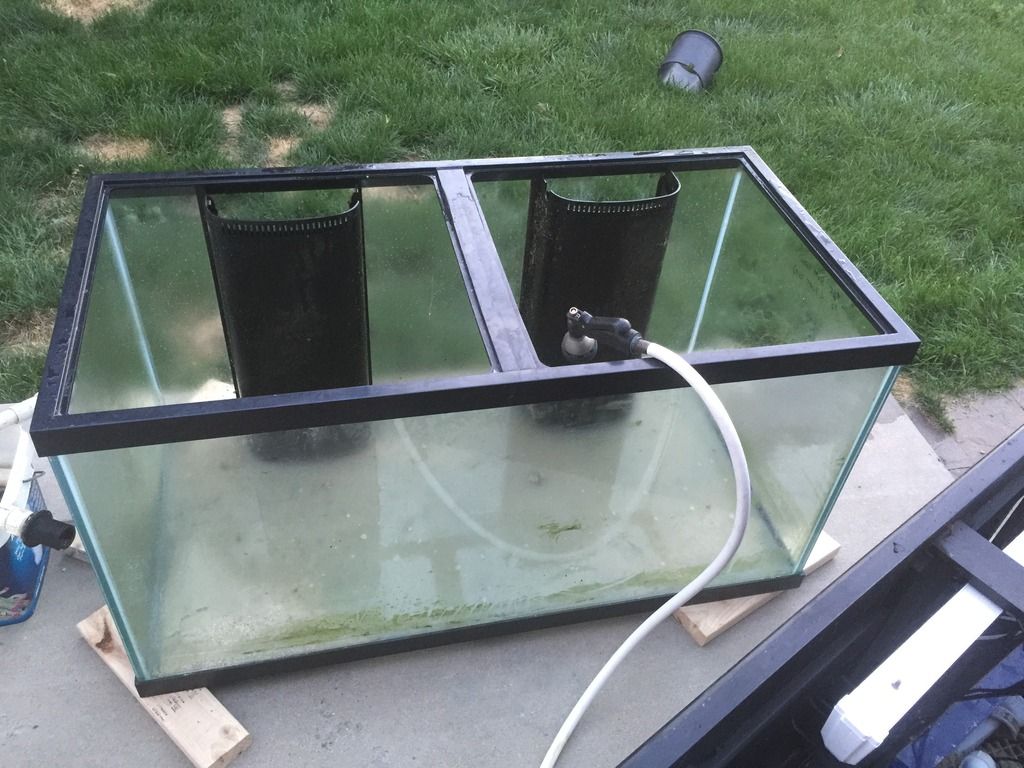
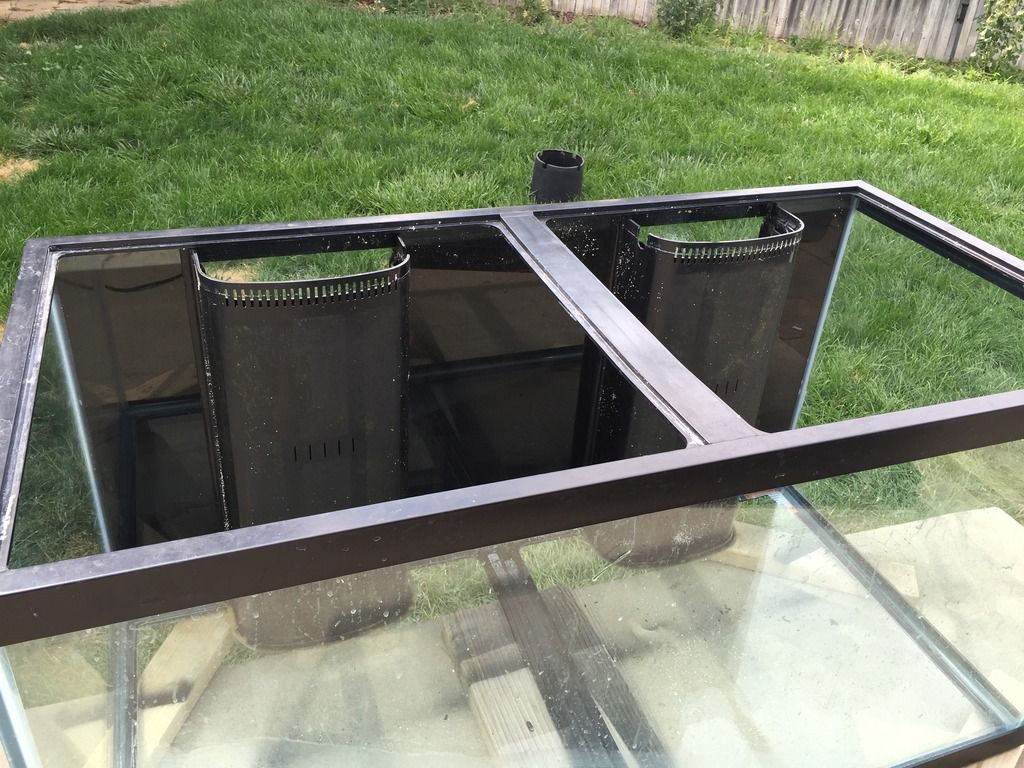
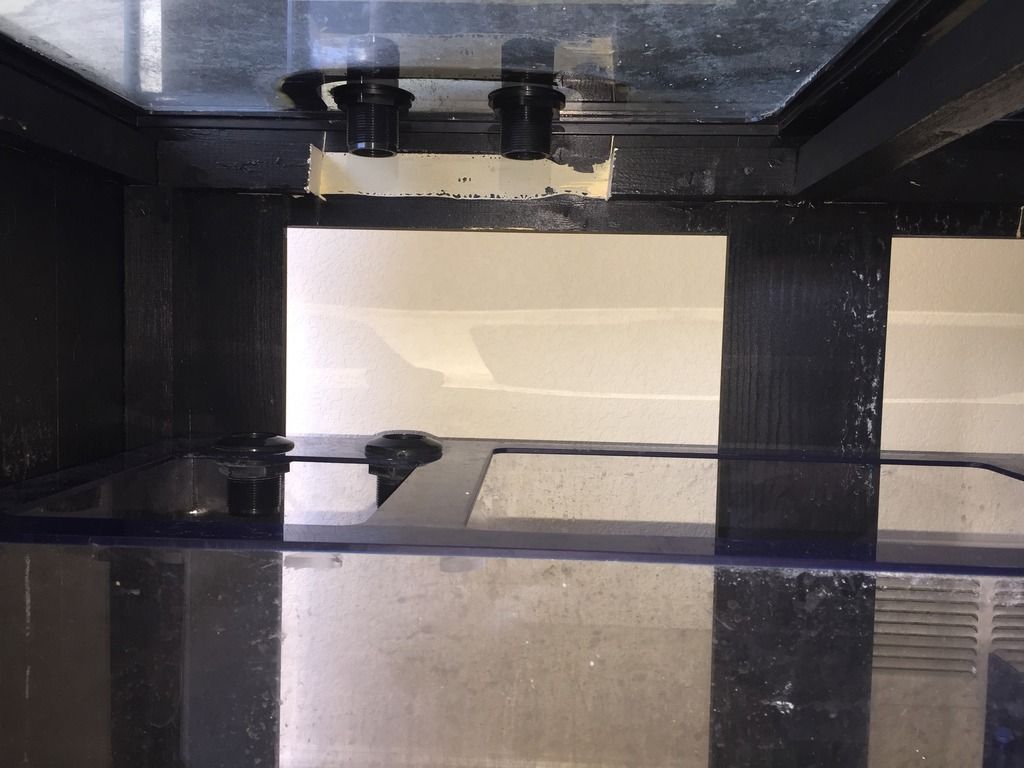
Here are some pics over the overflow I went with/built, something common but figured it would be cheaper for me to build it instead of buying a whole it.

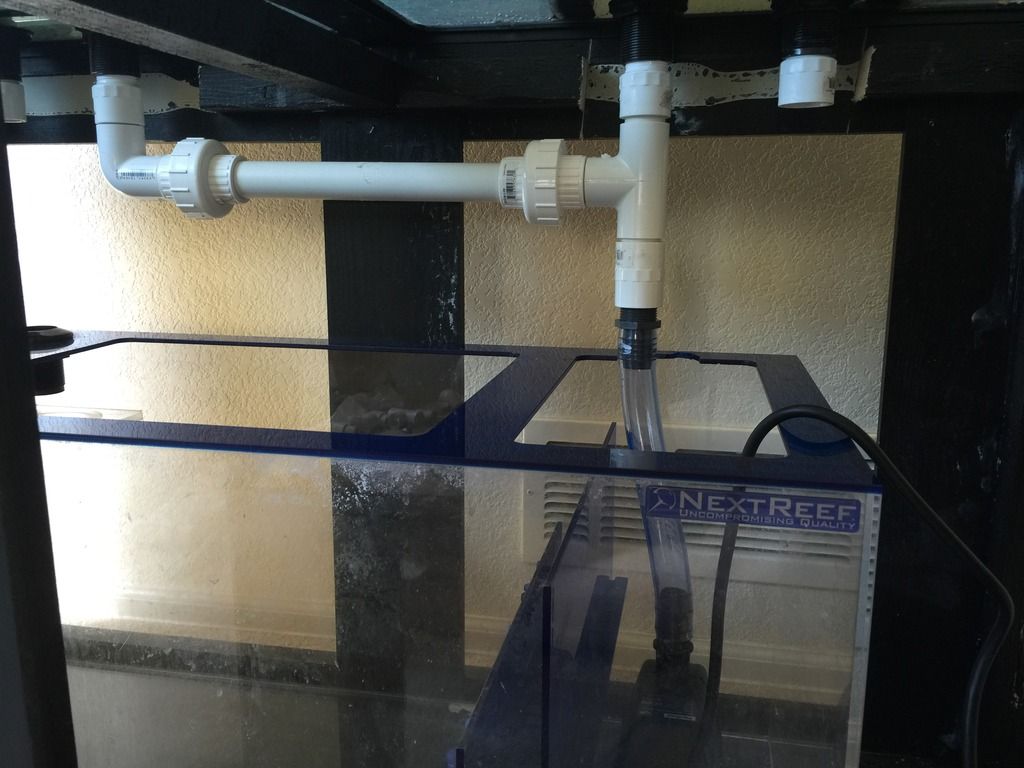
First Phase of plumbing.
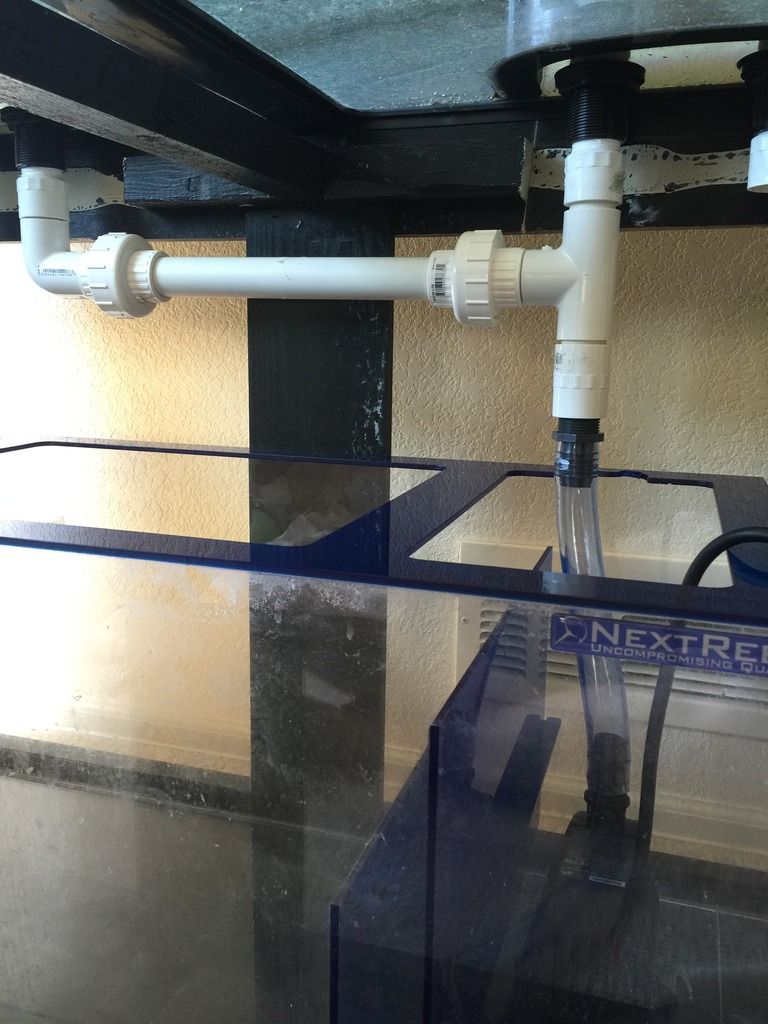
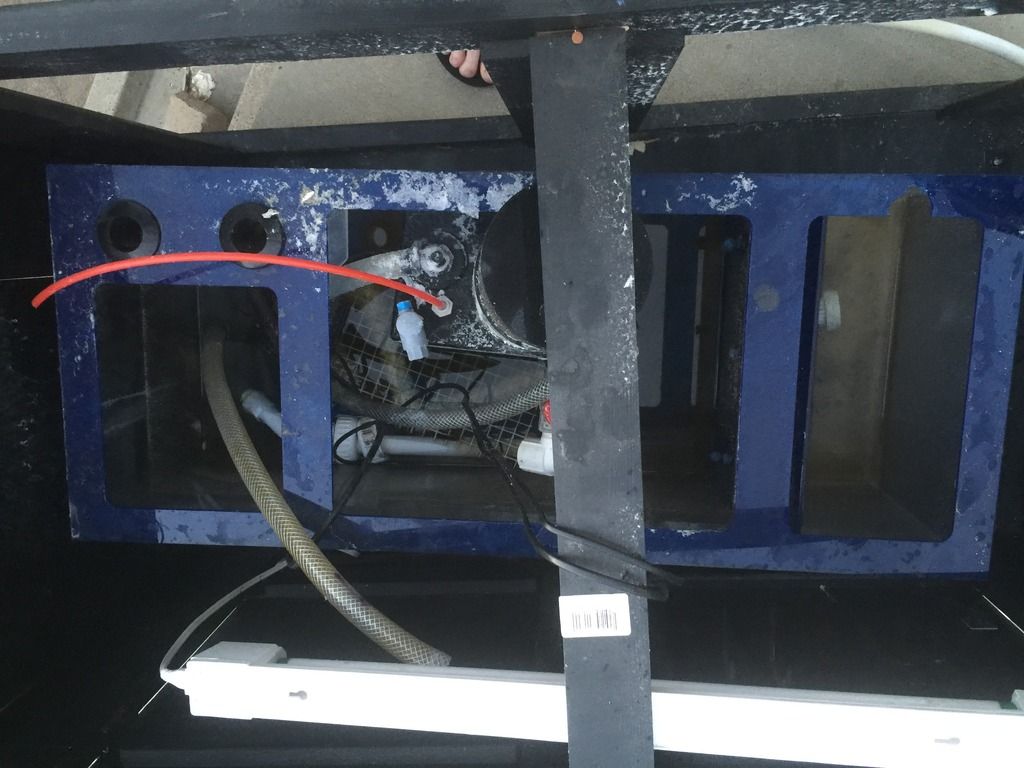
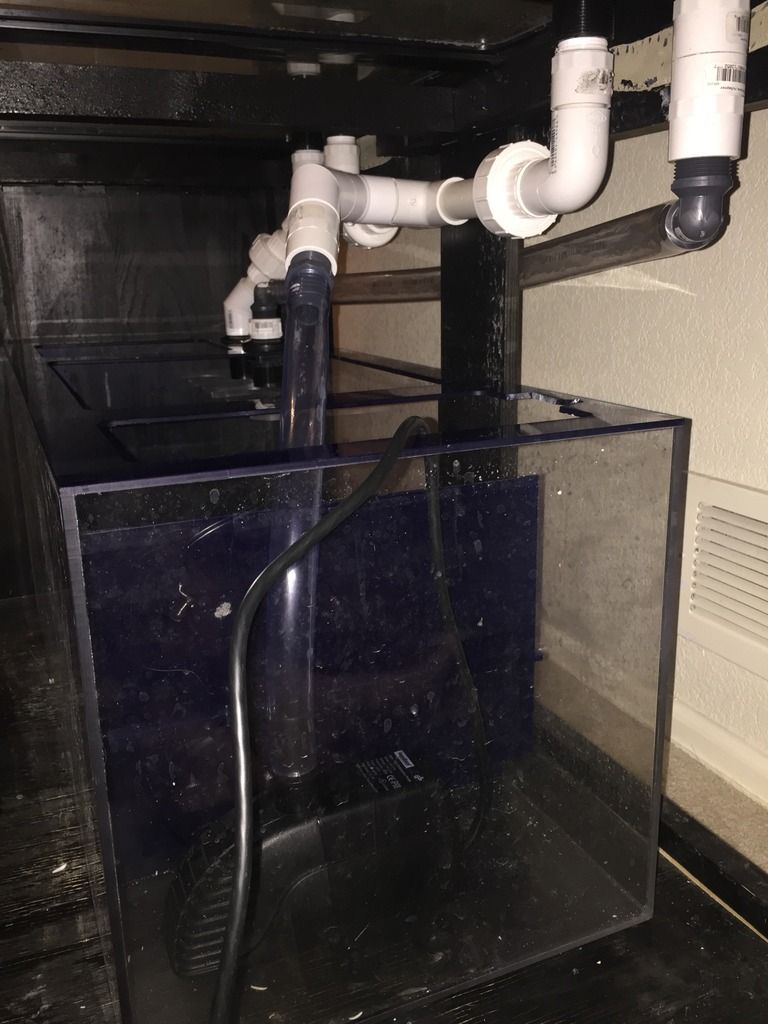
Second Phase of plumbing

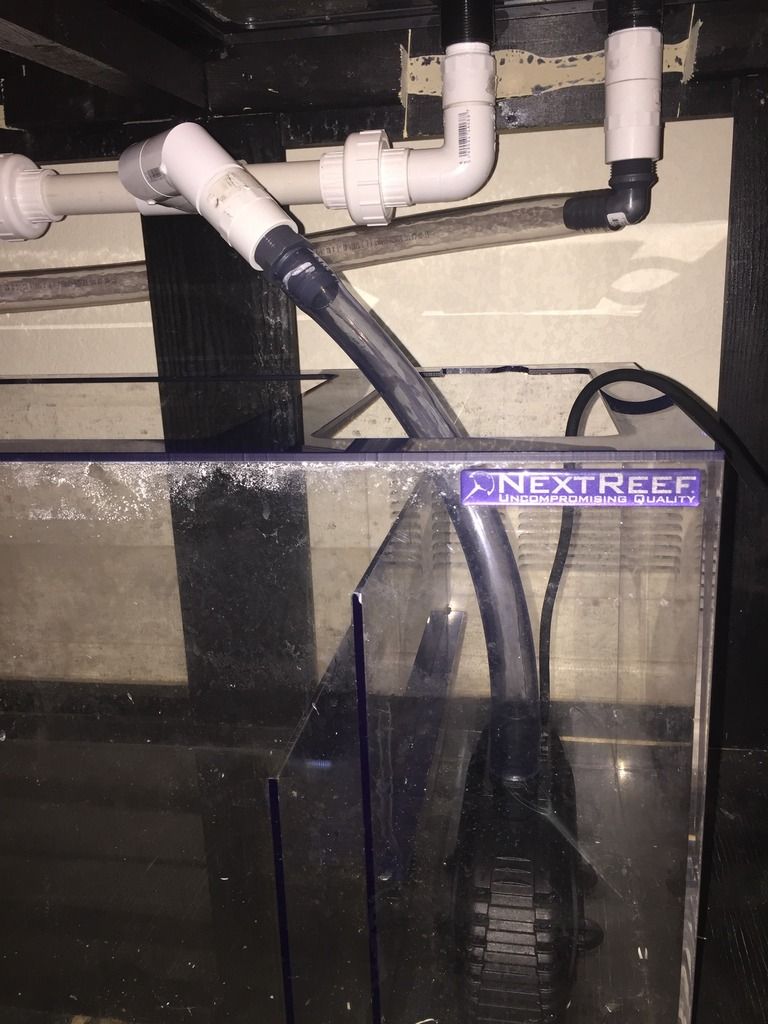
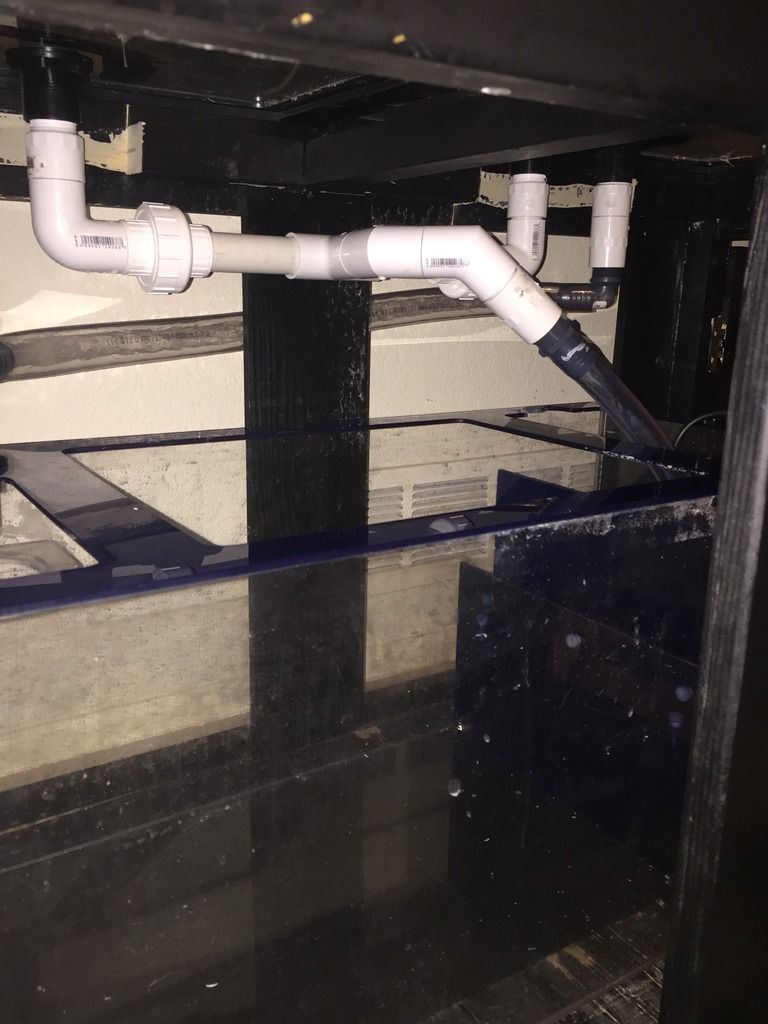
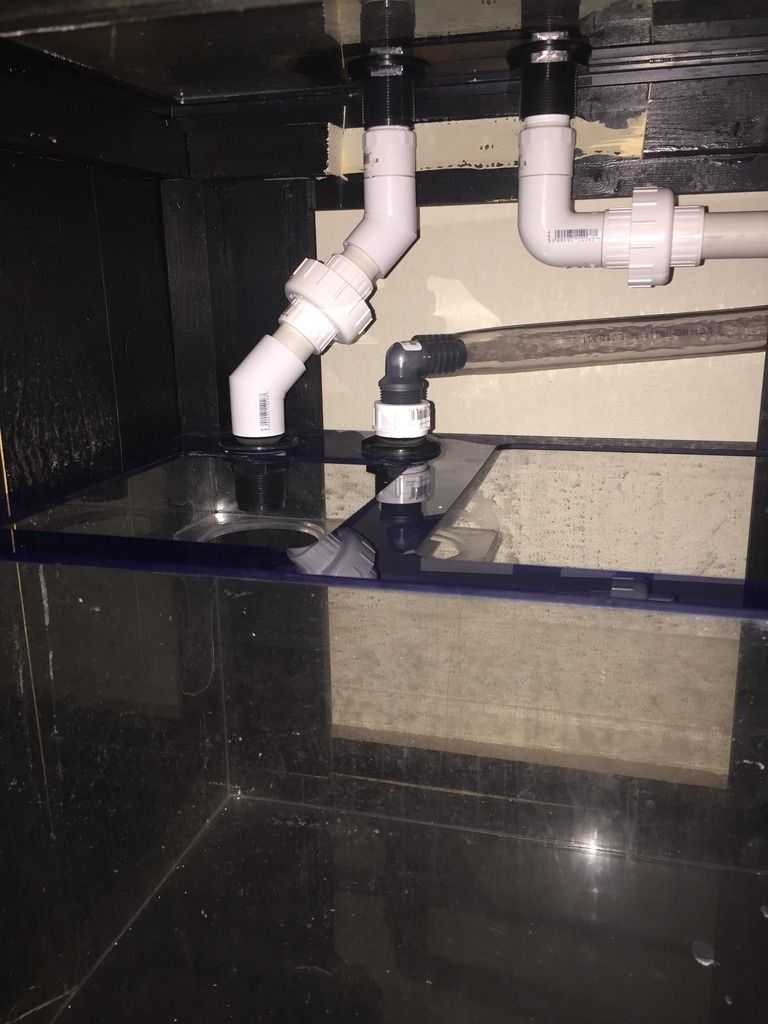
Last Phase of plumbing. Feel free to ask questions on this. The clear tubing in the back is my overflow going into the sump.
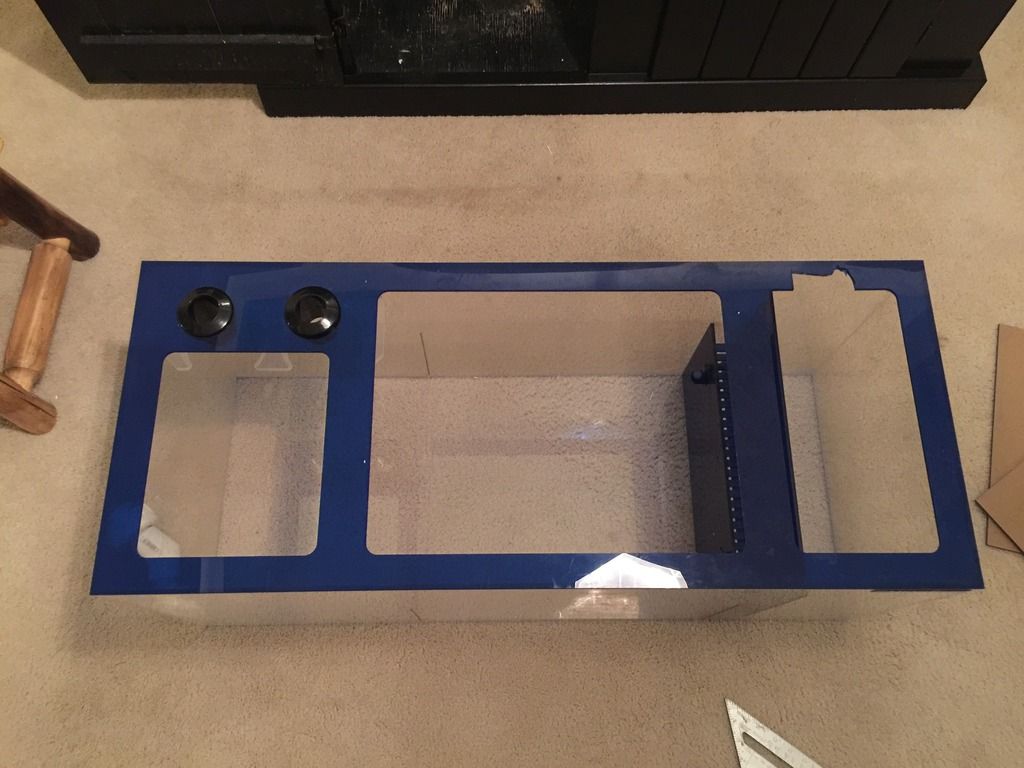
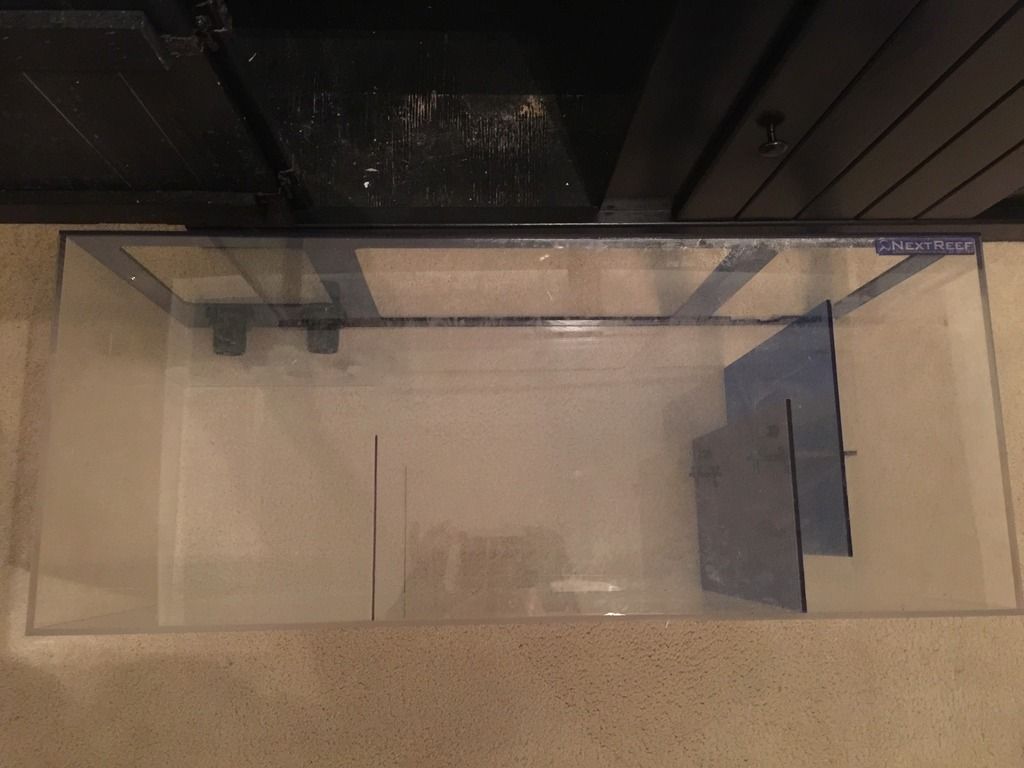
Once the plumbing was all figured out I wanted to do some rework of the sump, mainly add baffles and a bubble trap. I made a trip to Colorado Plastics and got some acrylic cut. I borrowed some cement from Scott and he gave me some tips to glue the acrylic baffles. Once I got home and put the kids down to bed I started with the first baffle. As I laid down the cement all around the baffle I was looking down at where I was supposed to put the skimmer and noticed that it has an opening that isn’t going to be able to fit the skimmer. So before the glue set I removed the acrylic and started thinking again. I’m now at a stopping point on what to do with the sump. I was thinking of removing the brace on the left where the filter socks are so I am able to fit the skimmer in that section. I figured removing the brace wouldn’t be too much of an issue because of the three baffles I will have there that will be cemented in place to add additional support to the sump. What does everyone think about this? The second picture is the sump on the side and with the sections separated with a marker if you can see them.
Sent from my iPhone using Tapatalk
First thing I did when I brought it home was fill the tank and sump back up with water and pour 5 gallons of vinegar in the tank and a gallon in the sump and let it sit overnight.
The following day I emptied the tank and let everything sun/air dry and started working on the stand. I took the side panels off and turned the panels into a door. I did this so it would be easier access to the sump and would be easier to pull the sump out for any reason it would need to come out. After turning the panels into a door I reinforced the whole stand with some 2x2’s. The reinforcement was all the way around the top of the stand, the cross section of the stand, corners of the stand were reinforced and the bottom/underneath the stand was done as well.
During the process of the stand the tank became dry so I also painted the back of the tank black and made sure to leave the overflows not painted. Another helpful tip from Scott!
After I was satisfied with the reinforcement of the stand I painted all the 2x2’s black and had enough paint to put another coat of black all along the front and side of the stand. Made sure my daughter helped me out on this part as well!
Before I put the tank in its final resting spot I realized that some of the supports I have running at the top of the stand won't work with the bulk head so I had to cut off a section of the reinforcement I did so the tank would go on fine.
The stand was completed and dry and the tank was clean so I was time to find a forever spot for this tank in the house.
Once I got the tank in the right spot it was time for one of the most tedious processes of getting a new tank set up, the plumbing. I somewhat had an idea on what I wanted to do but still needed guidance from my fellow reefers at MASC. After a quite a few dry fits, some re-measuring, some pictures and a bit of swearing I was able to finally able come out happy with my plumbing. If anyone has any questions on it or would like to put their advice in on how I might have done something different or better I would still take that into consideration since my sump isn’t ready yet, so not everything is glued.
Here are some pics over the overflow I went with/built, something common but figured it would be cheaper for me to build it instead of buying a whole it.
First Phase of plumbing.
Second Phase of plumbing
Last Phase of plumbing. Feel free to ask questions on this. The clear tubing in the back is my overflow going into the sump.
Once the plumbing was all figured out I wanted to do some rework of the sump, mainly add baffles and a bubble trap. I made a trip to Colorado Plastics and got some acrylic cut. I borrowed some cement from Scott and he gave me some tips to glue the acrylic baffles. Once I got home and put the kids down to bed I started with the first baffle. As I laid down the cement all around the baffle I was looking down at where I was supposed to put the skimmer and noticed that it has an opening that isn’t going to be able to fit the skimmer. So before the glue set I removed the acrylic and started thinking again. I’m now at a stopping point on what to do with the sump. I was thinking of removing the brace on the left where the filter socks are so I am able to fit the skimmer in that section. I figured removing the brace wouldn’t be too much of an issue because of the three baffles I will have there that will be cemented in place to add additional support to the sump. What does everyone think about this? The second picture is the sump on the side and with the sections separated with a marker if you can see them.
Sent from my iPhone using Tapatalk


TheRealChrisBrown;657493 said:
Everything look like it is coming along nicely, looks like you are taking your time and doing things right the first time!
Best line in your whole build thread though: "she will learn to enjoy it".:rofl:
Best line in your whole build thread though: "she will learn to enjoy it".:rofl:
Sent from my iPhone using Tapatalk
Finally able to get back to working on the tank. I spent about a week in WY for work but since I'm back for a couple of days I figure I would try to get this thing cycling before I leave for 2 days. All the plumbing is glued and hoses are tightened around fixtures. Currently trying to switch the outlet for a GFCI one but not really having any luck with it.
One thing I do want to ask though is that I have two different grades of sand. I was thinking about splitting the tank in half with the grades of sand, one side doing the finer grade than the other. Either that or layering the finer grade on the bottom of the tank and the other one on top. What is everyone's opinion on this?
One thing I do want to ask though is that I have two different grades of sand. I was thinking about splitting the tank in half with the grades of sand, one side doing the finer grade than the other. Either that or layering the finer grade on the bottom of the tank and the other one on top. What is everyone's opinion on this?


The tank is 7/8 all the way complete. I got my fuge running, skimmer in (bubble Magnus c6) ATO reservoir going plumbed strait from my RODI so no more carrying buckets to re load it either. Side note did the same thing to my 60 gal. And have a T5 fixture up and going with 2 Red Sea blue white bulbs and 2 actinic bulbs as well.
In addition I have a small CUC and one Chromis in since I'm tearing down my frag tank. Only thing I need now is wave maker

Sent from my iPhone using Tapatalk
In addition I have a small CUC and one Chromis in since I'm tearing down my frag tank. Only thing I need now is wave maker

Sent from my iPhone using Tapatalk
SUS;662506 said:
Coming along nicely! Having your RO plumbed straight to your ATO reservoir, is that on some sort of solenoid to turn on when it gets low or manual operation?
Sent from my iPhone using Tapatalk
Sent from my iPhone using Tapatalk
Sent from my iPhone using Tapatalk