200G Forever And A Day Build Thread

Walter White

Reef Shark
M.A.S.C Club Member
#1
Ok I have no idea what Twerking is let alone Twonking but I'm weird and am often easily amused.

So anyway, way back in March of 2010 I joined this club with the idea and hope that I was going to set up a really sweet 120 gallon mixed Reef.
I had just sold my pride and Joy Audi S4 that had spent 6 years building into my dream car. I was definitely looking for a new hobby and a friend of mine I had met in the local Audi club had recently set up a really nice 300g bowfront that was all plumed to the basement and what not. I was so impressed I never knew people took this hobby so far as to drill holes in their floor and run pluming all over the place. I had always wanted a saltwater tank when I was a kid but my parents would have never sprung that kind of money on such a hobby and I guess I had just kind of forgotten all about it.

I knew almost immediately this was something I wanted to do. I realized I had probably stumbled upon my dream hobby, the hobby I would like stick to for the rest of my life. I have had lots of hobbies in the past from robotics, to cars, guns, to RC, High fidelity, car audio, and purley mechanical watches. Each hobby I took to the furthest extreme I could only to lose interest after about 5 years or so. Still love watches though!

This was the way for me. So many cool aspects of this hobby. You can almost make it anything you want from engineering to Art and almost everything else in between. Who could ever get bored with this?

So I'm getting off track, here I am 4 years ago I had done allot of research already. I had read every book I could find cover to cover, about 10 in total including the Julian Spring/Delbeek books. I was more than ready to get started and I was ready to go pretty big, or so I thought. I found a pretty Nice 120G starphire Glass Cages tank on CL up in boulder with a HUGE overflow in the back Center. I didn't think I liked the look of the overflow but I was excited and the over all Dimensions were what I was looking for. I started a build thread right here which is long gone now and I got that 120 all built into the wall with the most over the top ridiculous fake rock wall to cover that ugly overflow. It was plumbed and ready for water but then one day shortly there after I met a fellow reefer by the name of Mike Drumm which some of you know here by "mdrumm". I was buying a Calcium Reactor from him and we ended up getting along pretty well. He offered to take me to see some truly mind blowing tanks around Denver. I mean the kind of thing that's is truly inspirational in this hobby. I knew then that the 120 with the overly gigantic overflow was just not going to cut it and I would be really sorry some day if I didnt scrap the whole thing and start over.

So here I am 4 years later. Where is this bad *** tank I wanted??? Well life got in the way and my build that I started 4 years ago has never been completed. The biggest reasons where financial but more than anything I realized even with all the books I read and all the the things I thought I knew going into the hobby I had only begun to make a tiny scratch in the surface. Mike suggested I start small and learn with some real hands on experience and start meeting people and building connections before starting again. So I set up a 28g nano cube and learn I did! What I learned is the setup I had put together was NOTHING like what I would have done now with what I know now. LOL

I also figured out what kind of tank I really wanted. Nothing but SPS oh and a separate 60G nem/softy cube. :) So now that I have had too much wine and spent the last 10 minutes talking to myself I suppose its time to start my official build thread here with the intention of finally finishing the build I started 4 years ago. Even though much of my build is already complete I will be starting it from the beginning in order to document the whole process.


The Tank:
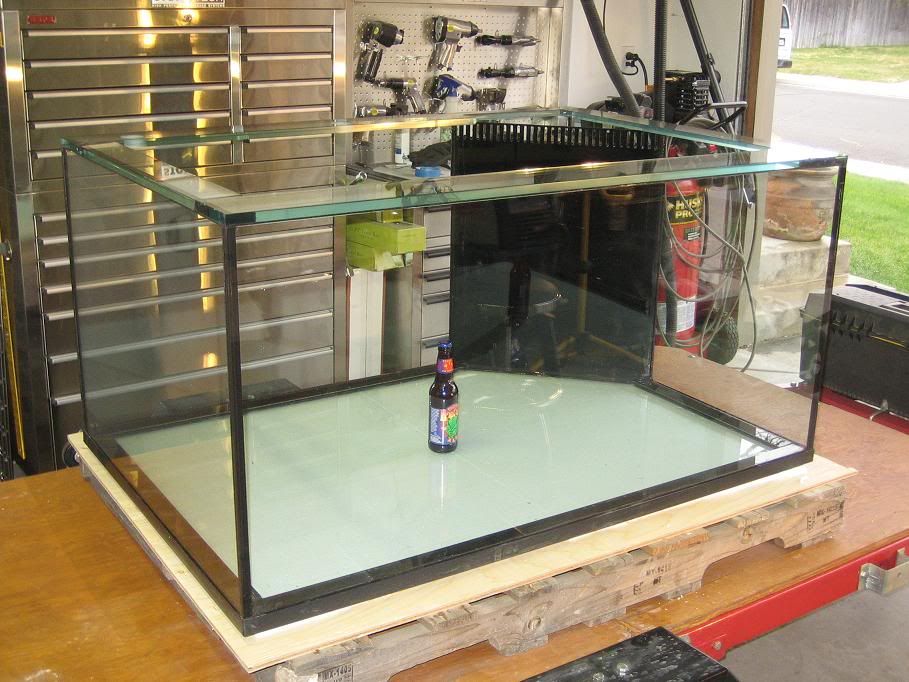
Custom Miracles ~200G starphire.
Dimensions are 50”L x 34”W x 25”T

The Sump:
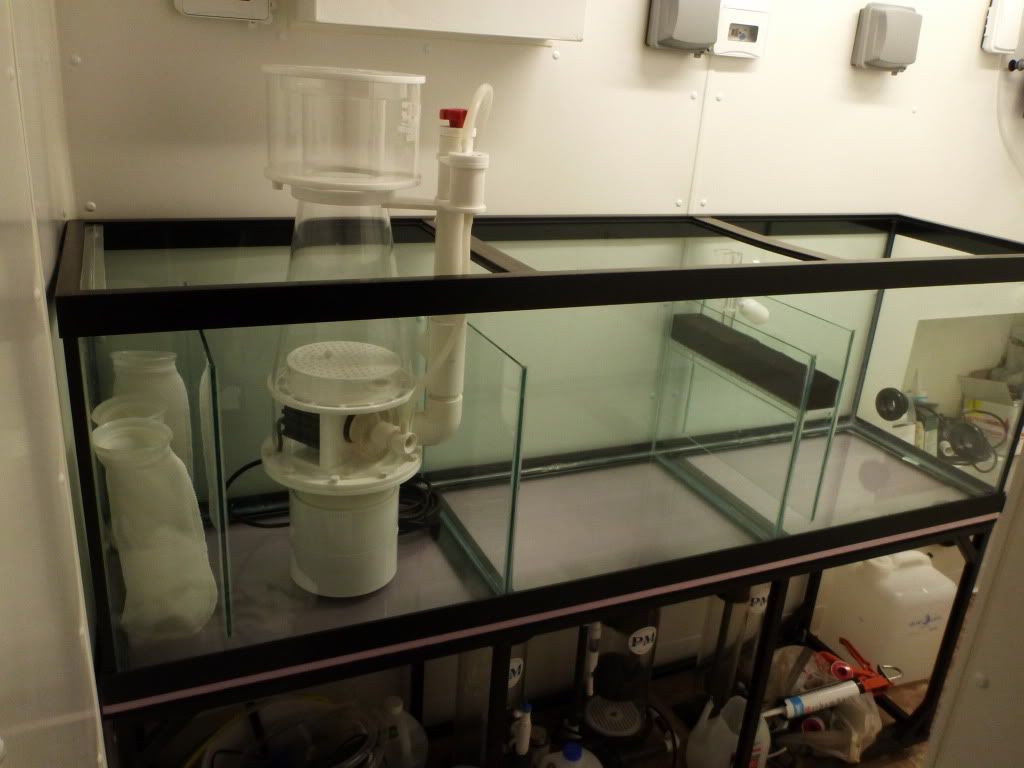
~125G glass drilled
Located in a separate equipment room that is one floor down and 24’ over on the opposite side of the house.

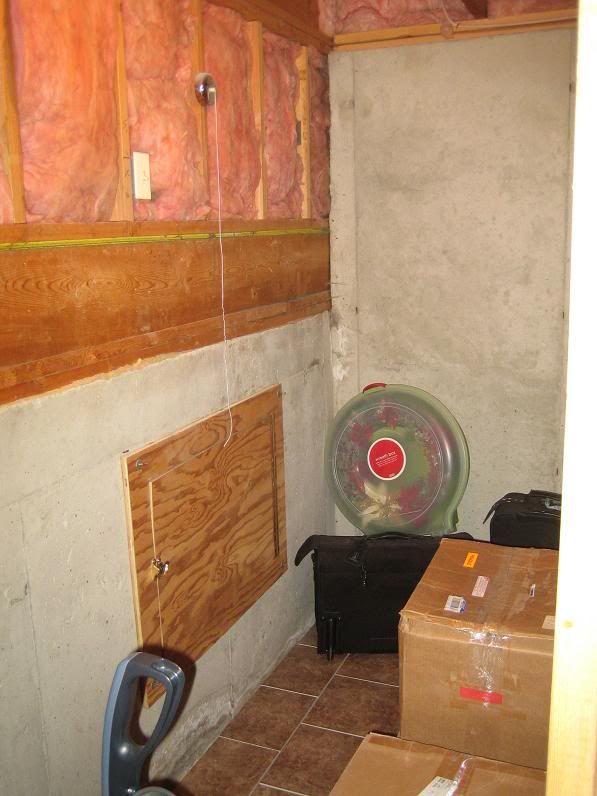
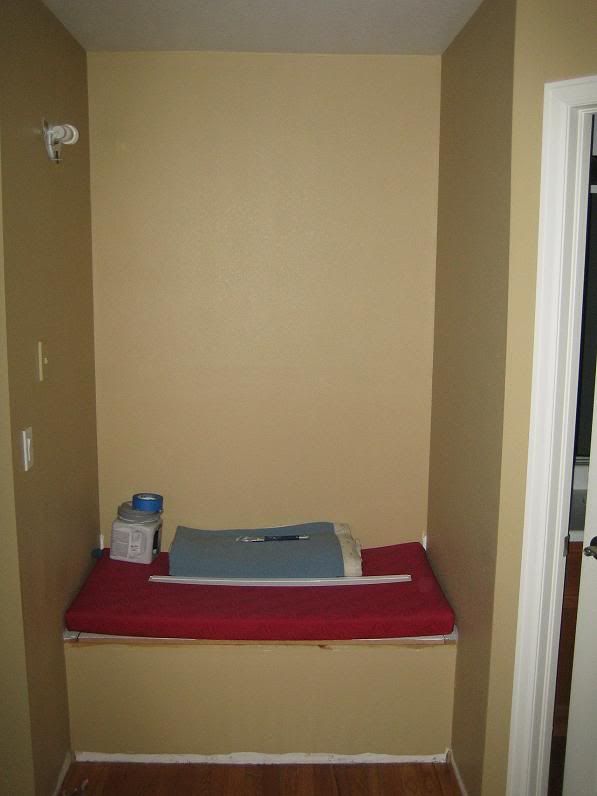
This is where the tank will sit and what I envision it will look with the wall removed and the trim work all finished:
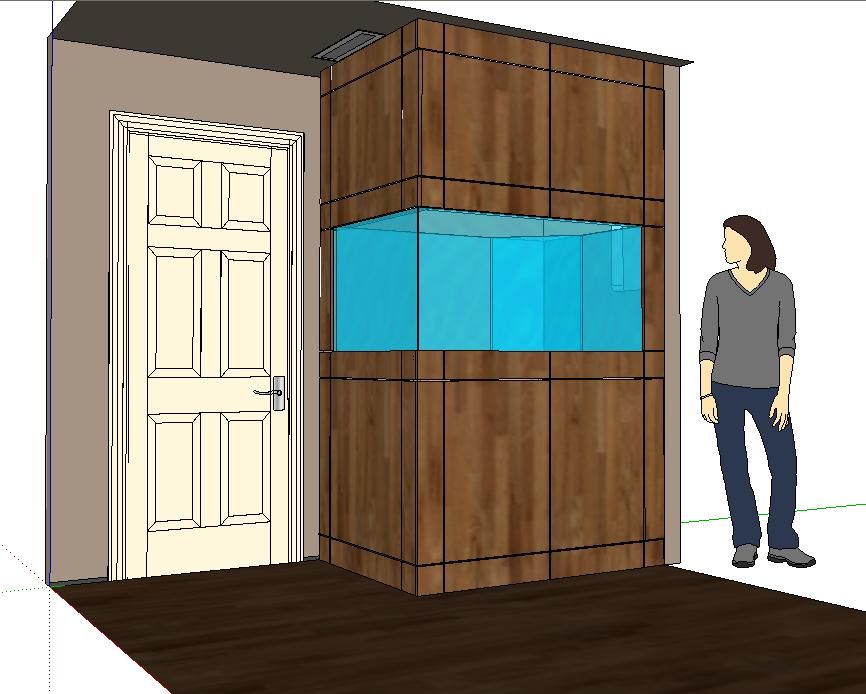


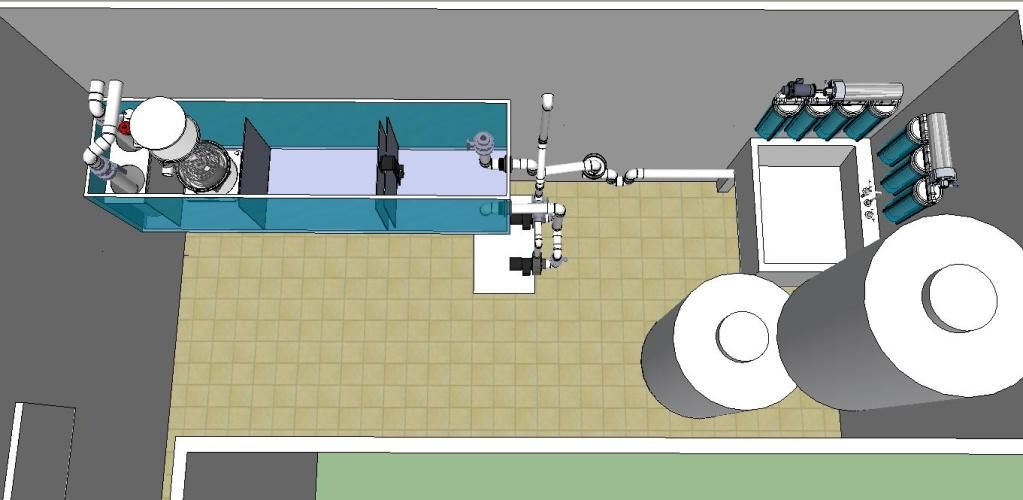
This is where the equipment and sump will be located and the layout I have planned:
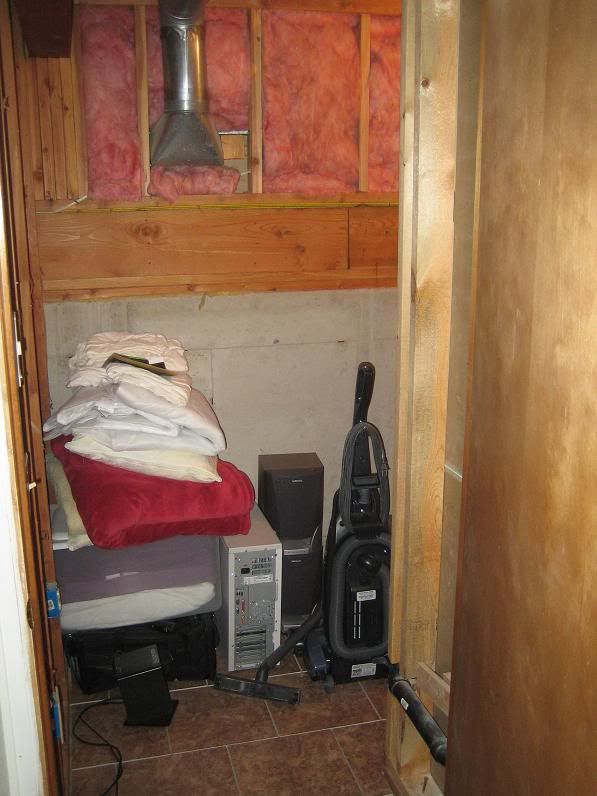


Walter White

Reef Shark
M.A.S.C Club Member
#2
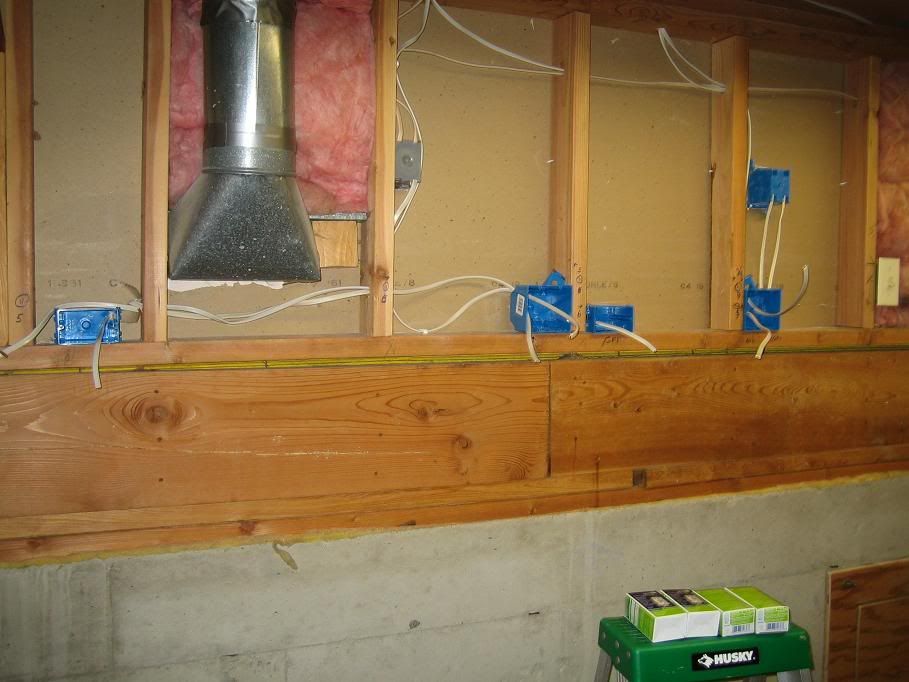
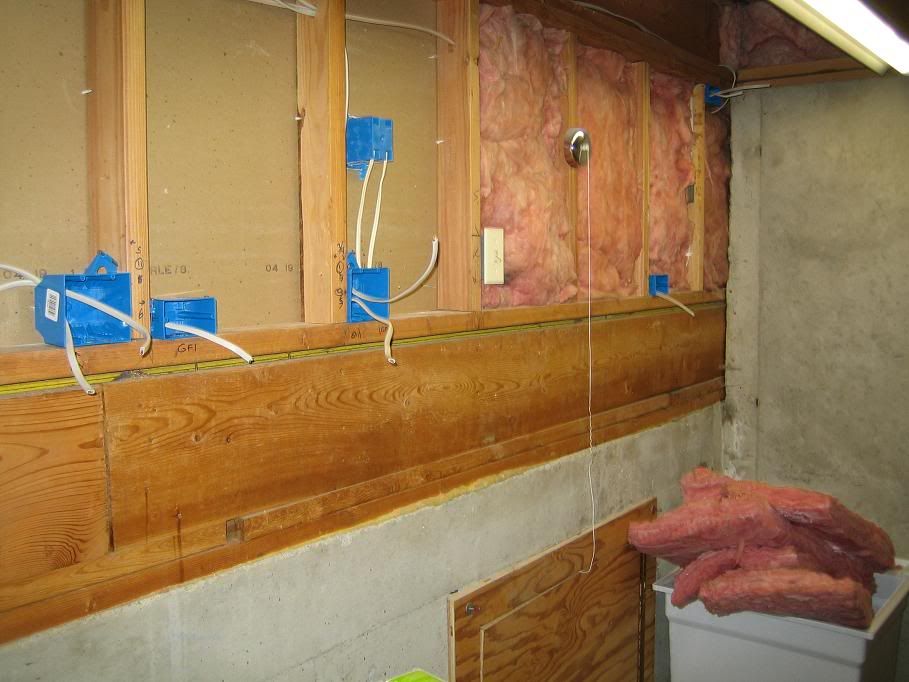
One of the first things I knew for sure I wanted to do was isolate the electrical system from the rest of the house. My house was built in the early 90s but the electrician that wired it must have been on acid as there is just no rhyme or reason as to how the house was wired. For example I have outlets in the master bedroom on the same circuit as lights on the guest bedroom two floors down In the basement.

I knew it might be difficult to know what all was running on one circuit to the next plus the basement where most of the equipment was going only had a single 15A receptacle anyway.

The simple solution was just to add a sub panel dedicated to the system but I faced once pretty big issue. My house was only supplied with a 100A main and was already pretty well maxed out. There wasn’t going to be any chance of adding another circuit large enough to handle everything I had planned.

I have an EE degree and worked as a commercial electrician for several years while putting myself through college and I knew that getting an upgrade to the panel was going to be pricey and require permits and a licensed electrician (which I am not) to acquire said permit. I called an electrician to get me a quote and as expected it was going to run roughly $3000. I was pretty bummed when something occurred to me that was not only going to save me money but also make the Mrs. very happy at the same time.

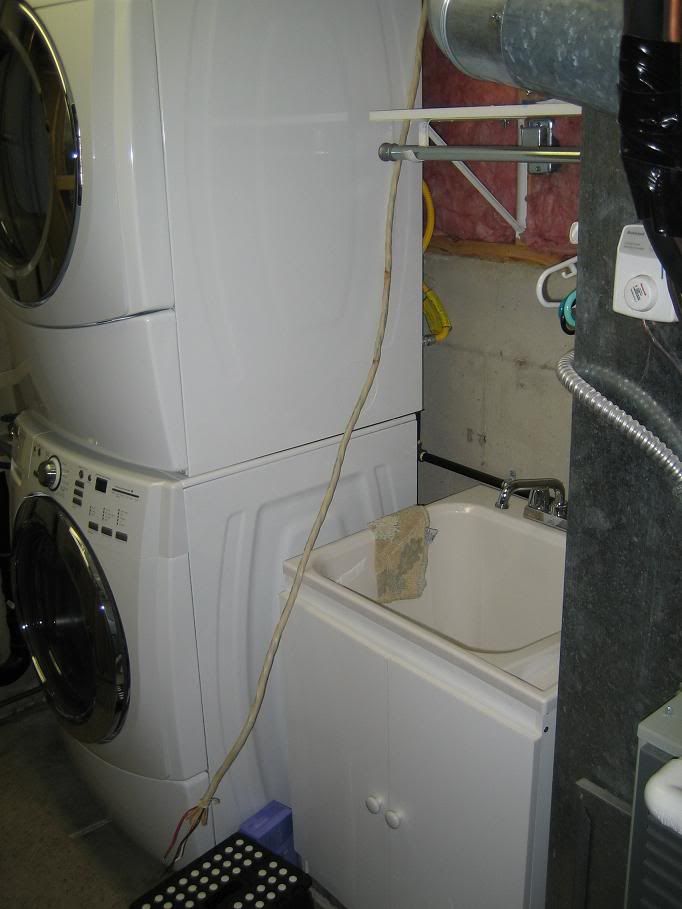
My wife had been hinting at the need for a new washer and dryer for awhile and the truth was we really did need them. The existing Dryer was on its own 30A circuit and was already conveniently located in the basement adjacent to where I had planned for the sump to go.

The answer was now very simple I just needed to tee off the gas line for our furnace and go with a gas dryer. So as it would go the wife got a brand new washer and dryer and I got power for a dedicated 30A sub panel.

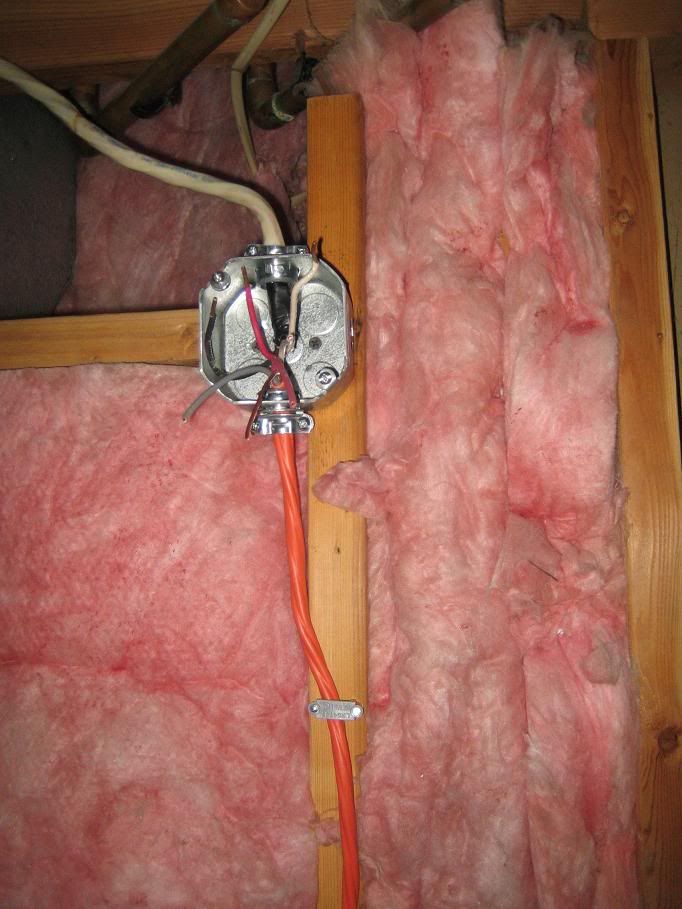
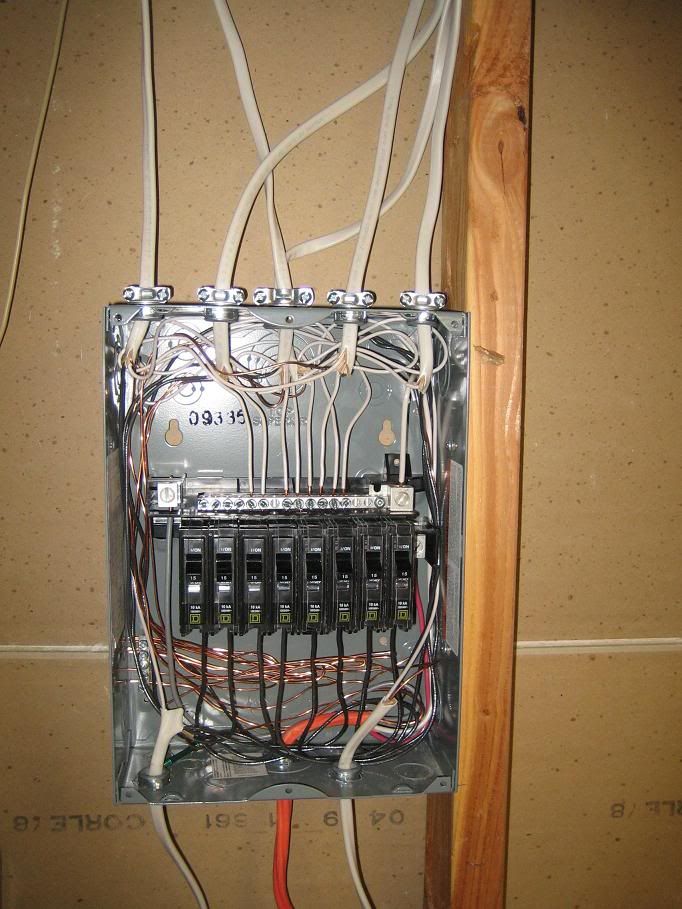
I went to work on installing the electrical. I opted for a panel with 8 separate 15A circuits mostly for redundancy not because I actually needed 8 circuits but I wanted both return pumps on separate circuits as well as both heaters that way if one breaker was to pop I wouldn’t lose both heaters or both return pumps. As it would later turn out I didnt go with two return pumps anyway but that was the logic behind the breaker box.

The tie in to the existing 30A circuit coming from the main panel and the new washer and dryer.


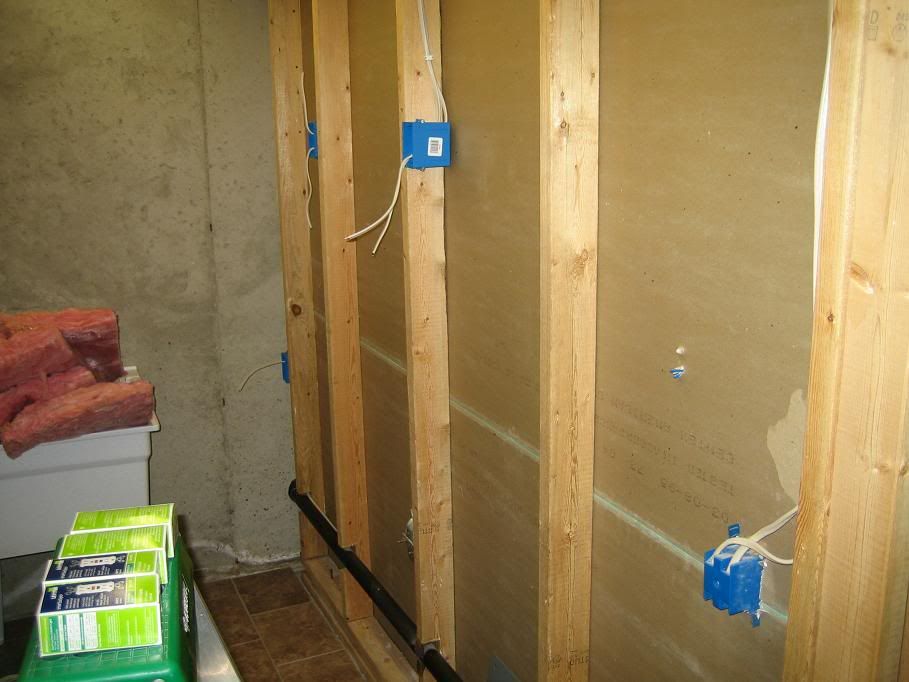
Lots of plugs everywhere I could think to put them. Nice and high away from water.


The sub panel.
 

Walter White

Reef Shark
M.A.S.C Club Member
#3
In additional to the electrical work I also tapped into the sewage line in the powder bath on the other side of the wall as well as the water lines. I installed separate shutoff valves for the hot and cold and ran Shark bites over to the future sink area. I plumped the drain for the sink and continued the drain around the wall to the edged of where the sump will rest for water change convenience. I also put in a few other access points to the drain for the skimmer collection and RO wastes lines to hook up to.

Living in the dry stat of Colorado and not having ever had a tank up and running of any notable size was not sure how bad humidity issues could be in a closed off room this small. I asked some local refers, but like everything else in this hobby got some radically varying responses. I got comments ranging from “not an issue” to “everything in your basement rust”.

This scared me a bit if not just for mold reasons so I decided it’s better to be safe than sorry. I installed an air duct and ventilation fan in the ceiling to the outside of the house with a humidity controller. I also lined the walls and ceiling with 8 mil vapor barrier before putting up the drywall. I painted everything including the concrete with heavy duty water sealant paint.

On a separate trip to Home Depot I came across some 4’x8’ sheets of PVC and decided id also line the walls with that as well. It seems like it would be great for wiping down the wall and the best protection against splashes and salt creep. Since I’m a little anal and obsessive compulsive I sealed all the joints with silicone.

Somewhere along the way I lost some of the pictures of the drywall and sink plumbing install but these are some of the finished product pictures.


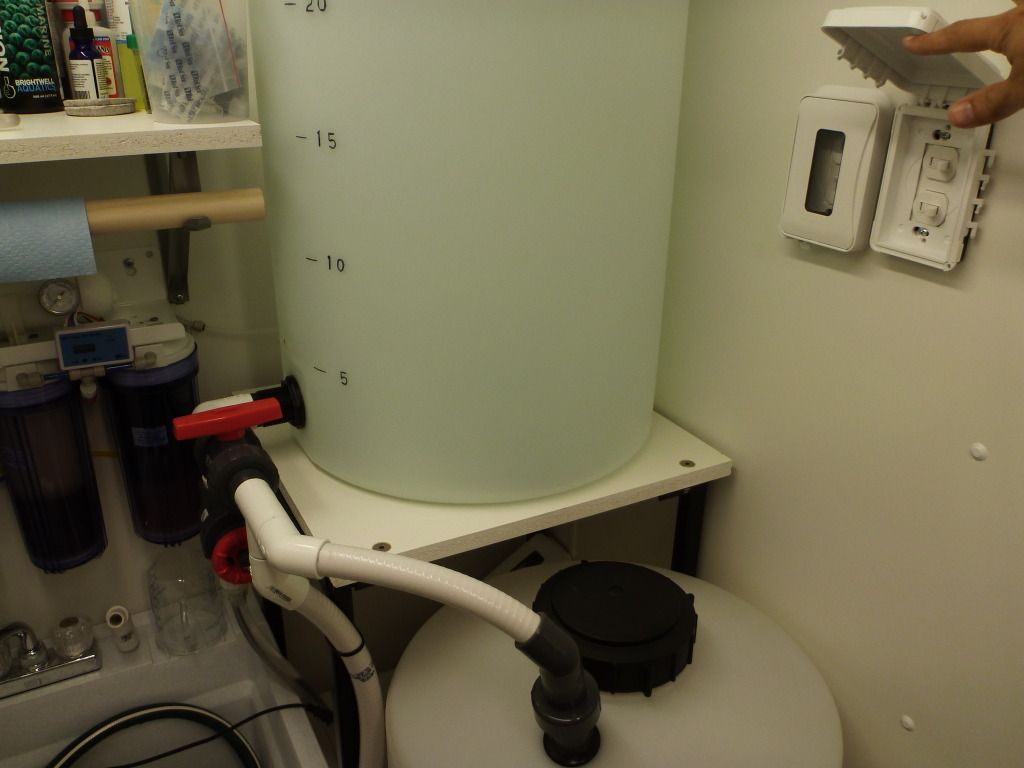
I also found these water resistant switch and receptacle covers that have little windows so I can still see the indicator lights on the GFCIs. They actually have rubber billow that extend so that they will accommodate any size plug and cord but still seals everything off really well.


Labsalesguy

Angel Fish
M.A.S.C Club Member
#5
Dude! This build is awesome. The sink and drain right next to the sump is SOO awesome. Wait until you have to wash and change socks. I did similar paneling in my sump area. Following along.
 

Walter White

Reef Shark
M.A.S.C Club Member
#6
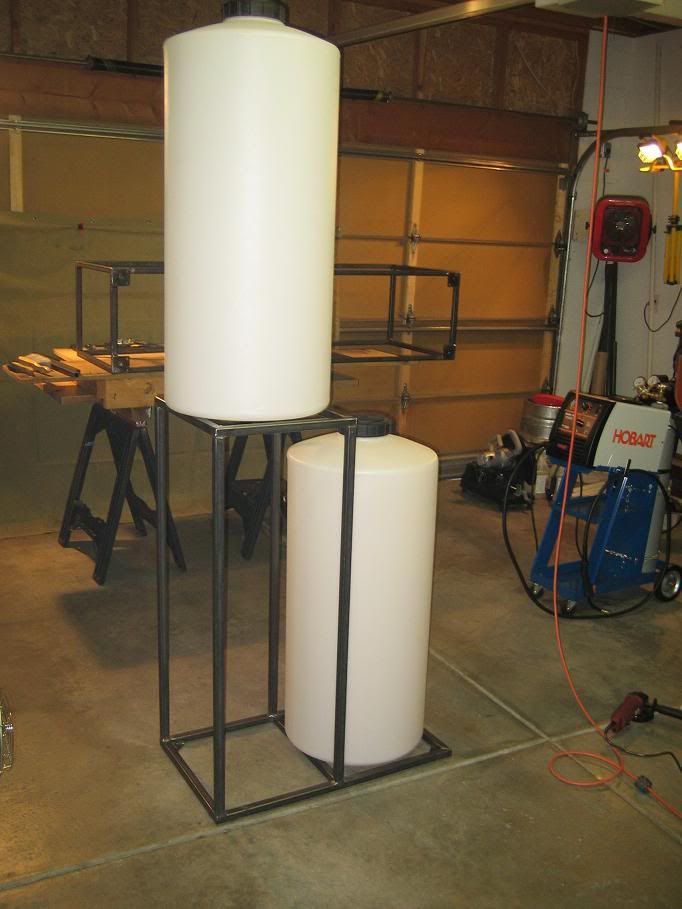
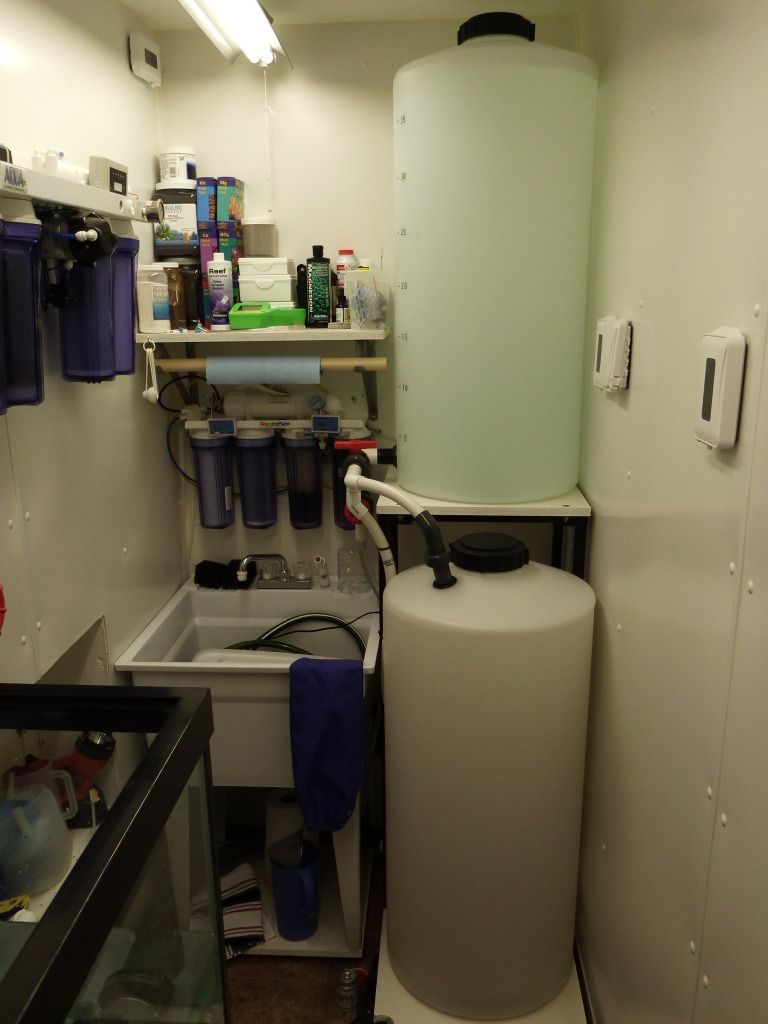
Considering the space constraints I had to work with and all that I wanted I had to start getting a little creative with my planning. I wanted to be set up to do the largest water changes possible but still have separate fresh water and saltwater vats. The only way I could figure to do this given the space I had was to stack the two containers. I only had 18.3/4” clearance between the wall and the edges of the sink so I was pretty limited with my options. I really wanted something that was tall and square to maximize the space but the tanks I really wanted were on a 6 moth back order.

I ultimately was forced to go with two round 40G roto mold containers which fit the bill at 18” in diameter and were still short enough to fit one atop the other. Now I needed to build a stand to support the two containers full and be able to stagger the lower container out enough that I could easily access the top to drop in salt mix and whatever else and also give me a place behind it to mount a circulation pump.

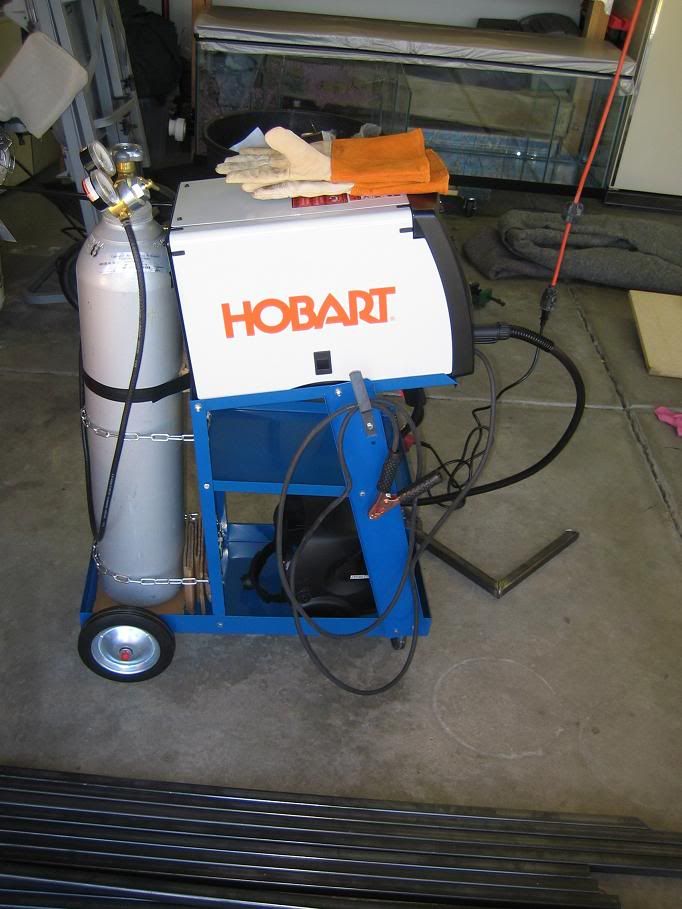
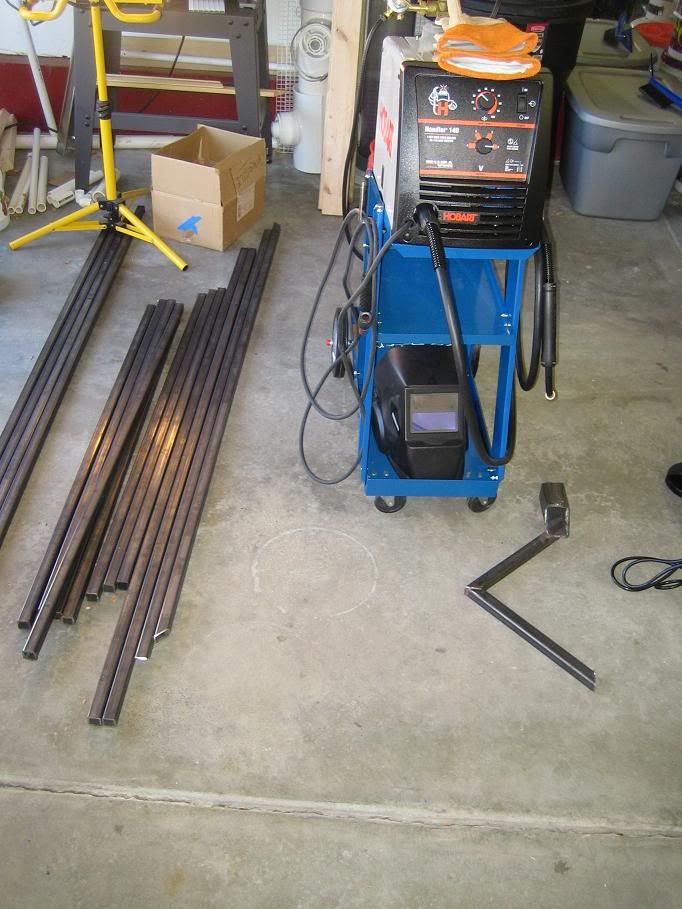
I knew from the beginning I was going to want all steel powder coated support structures and I have always wanted to learn to weld. This project was going to grant me that opportunity. My neighbor across the street had an old gasless flux core wire fed mig welder that he was kind enough to let me use. He gave me a short little lessen and a box of scraps to practice on. I was in love! I liked it so much that my wife sprung for a brand new Hobart 140 handler with gas hookup for C25 for my birthday!

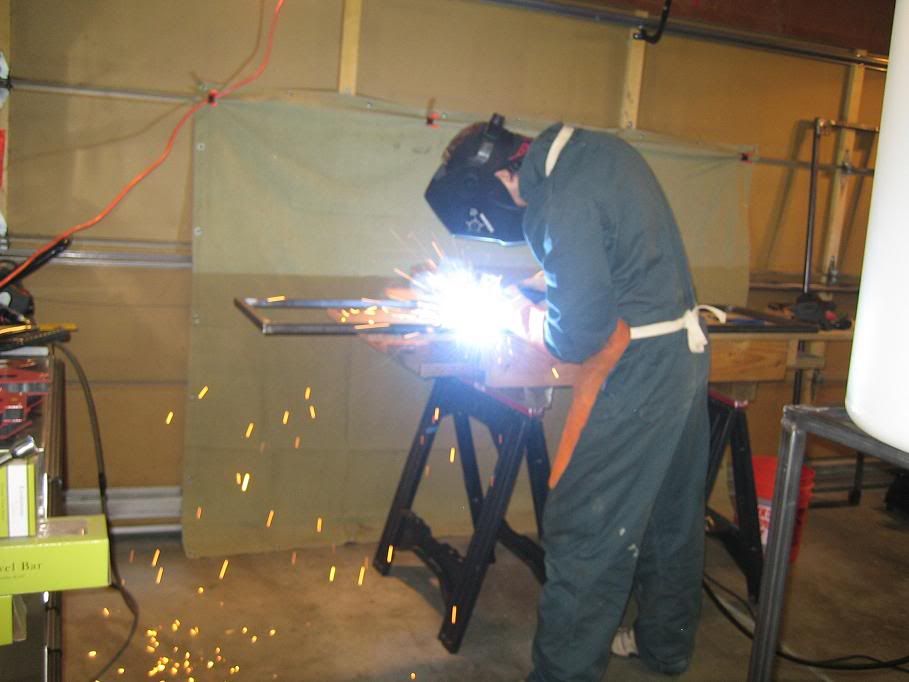
My welds were not super pretty at first but after some practice I feel like they were pretty good and structurally sound. I took a couple weeks off from work and went after both the sump stand and container stand like a madman! For these smaller units I settled on 1”x1” 11 gauge square tube steel with extra supports and lots of leveling feet as the tile floor was very uneven and far from level.


Off to powder coat


Walter White

Reef Shark
M.A.S.C Club Member
#7
And here is the stand and water tanks sitting in their home along with the sink all plumbed in.


The switch and receptacle located at the right of the container and just below the stand at the right are switched outlets to control the recirculation pumps and heater for preparing new batches. At this point I had yet to drill the containers for bulk heads and plumbing.


Walter White

Reef Shark
M.A.S.C Club Member
#8
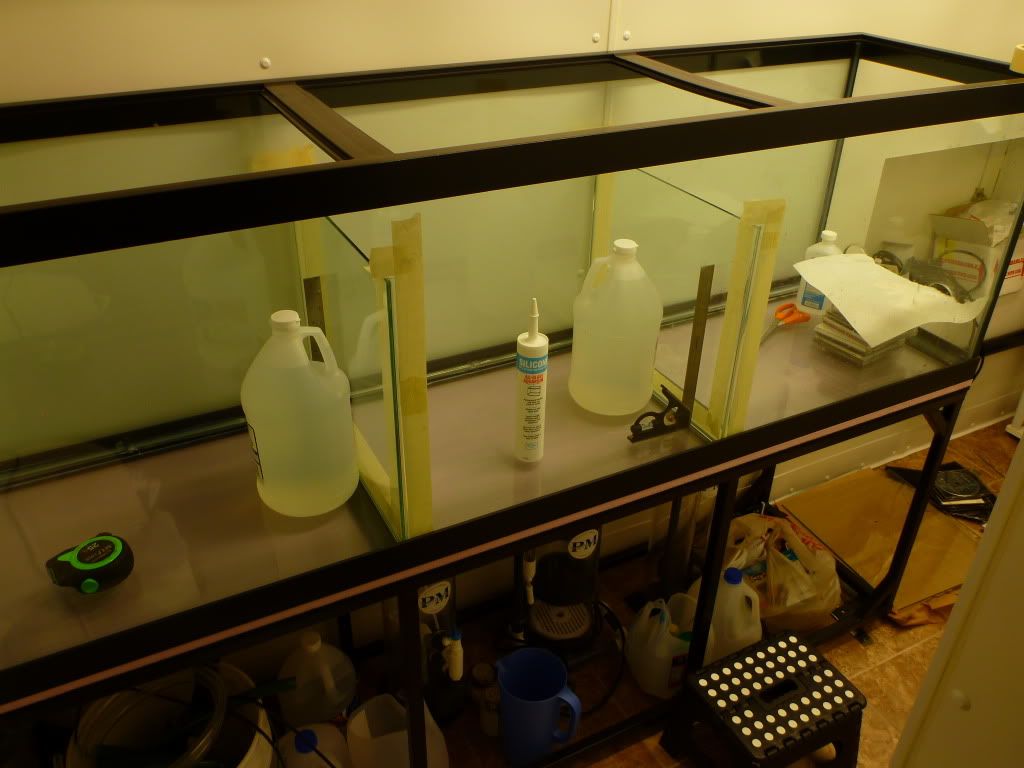
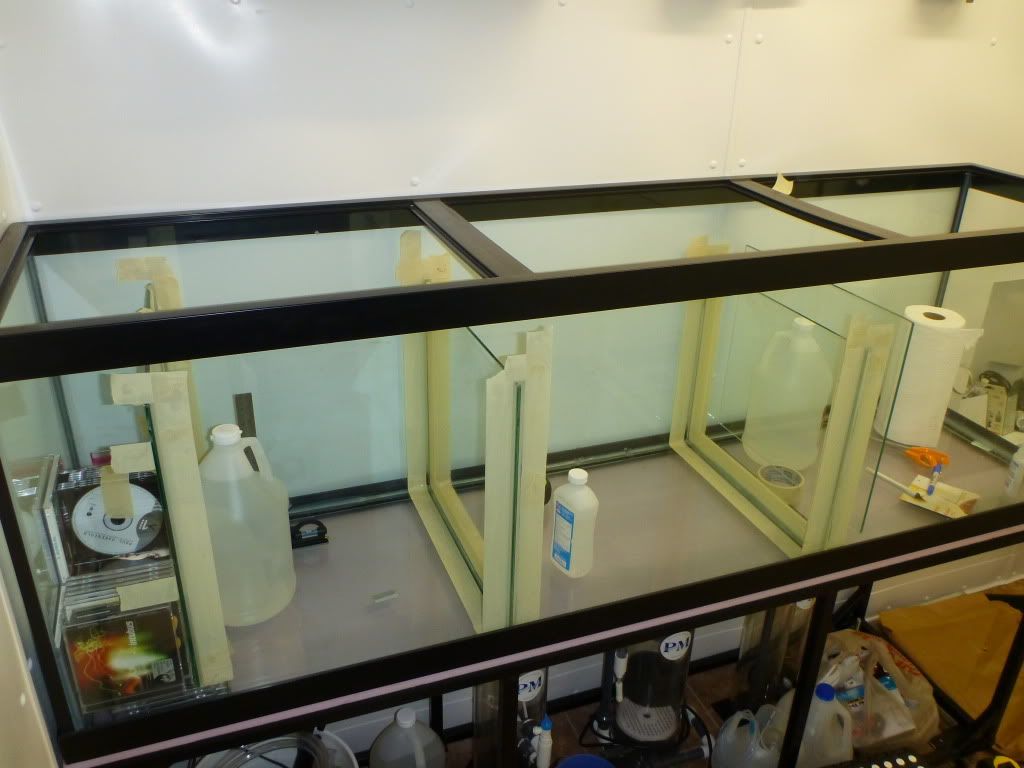
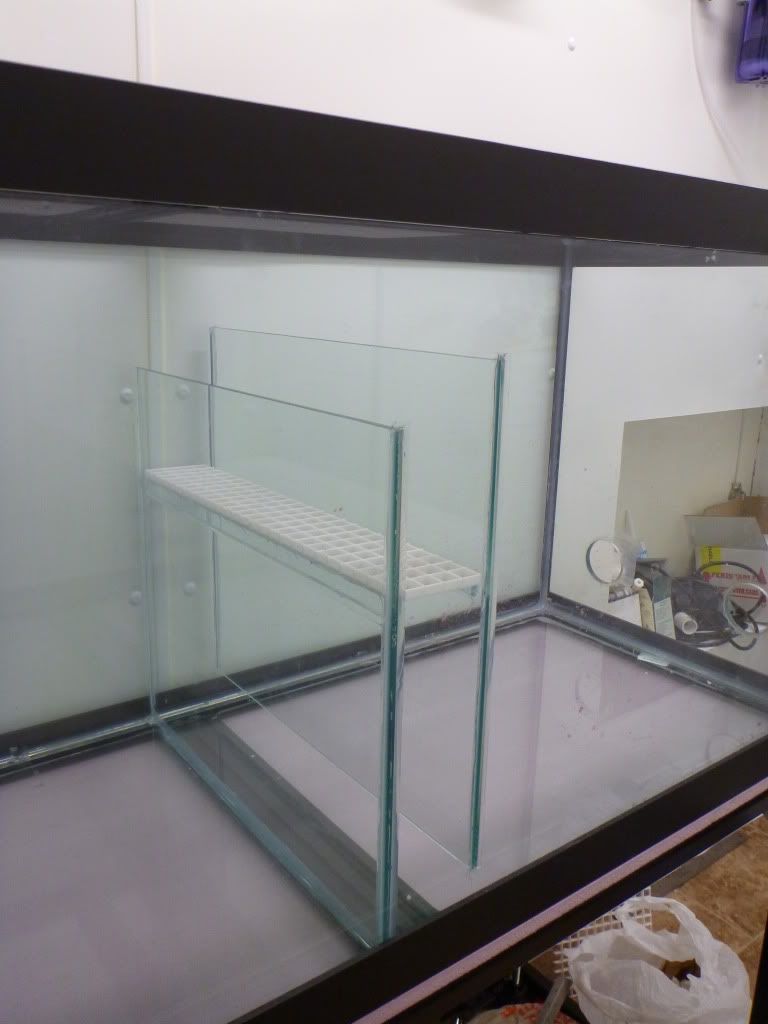
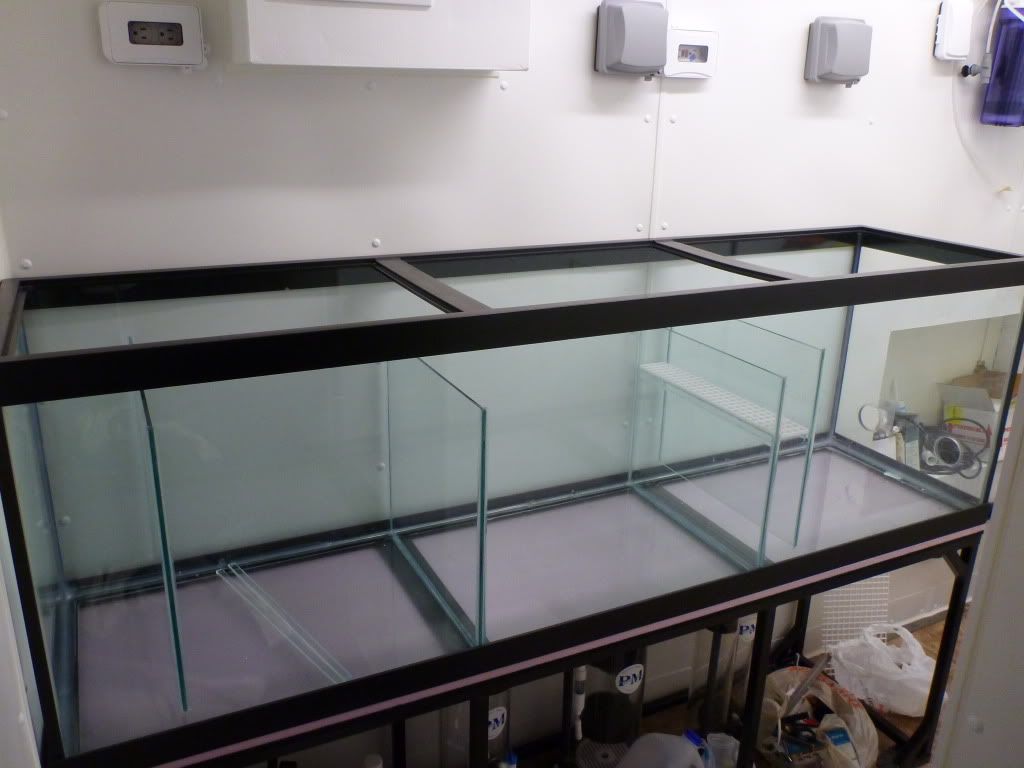
Time to go to work on the sump/fuge. The sump tank was lightly used so I had a bit of clean up to do. The original owner already had baffles installed but I did not care for the placement as they were not aligned with the cross bracing of the tank making very difficult to get larger equipment to fit such as an internal skimmer, open top fuge/etc.

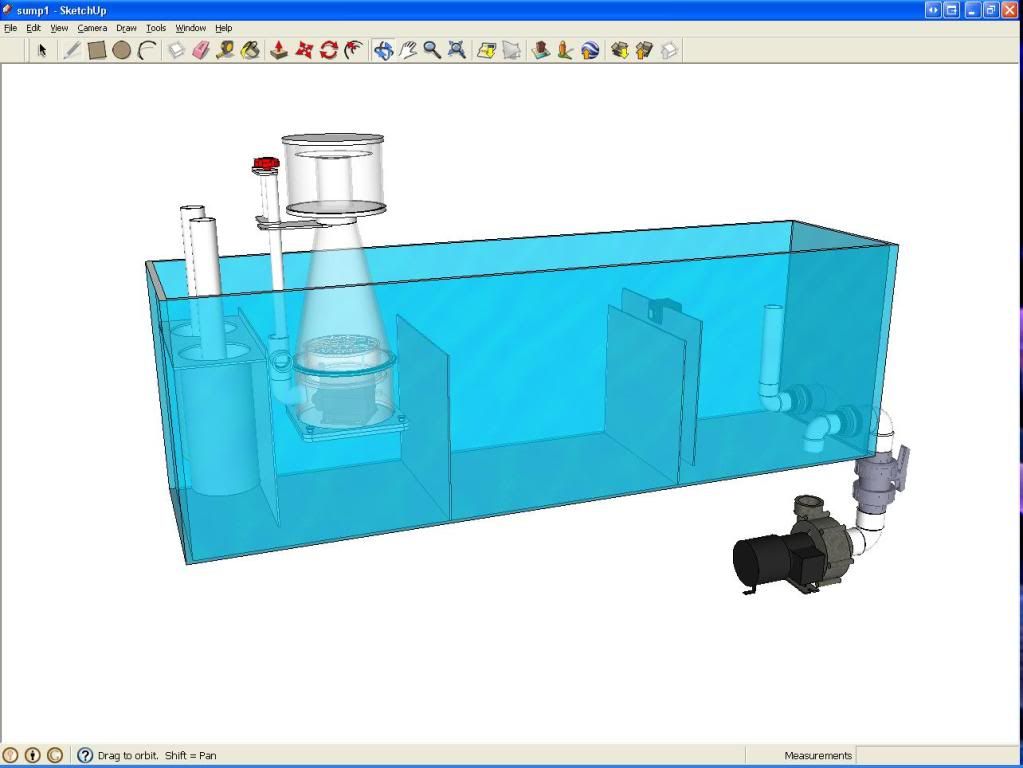
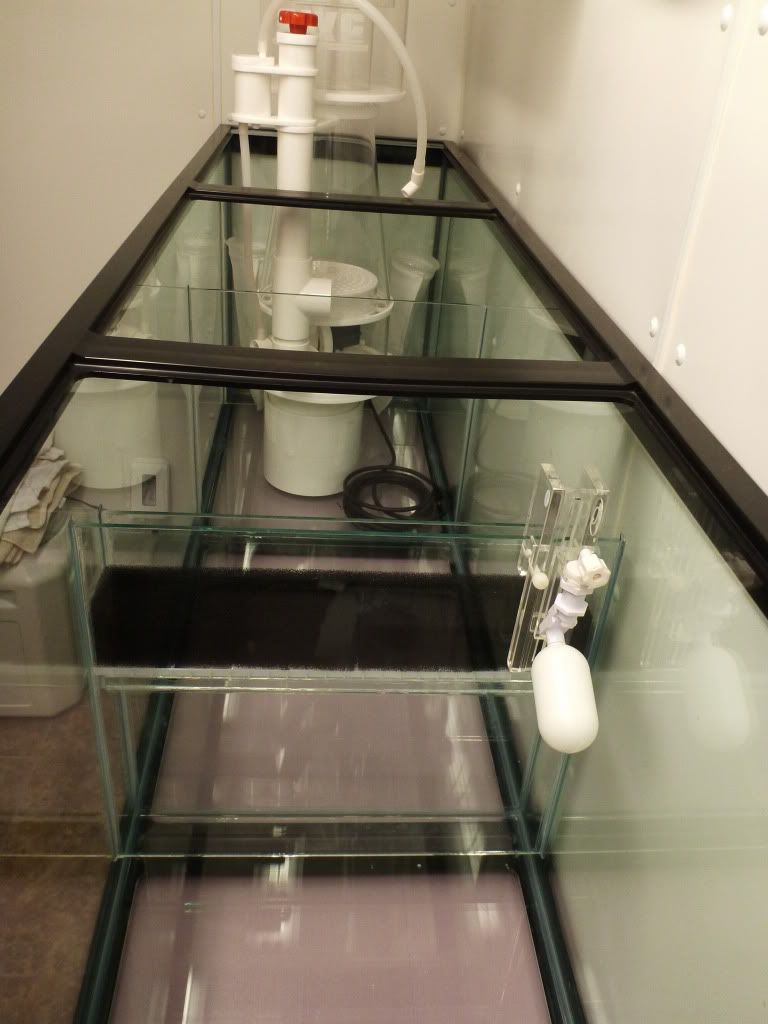
So I tore out all the baffles and scraped down the tank with nice sharp razors, rubbing alcohol and highly concentrated vinegar. The is the planning I had for the tank and how it turned out.


I had a local glass company cut me some ¼” pieces and went to work installing them. I had allot of conflict with how I wanted to lay out my sump and without prior experience I went with a very common simple design that seemed to work well for the dimensions of the tank and the space I had for it. I hope it will be successful. I put a spot in the middle for either a fuge or small frag tank. I wasn’t sure which way I will ultimately go with this but tried as best I could to lay it out so I had options. At this point I'll probably use the middle chamber for a second skimmer. I like to feed heavy and skim heavy.

The process of installing the new baffles. I kept them high as possible because I wanted maximum water volume but also left enough room when the returns are off as well as installed an extra safety feature which I will show later on in this build. I taped up my silicone seams with masking tape so that I had nice clean sharp edges at the joints and no sloppy booger welds. :)


Walter White

Reef Shark
M.A.S.C Club Member
#9
So while all of this was going on I was also planning my DT. I shopped around allot and based on seeing a good friend’s very large AGE tank I really wanted to go that route. Unfortunately it didn’t sound like AGE was very interested in a tank as small as mine and said it could be a year or more before completion. Not to mention the lack of returned calls and attention was mildly annoying. However I do see it from their point of view. My little build not really worth their time. Their tanks are mind blowing though!

Next step was to look at local builders. The problem there was apparently only one guy working in glass and I did not want acrylic. I spoke with the local glass guy and received some mind boggling estimate of $3800-$4000! Also I didn’t get a warm a fuzzy feeling from him. A little pricey for what I wanted. I then went to Glass Cages which had made my prior tank. The build construction seemed ok but was very sloppy like someone was getting a tad over emotional with the silicone application it was everywhere! Also there were lots of big air pockets in the jointed ends which worried me. Never the less I called CG for a quote and did not like the way I was treated. I wanted an external coast to coast over flow set up for the “BeAnAnmial” method and was basically told “That’s dumb why would you want to do that?” Mind you this comment came from a lady answering the phone that really couldn’t give me a good explanation of why this was a bad idea. I will say in their favor that they were prompt in getting back to me and the price quoted was very good!

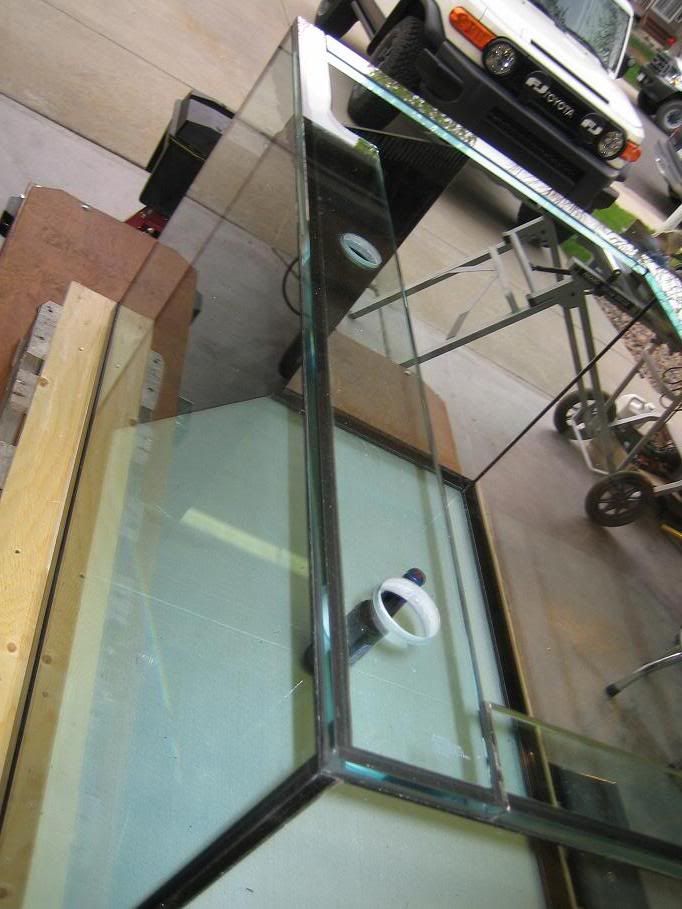
Further research stumbled me across Miracles in Glass. I had never heard of them but several other local members and folks on the national forums had boasted some very positive feedback. So I called up Derrick and was blown away by how helpful they were and how they helped guide me to a design that would best fit my requirements. The shipping was pretty steep at nearly $700 but even so the price still came in at nearly $1300 less than the local guy quoted me. I pulled the trigger and was glad I did. The tank was delivered one week earlier than I was initially quoted and was built far better than I could have hoped.

There was only one issue. I had requested the tank be drilled with “heavy duty” bulkheads. My error as I should have stated specifically sch 80. The tank was drilled unfortunately for standard ABS bulk heads. My fault for not being more clear and not really the end of the world I suppose.

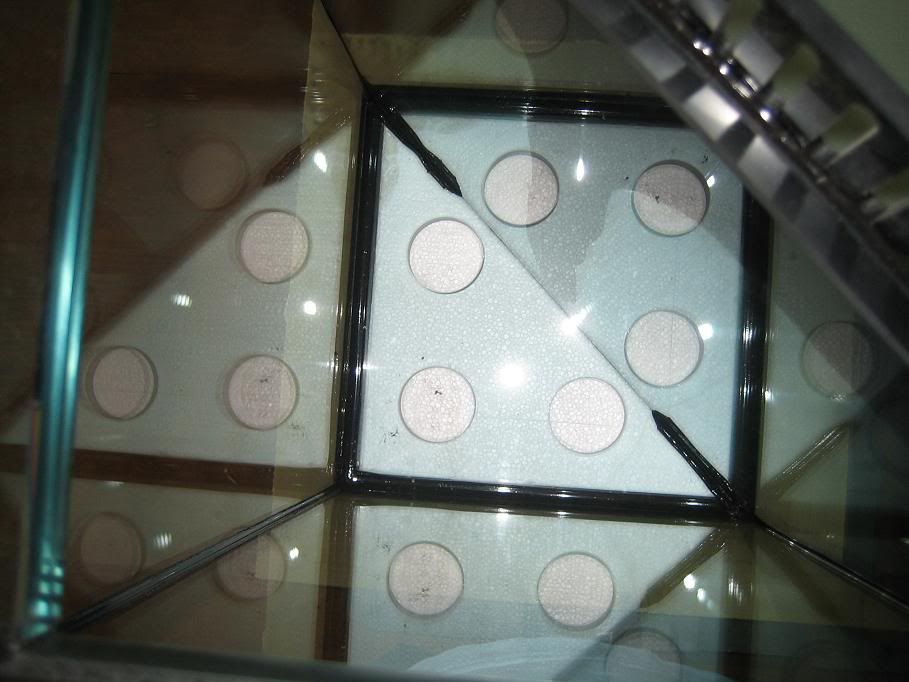
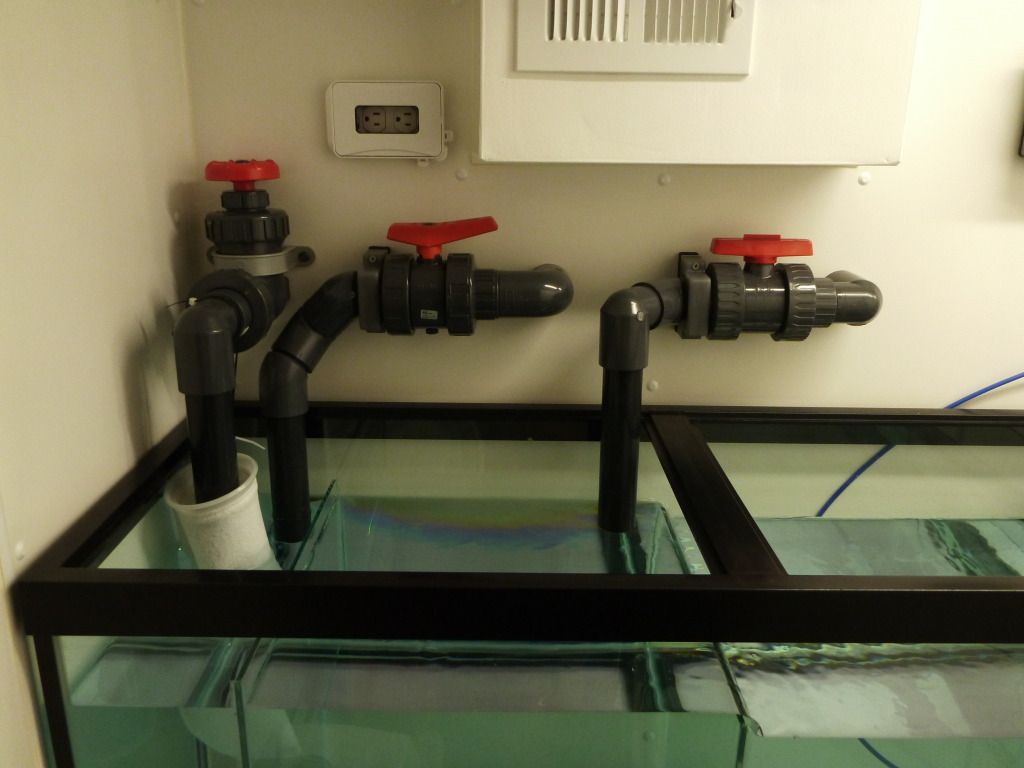
Because of my desire to get the tank way up against the back wall I decided on a corner over flow drilled through the bottom instead of an external overflow box. I went round and round on this layout and hope it works out. I’m still concerned with the possibility of flow issues. I guess I’ll just have to wait and see. The two returns were placed along the back in the euro bracing.

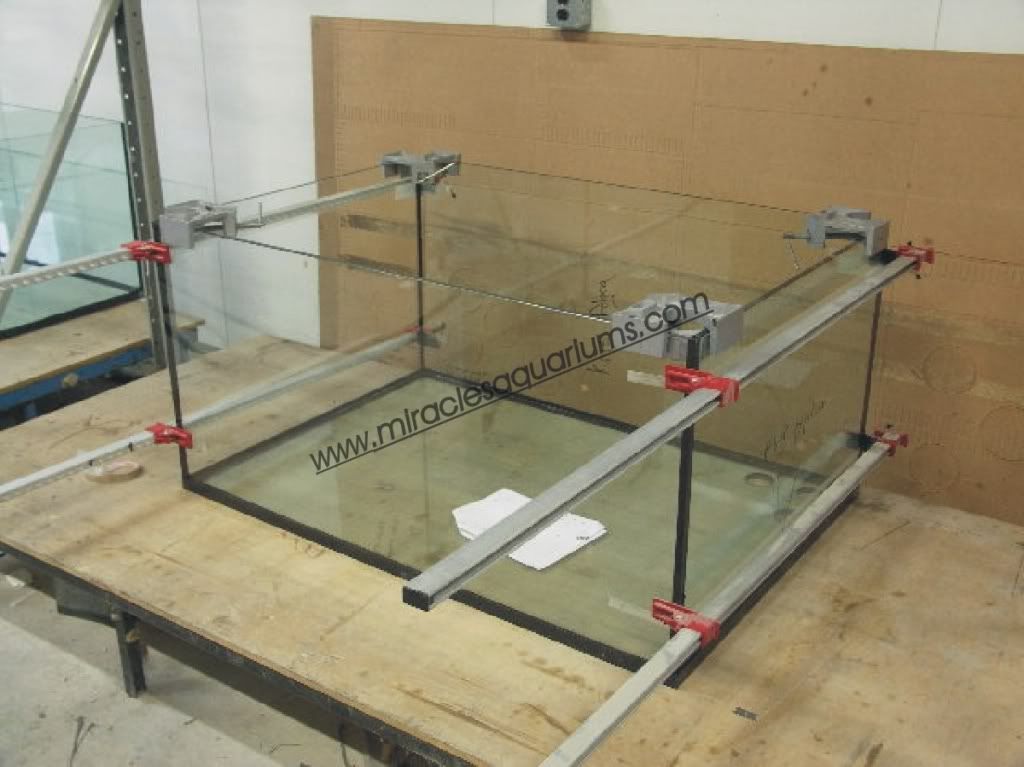
Under construction:


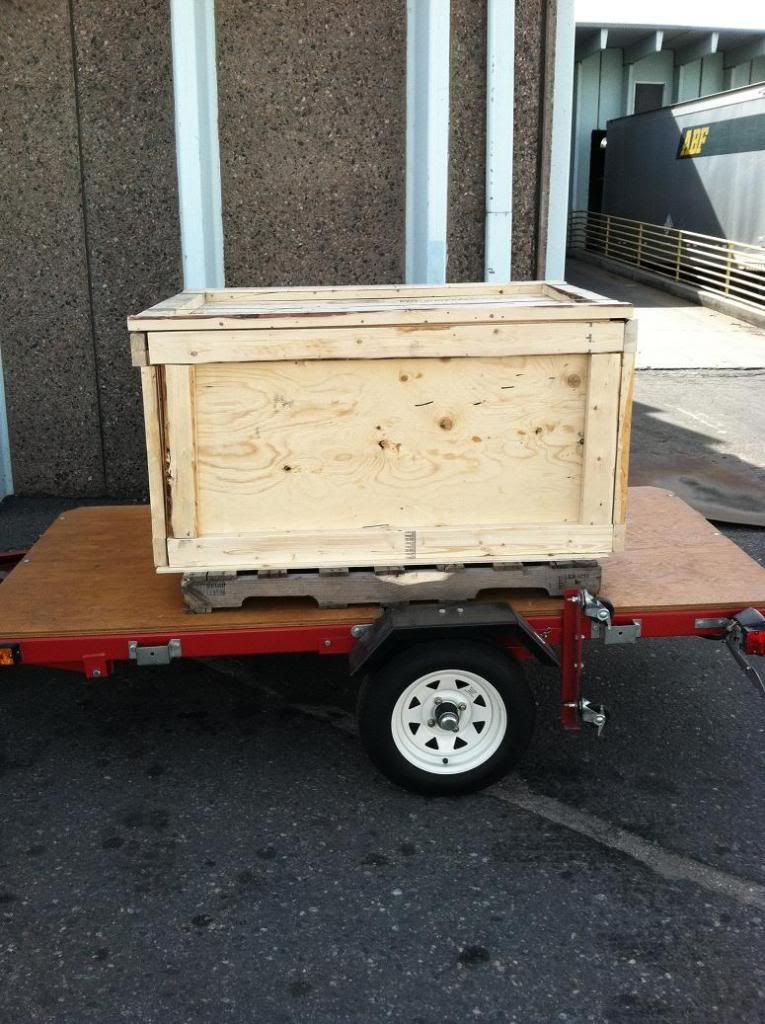
Picking up the tank at the loading doc:


The Tank, beer for scale:


Walter White

Reef Shark
M.A.S.C Club Member
#10
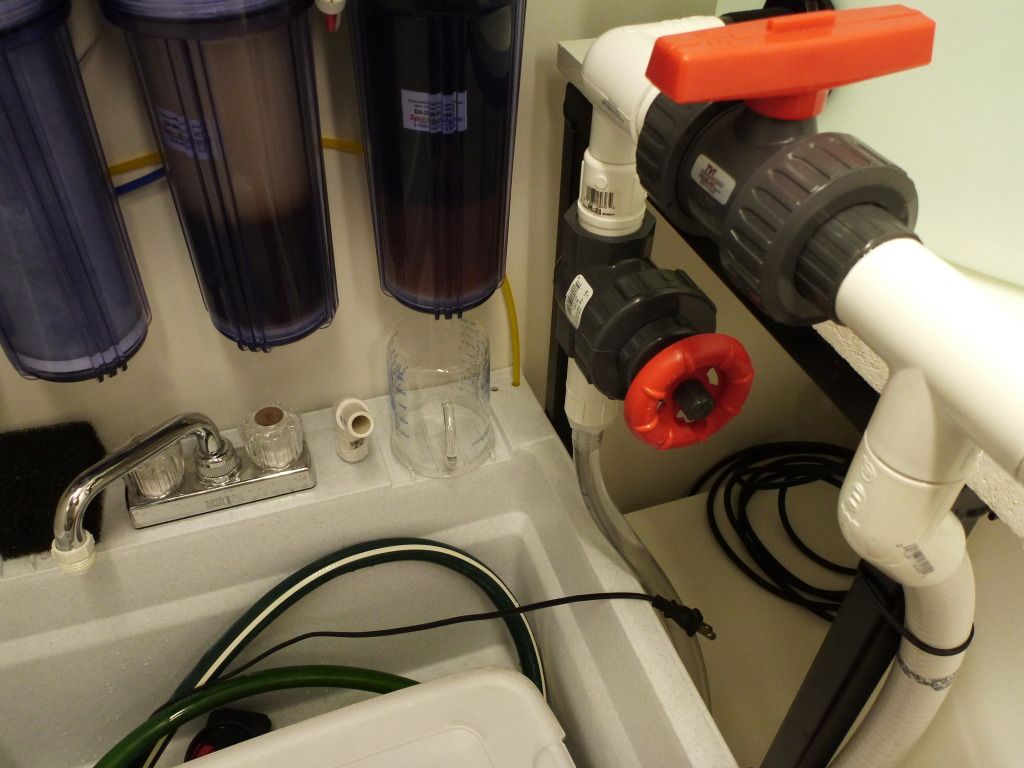
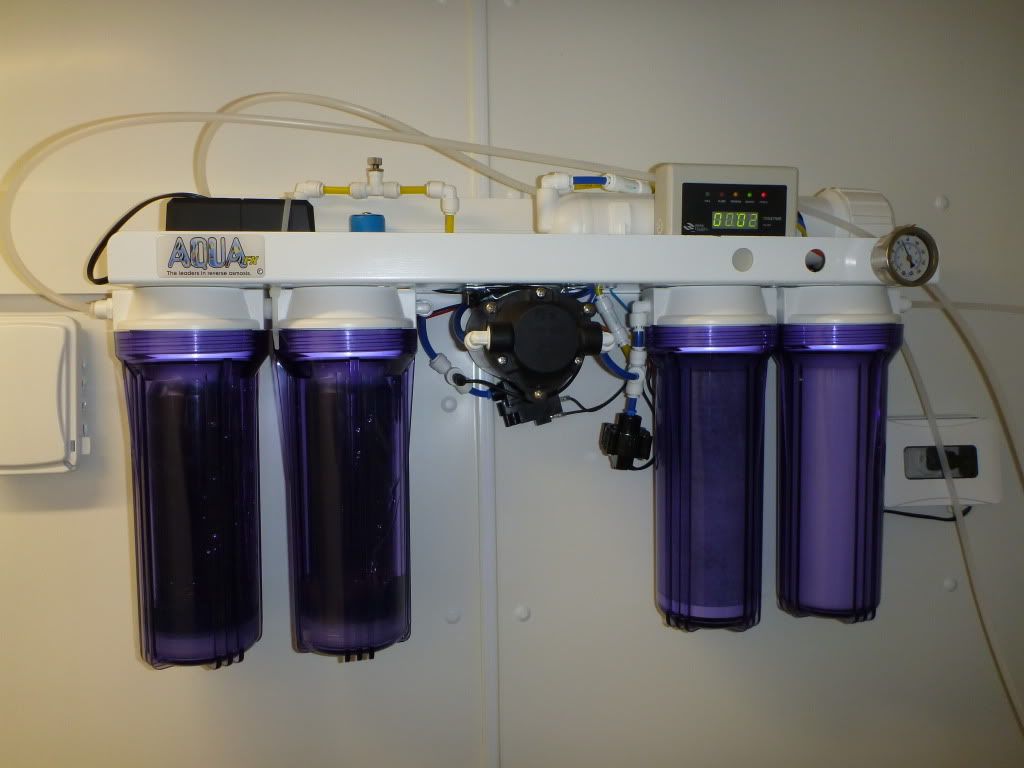
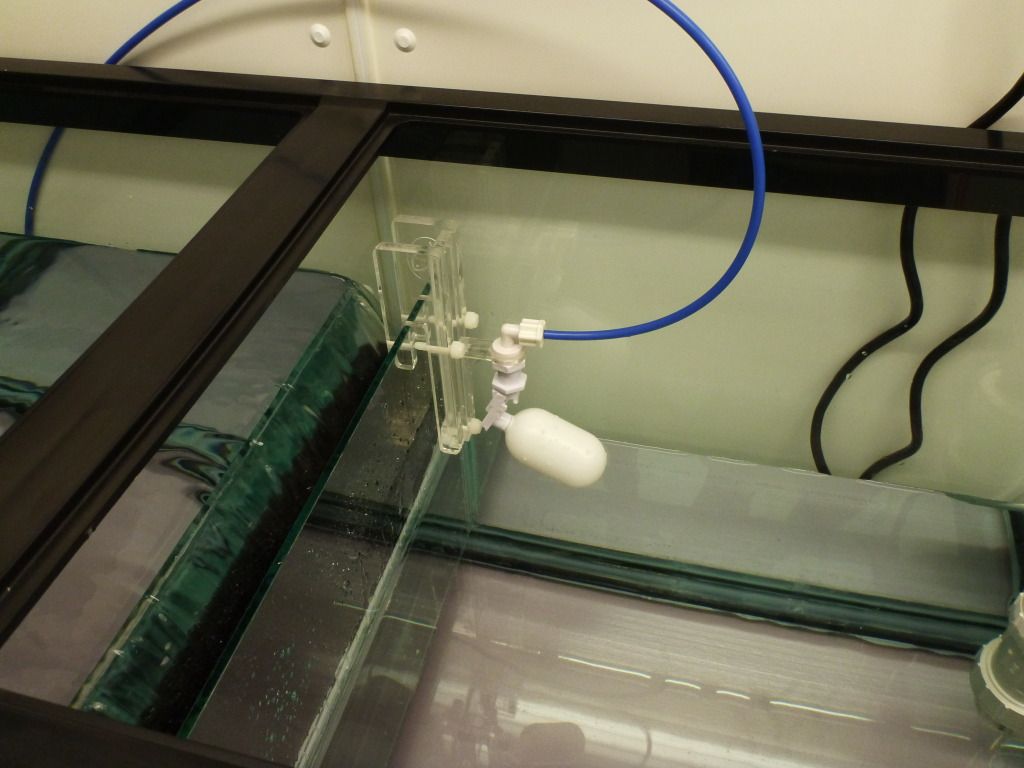
I got my little sink area pretty well set up with a shelf and paper towel holder and mixing station plumbed in. I also upgrade the RO/DI unit above the sink to a little beefier Spectrapure with more stages. This RO unit will be used primarily just for filling the RO tank up top. I also purchased a second 6 stage RO/DI unit with booster pump and auto flush from AquaFx to work with my ATO. I installed a few extra valves so that if I ever needed to I could redirect the output to the RO container and get about 200gpd.

I wanted to be able to have a little hose I could pull out from the sink with a gate valve so I can easily fill separate jugs with RO and also use it to rince foods, equipment, etc.


SynDen

Administrator
Staff member
M.A.S.C Club Member
M.A.S.C. B.O.D.
M.A.S.C President
M.A.S.C Webmaster
#11
holy nice setup! cant wait to see more
 

Walter White

Reef Shark
M.A.S.C Club Member
#12
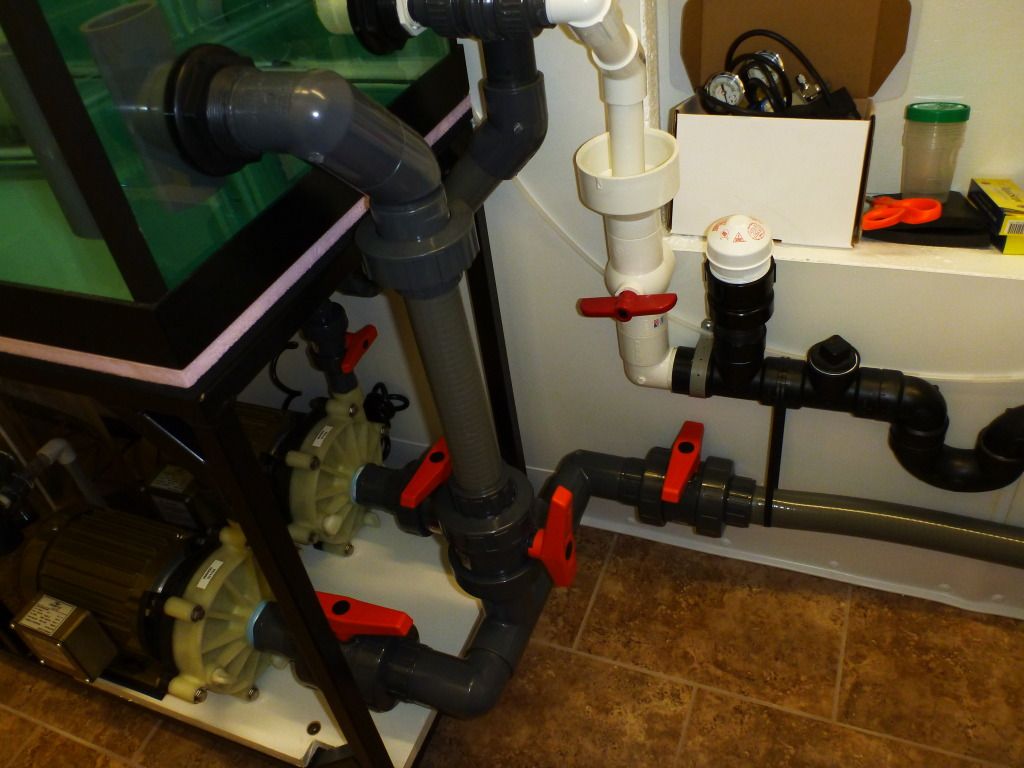
Time to start plumbing the return pumpsand drilling the wall to run the plumbing to where the Display will be.

I got to be honest I really lost allot of sleep over this. I was not sure how I wanted to plumb this and was very afraid I might make some serious mistakes. I thought it out allot, thought some more, asked some other people and got even more confused and thought about it yet again. Finally I just decided to go with my gut and get started. LOL :)

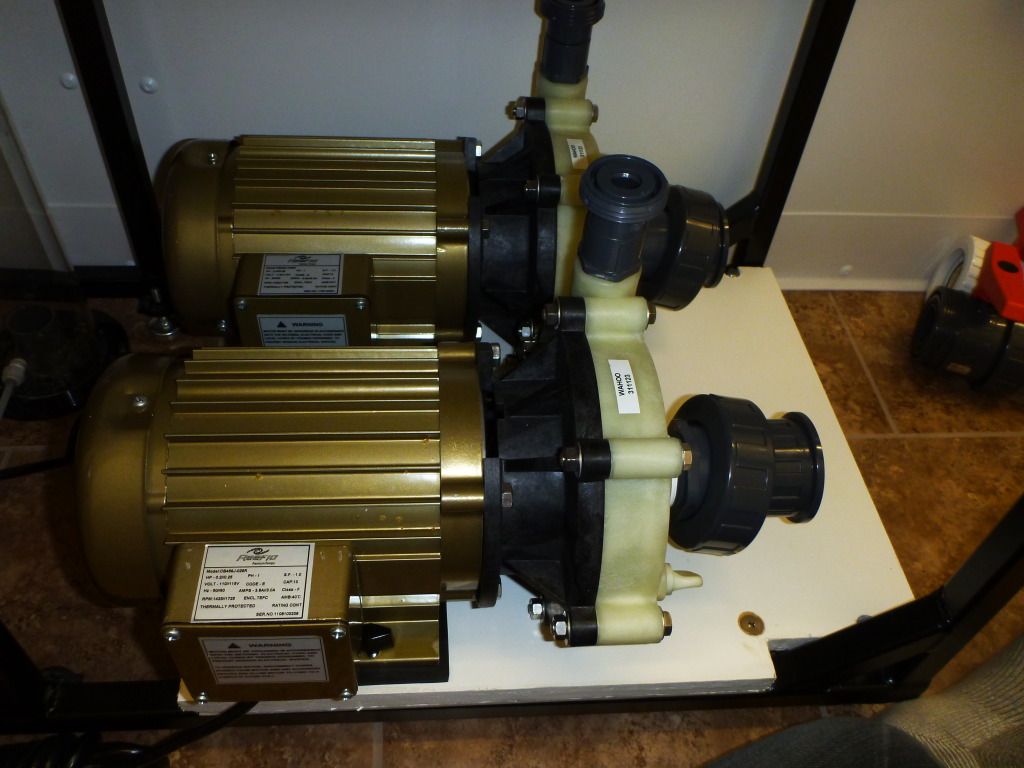
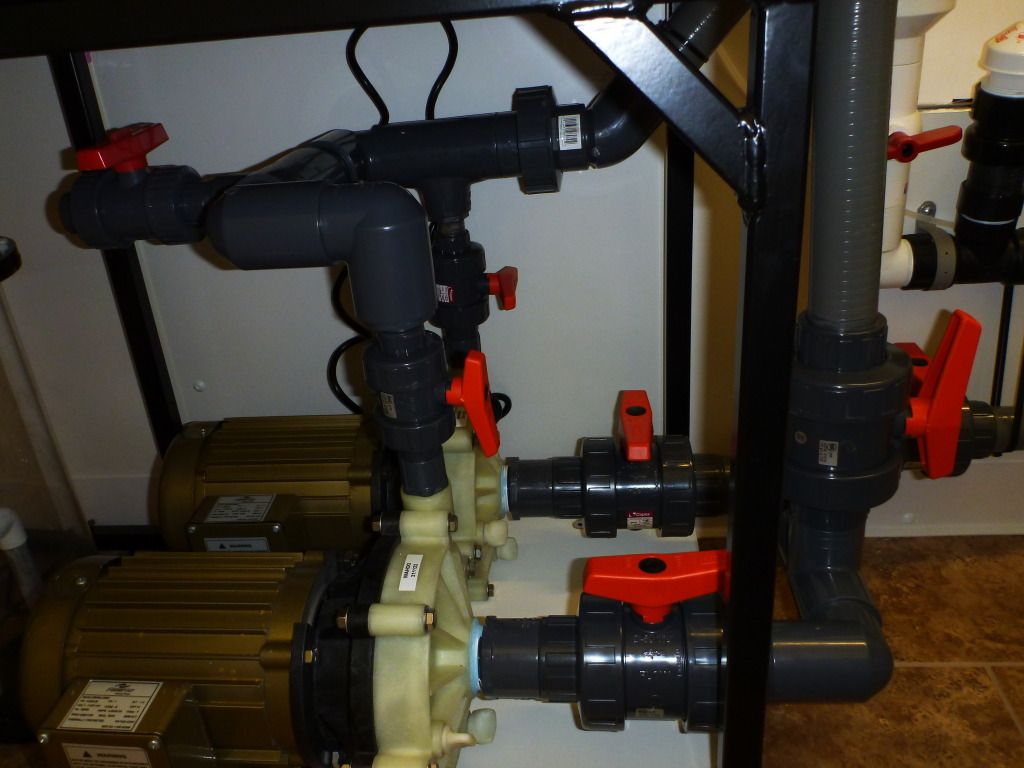
Due to the significant head pressure I was going to need to overcome I decided on two Reeflo Wahoo pumps rated for a max of 1500gph and max head of 33’. These are high pressure low flow high efficiency pumps. I was not at all concerned about the lower flow as I plan I running at least one maybe two MP40s an MP60 and two sea swirls on the returns.

Based on the calculated 16’ of head the pumps should still be able to push ~1100gph through the sump. I only plan on running one return pump at a time with a second one plumbed and ready to go for backup. I wanted to simplify water changes as much as possible so I also plumbed in the salt vat to a ball valve so I could push slightly cooler new water up into the display there by displacing the water in the sump and pushing old sump water into an over flow that goes directly to sewage. This obviously won’t be a 100% efficient way of changing the water but considering the distance the new water would have to travel back to the sump overflow the loss of new salt mix should be less than 5-10%.

I have already tested this method several times it works pretty well and makes water changes as simple at turning three valves and nothing more. If it turns out that for whatever reason changing the water with this method is problematic I have built in some alternative measures.

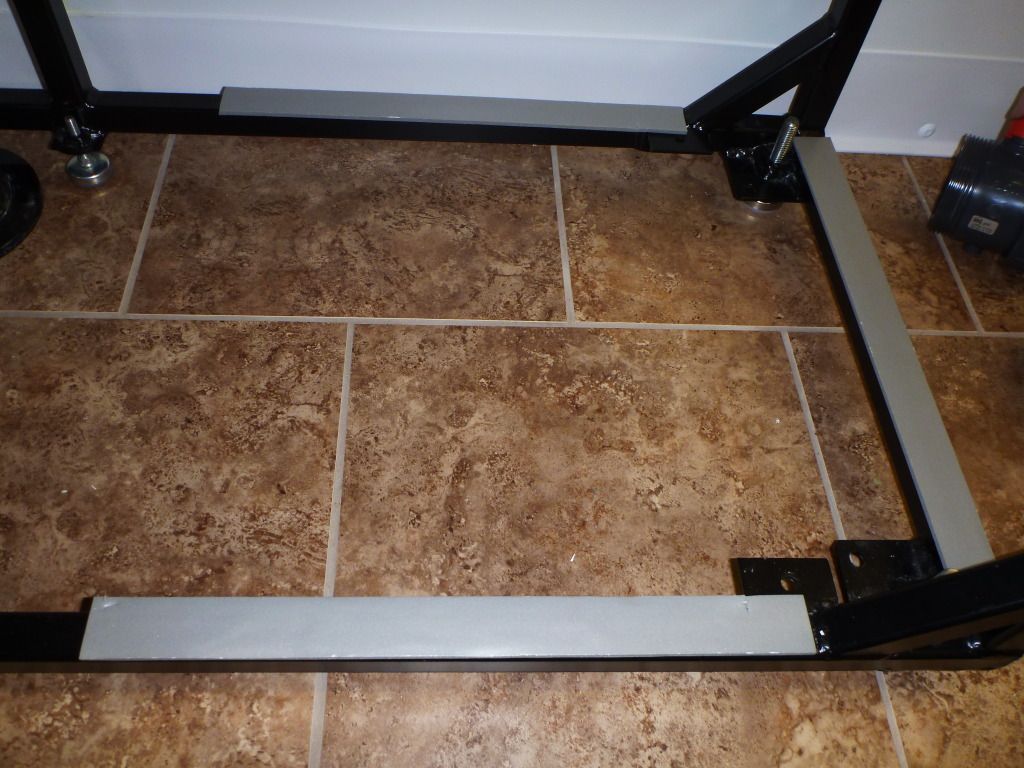
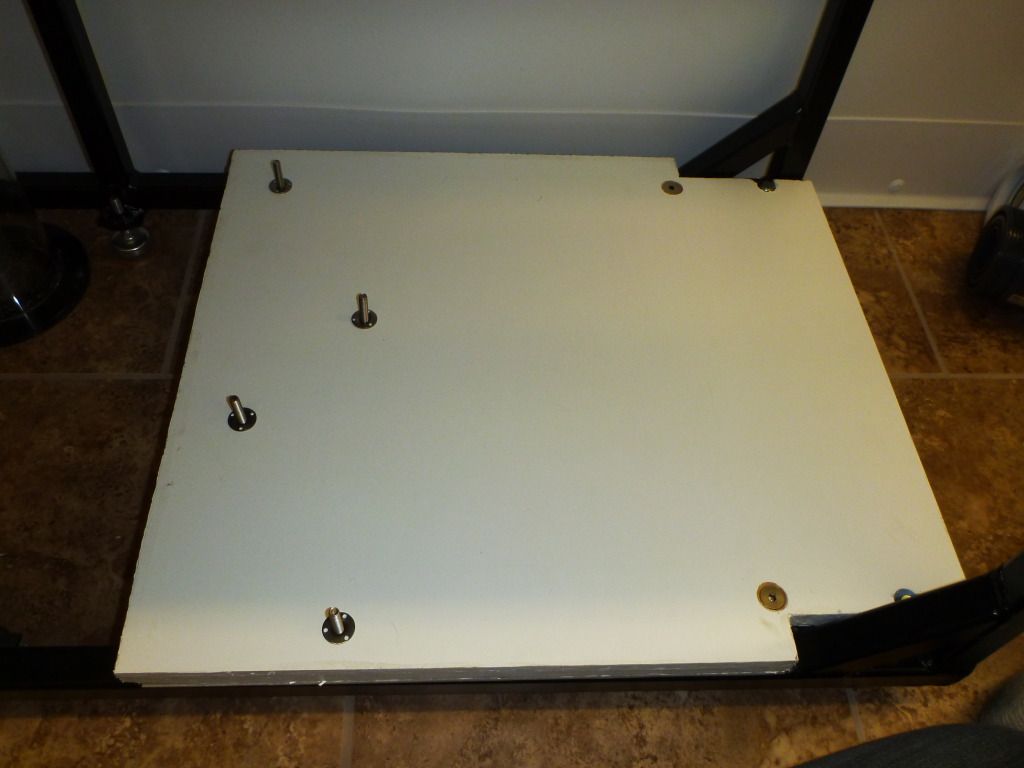
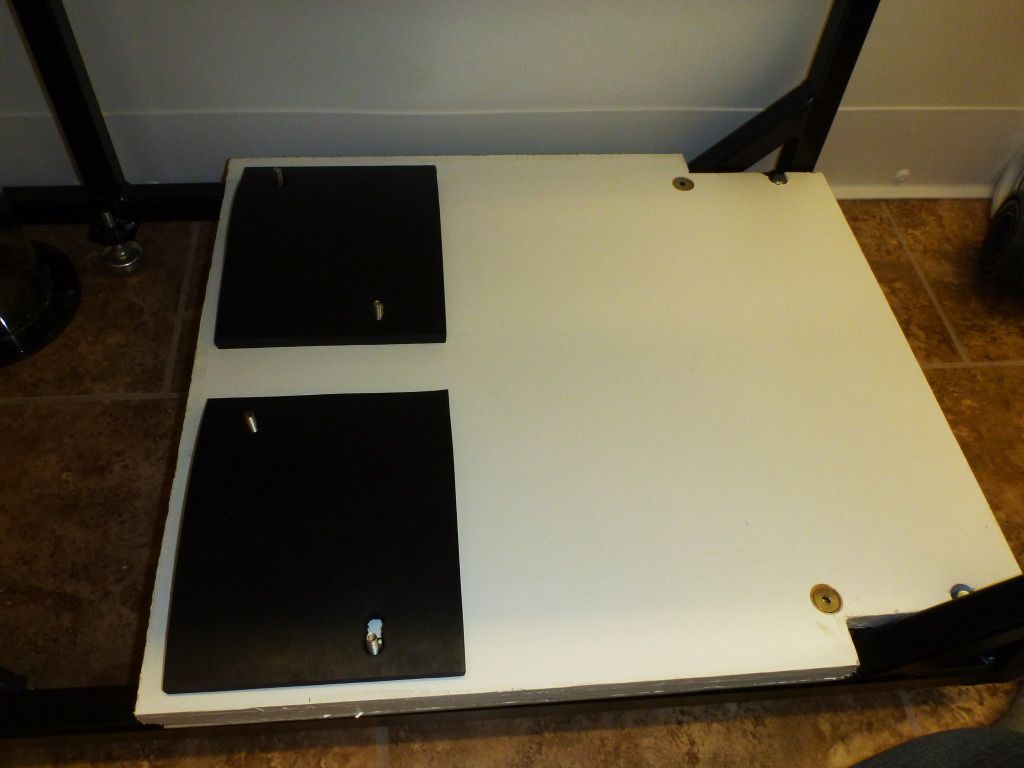
I wanted the pumps to come in and out very easily so I devised a mounting system that would allow me to quickly remove the pump not in use for maintenance or repair. In retrospect I think I really over complicated things and would have been better off just plumbing a single pump. Oh well $500+ in sch80 true union ball valves and Gate valves is not going to come out now unless I am forced to change something.


Never mind the filter sock this is not how the filter socks will be used when its running. This was just to catch some of the gunk left from the pump sealant.
 

Walter White

Reef Shark
M.A.S.C Club Member
#13
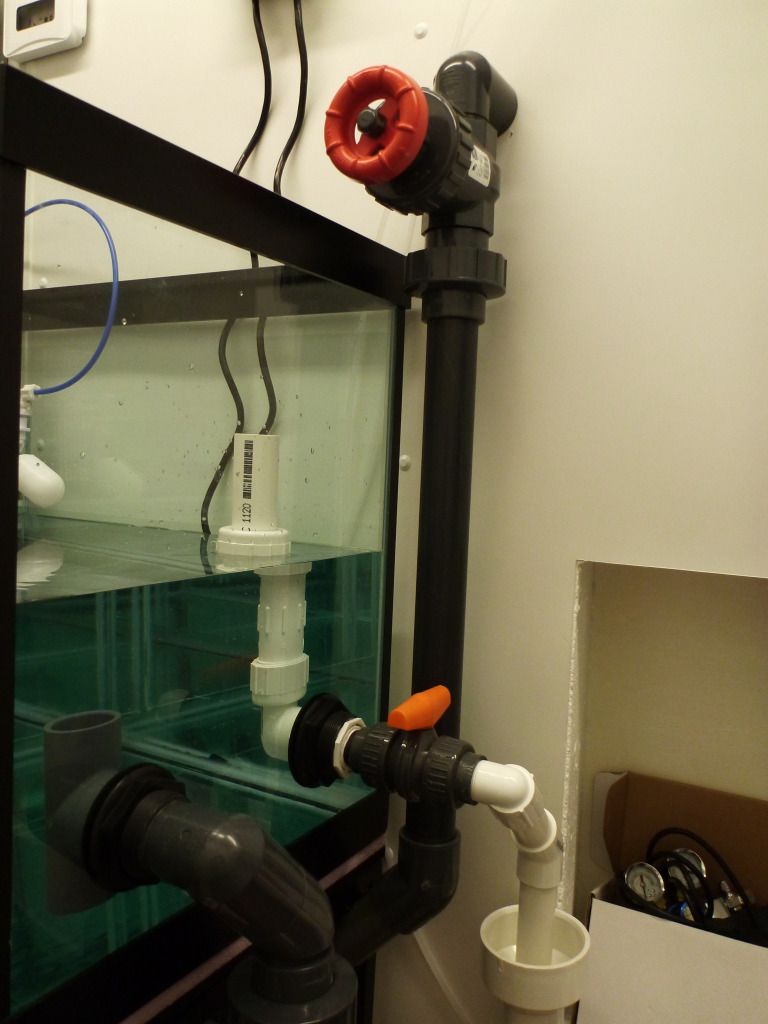
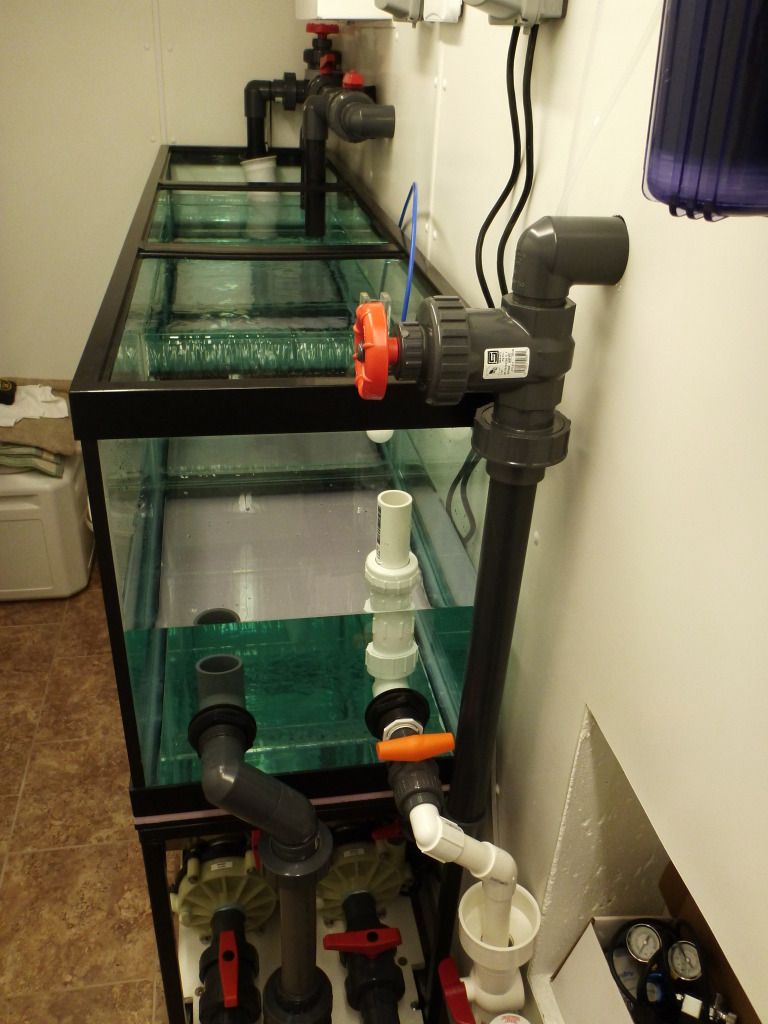
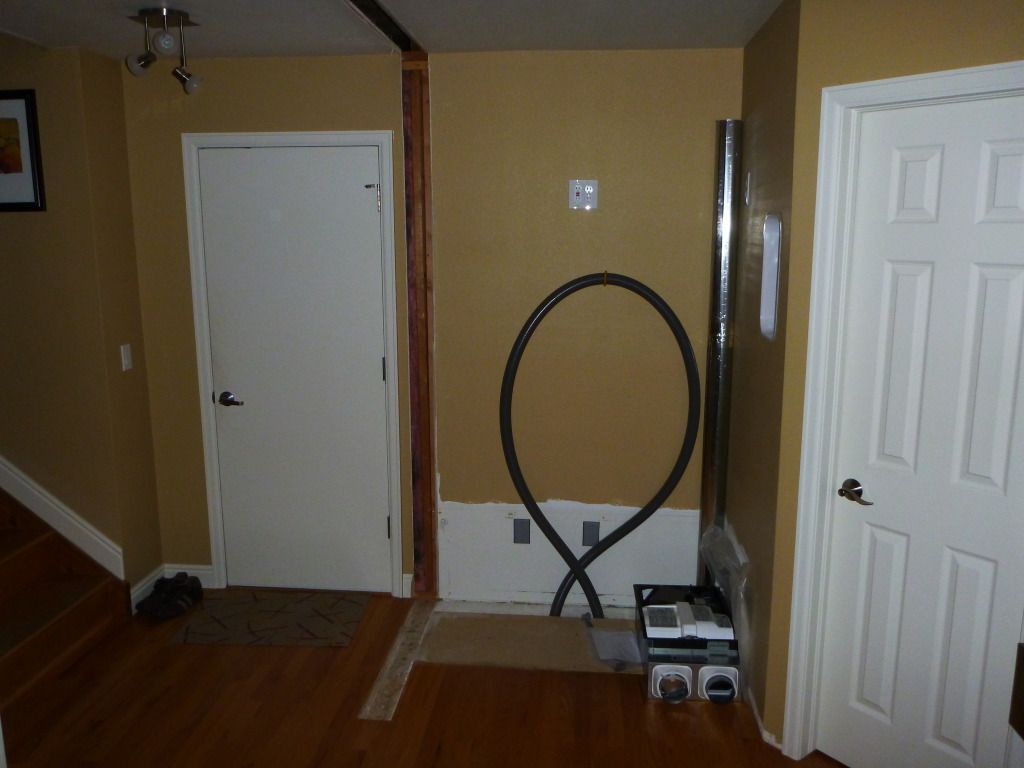
The wall adjacent to where the display tank will sit has been ripped out. The loop that is seen in the pictures below is basically just a loop back from the sump so I could test my return pump with a fairly accurate representation of head loss.


I was really surprised at how powerful these wahoo pumps are. I should have no issues powering my reactors off of these pumps as well so I was please with that. I did have two very slow leaks at the inlet of each pump where they were threaded. I tried three times to reseal the threaded union but each time still had a leak. I finally tracked downs some Spears blue 75 thread sealant which did the trick and no more leaks.


I added this 1.5” gate valve just in case I do ever need to throttle the pumps back a bit. Or if I ever go to higher flow pumps. Someday I will switch these out for some Dolphin pumps. Much better quality in my opinion.


As with the equipment room where the sump is located I was very concerned with humidity issues around the display. Also in the winter time I have found that it’s a little tricky to keep the ph above 7.8 when the house is all closed up so I wanted a solid solution for both humidity control and air exchange. Originally I was going to go all LED so I wasn’t worried about heat that much but now that Ill be going with 2 400MH I'm glad I did this more for heat than anything.

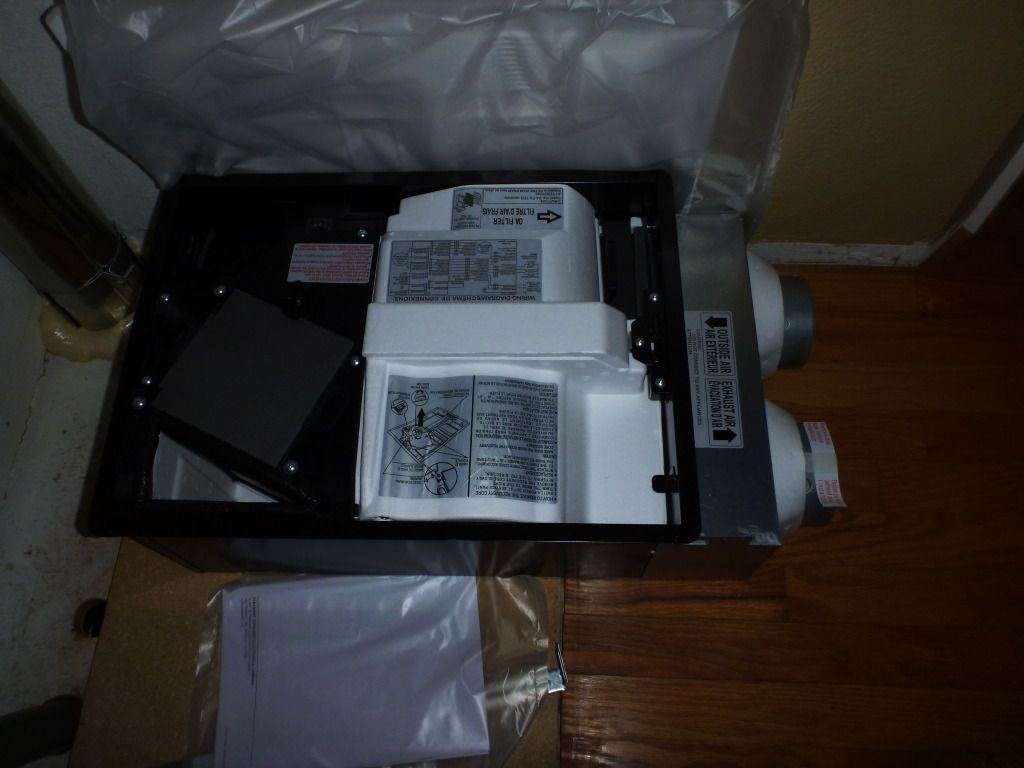
We had installed a really nice air exchange unit in mdrumm's fish room that works great for controlling humidity, temp, and air exchange in the winter months. To make it even better it is dead quite! I knew it would be overkill but I decided to install the same unit along the back wall of where the DT will be. I have already run one 4” duct for the inlet but still need to run a second one for the output as well as frame in a box to mount it.


The unit is made by Panasonic and these are the specs for anyone interested:
http://www.rewci.com/whisper-comfort...Fcyb7QodhS20Xg

it was atthis point I need to decide if I was going to get the hardwood floors refinished. My wife and I want something a little darker to match our home decor. This was the time to have it done as I wasn't crazy about having someone run a floor sander anywhere near my tank. Also the door just to the left of where the tank will go opens in an unfavorable direction toward the tank. I am going to have to order a new door and door jam that opens to the left instead of the right.
 

Walter White

Reef Shark
M.A.S.C Club Member
#14
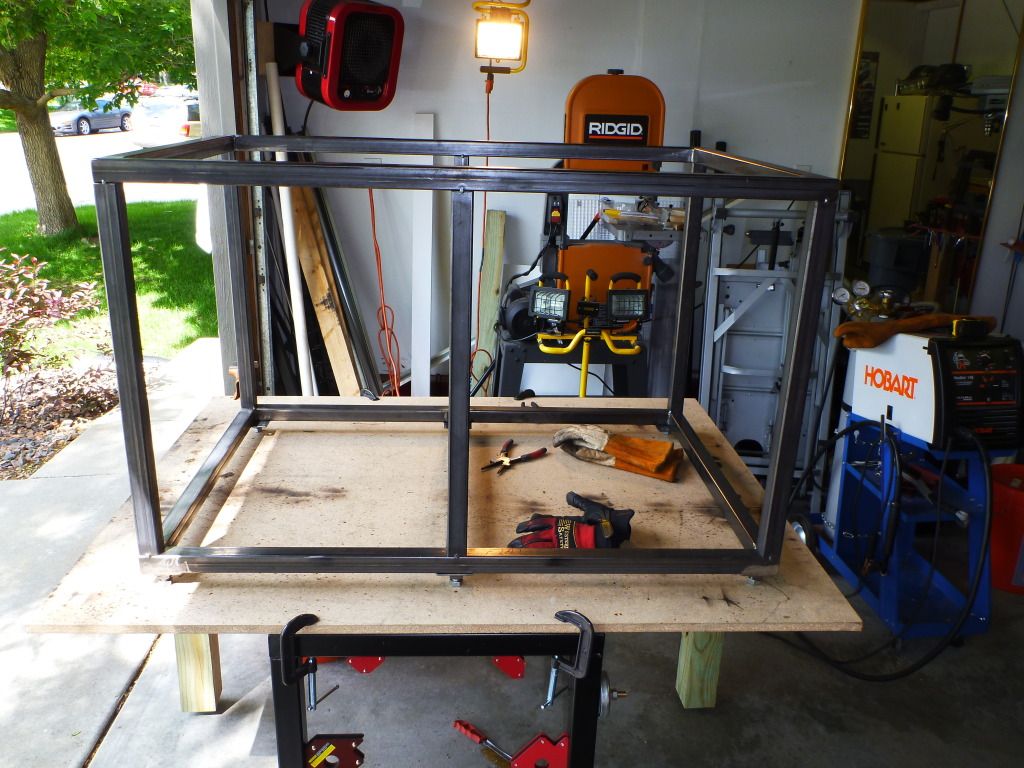
Getting started with the stand.

I’m a pretty tall guy and I didn't like always having to bend down to look at my old tank so I wanted the stand to be high enough that I could comfortably enjoy it while standing but not so tall that others would have difficulty. Plus I didn’t want it to be too tall that it made a big hassle for cleaning.

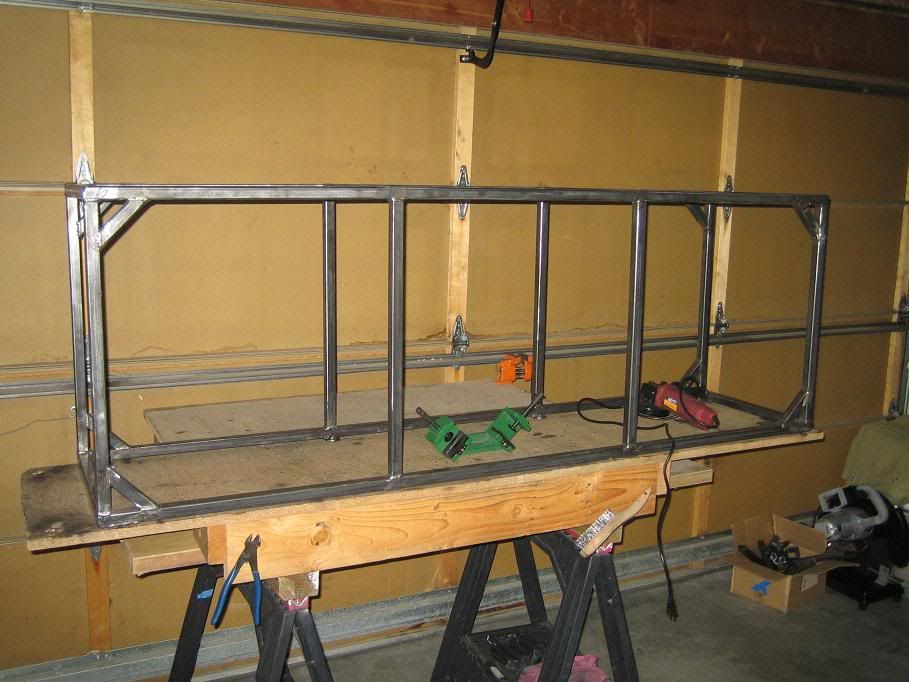
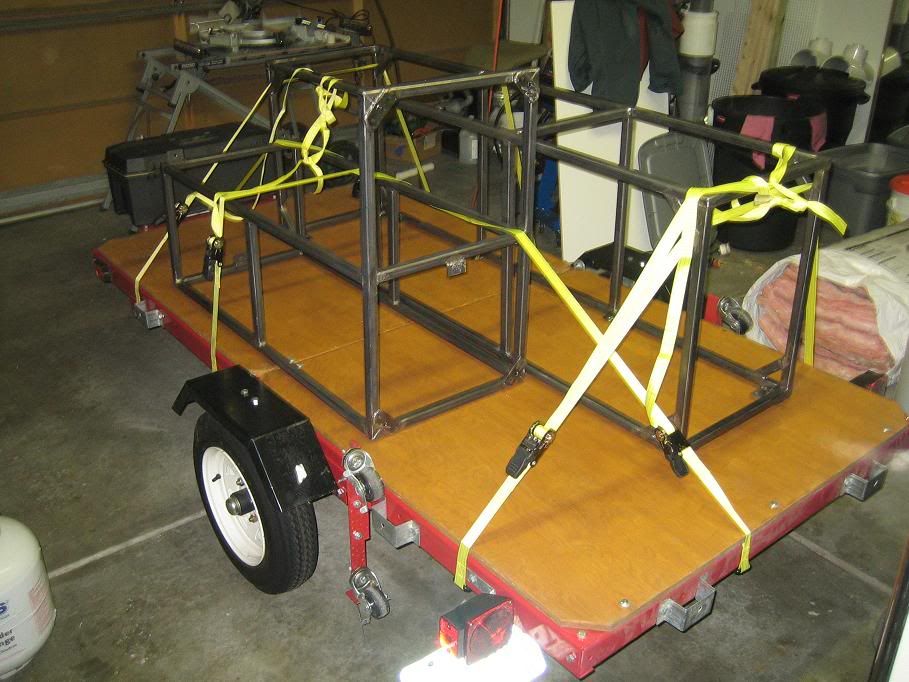
I settled on making the stand an even 40” tall which combined with the length and width of the tank made it impossible to construct one solid steel frame that would fit through the largest door way of our home. The stand was going to have to be built into to pieces that stacked one on top of the other and locked together for stability. The first time I had ever thought of this I for some reason envisioned two stands side by side but quickly realized that would be very difficult to level up perfectly with one another when the time came to put the tank on it and it just didn’t make that much sense.

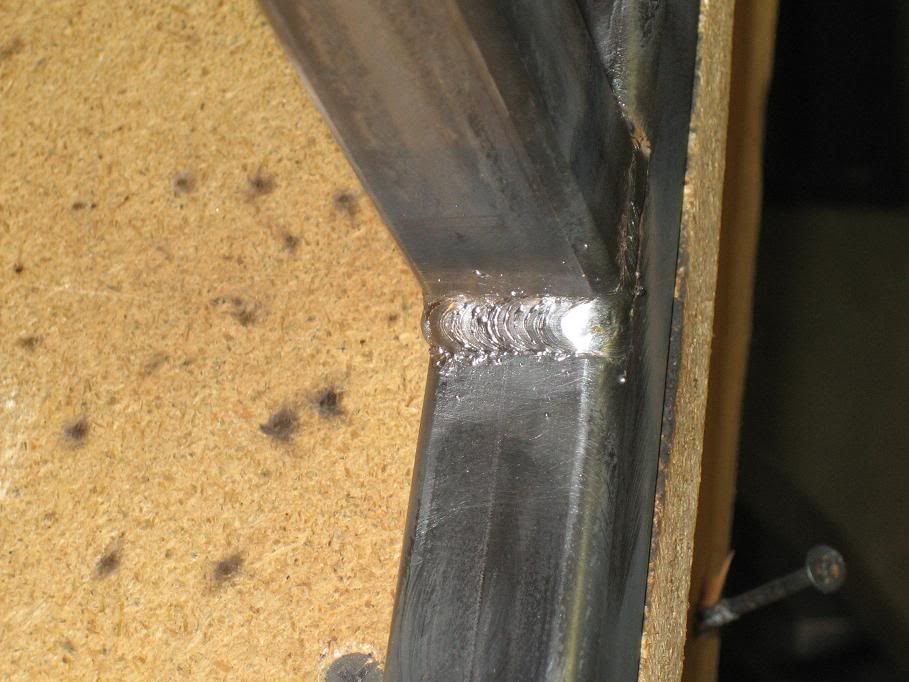
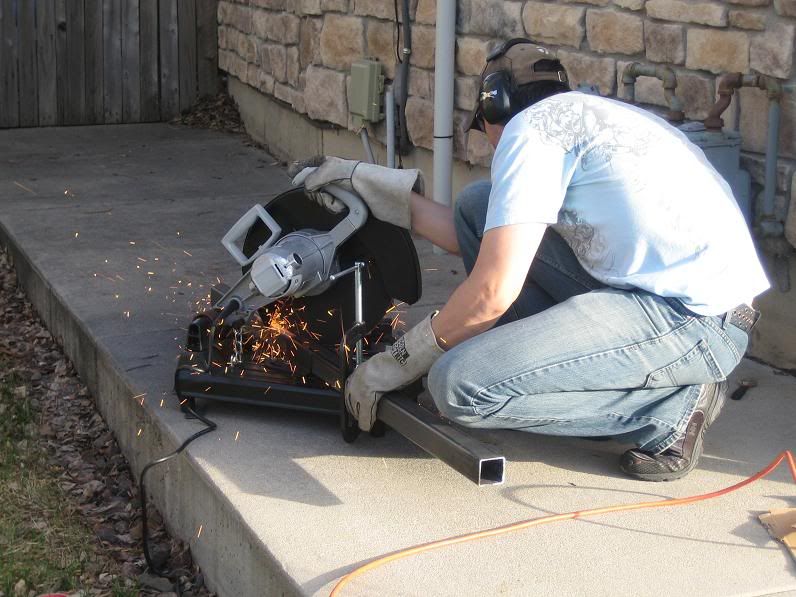
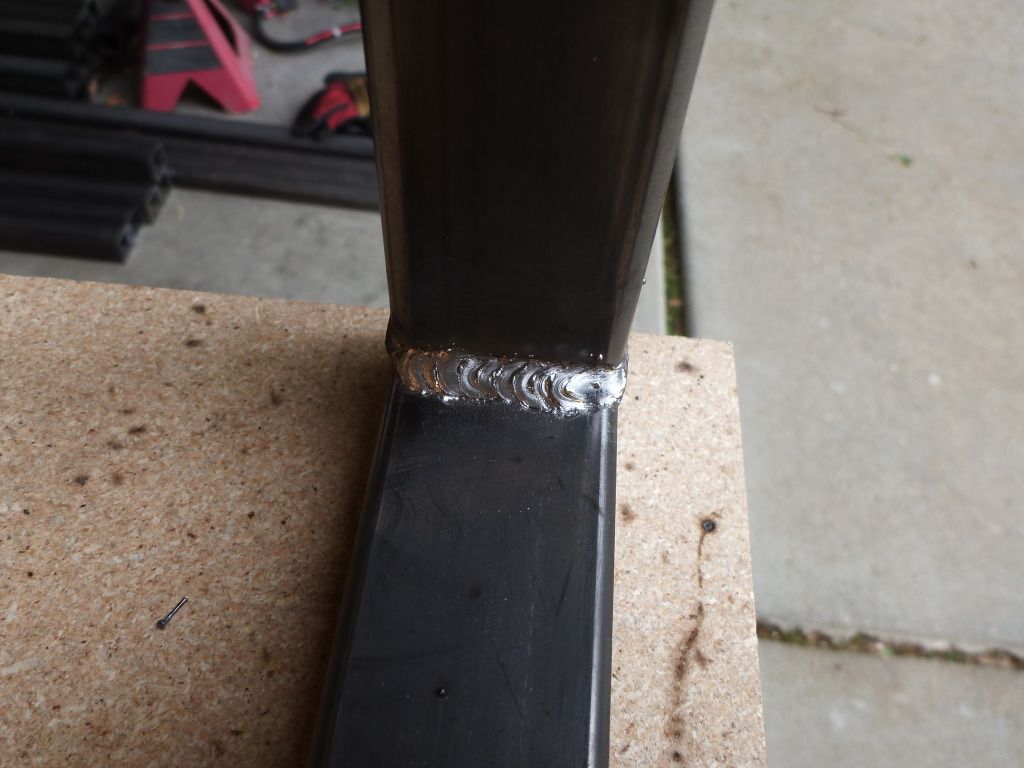
Once I got all the measurements figured out I went through the tedious task of cutting all the pieces to length and beveling the edges to create a channel at each joint for the molten steel to flow into. I purchased a POS cutoff saw from Harbor Freight that got the job done but I had to go pretty slow with each cut otherwise the blade would flex and give me a cut that wasn’t perfectly square.


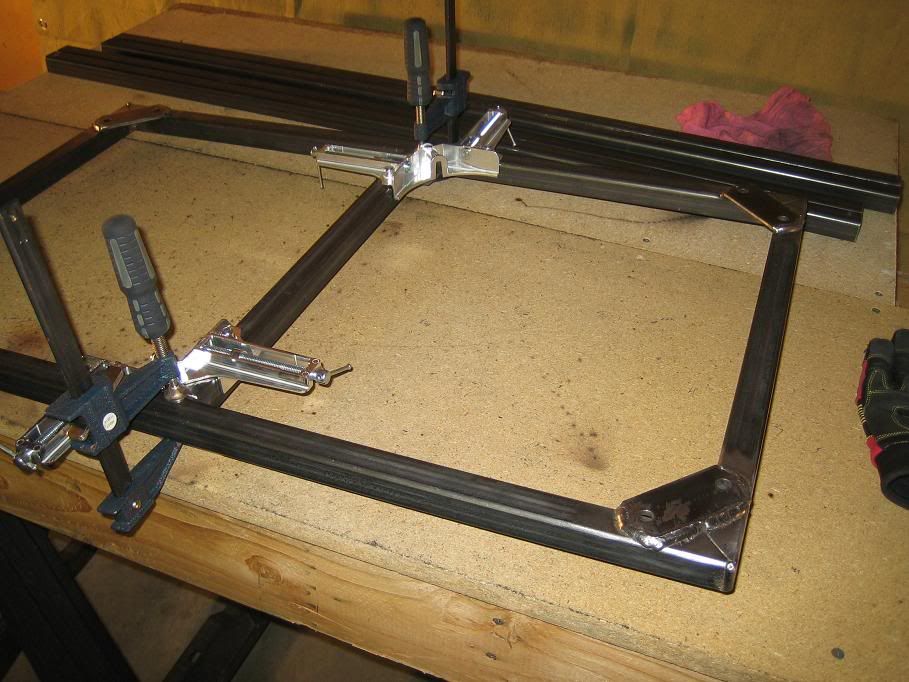
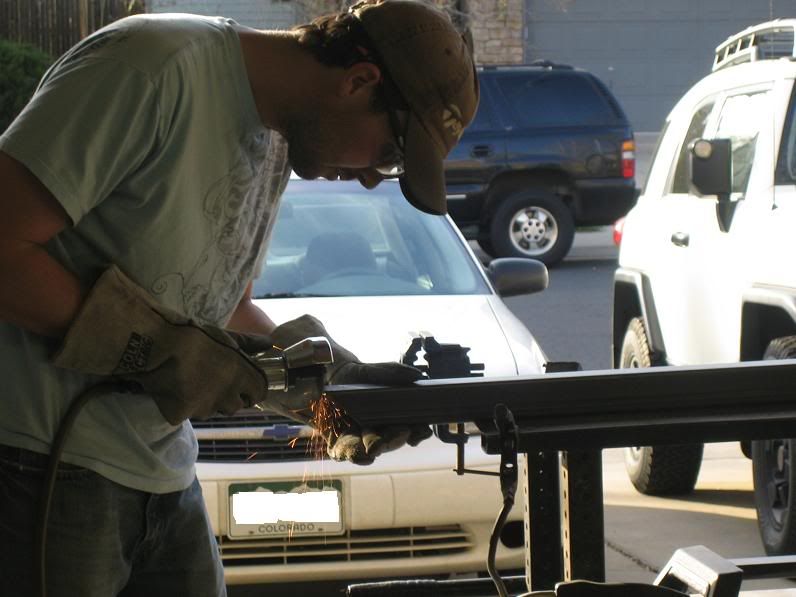
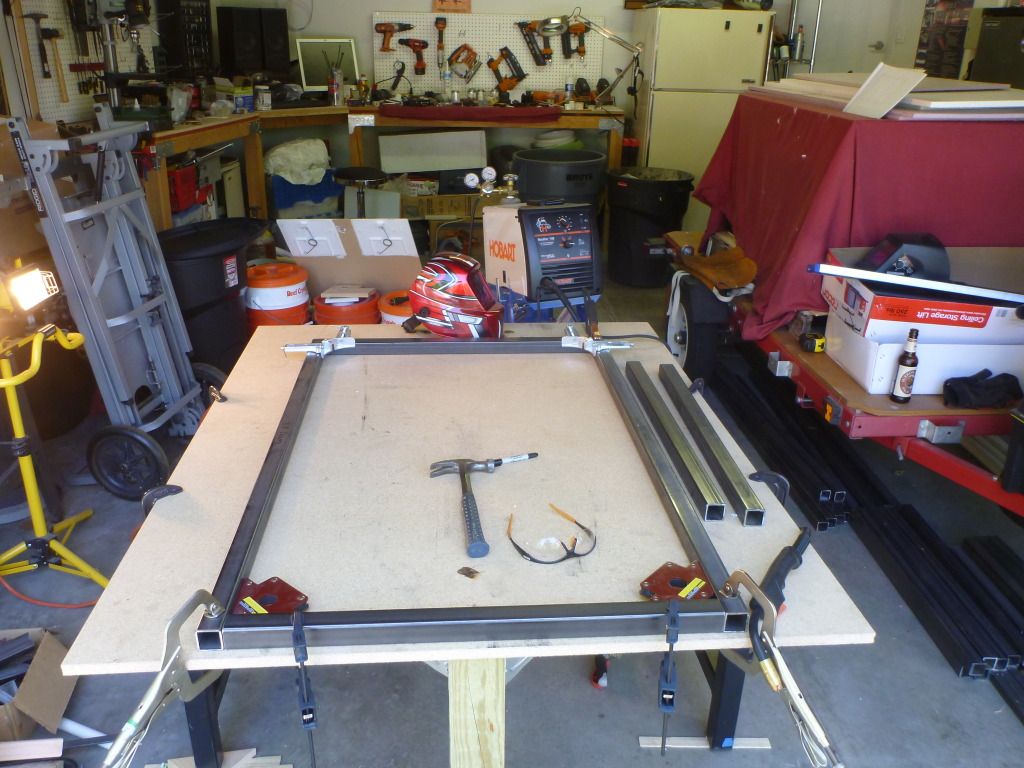
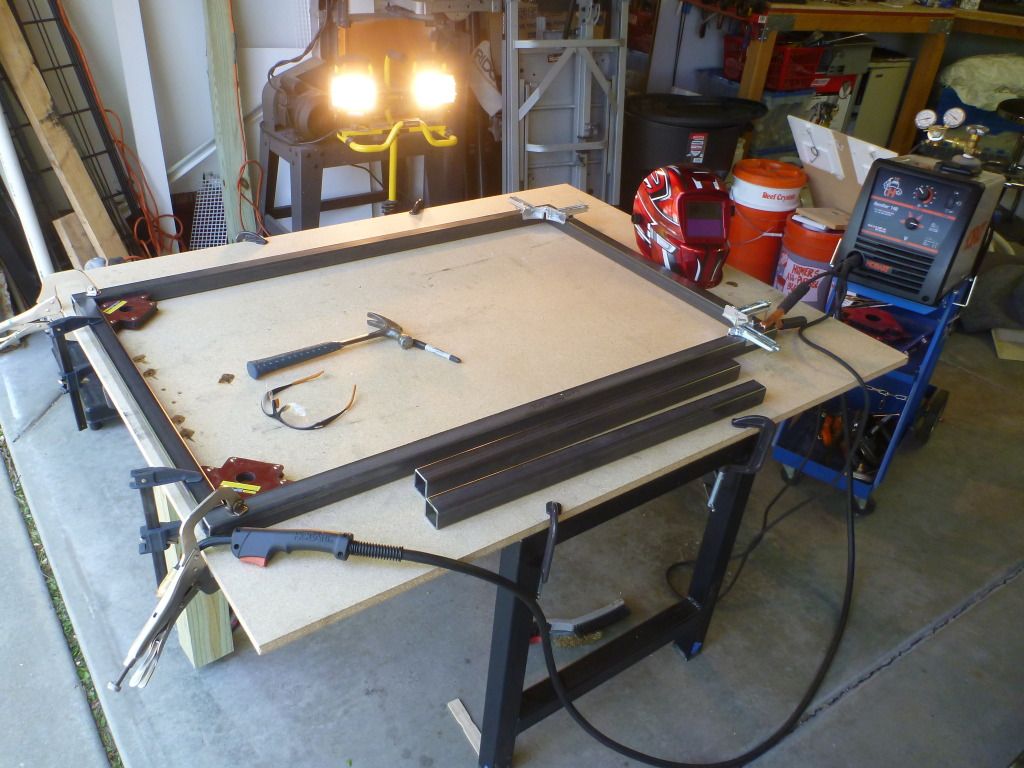
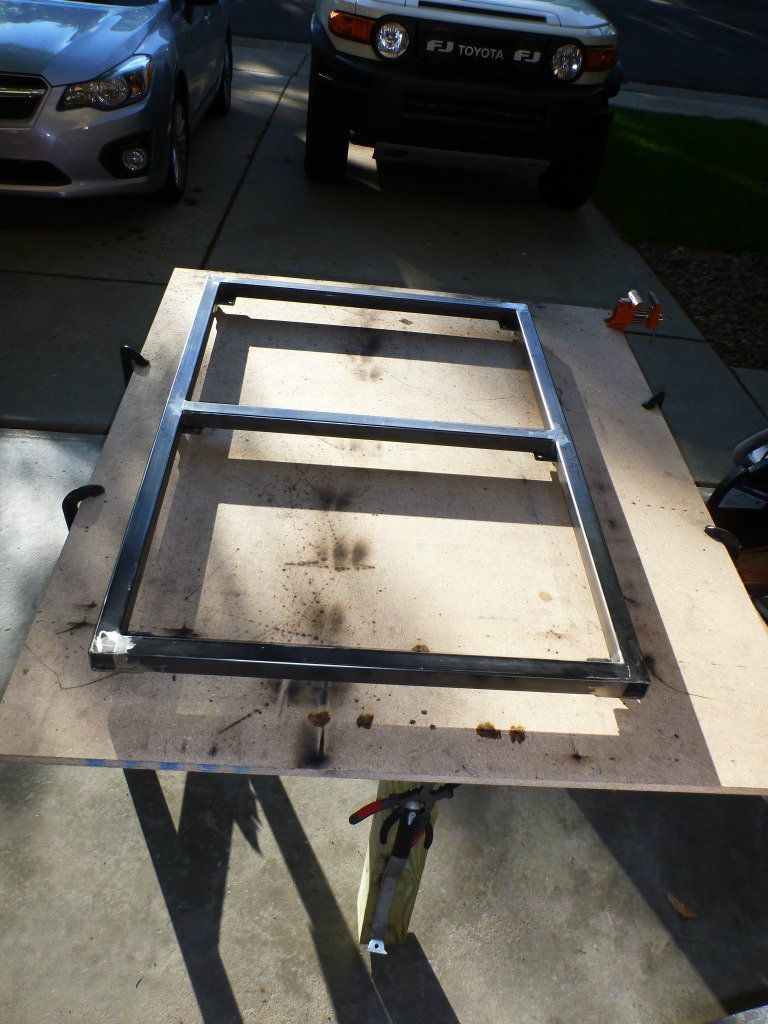
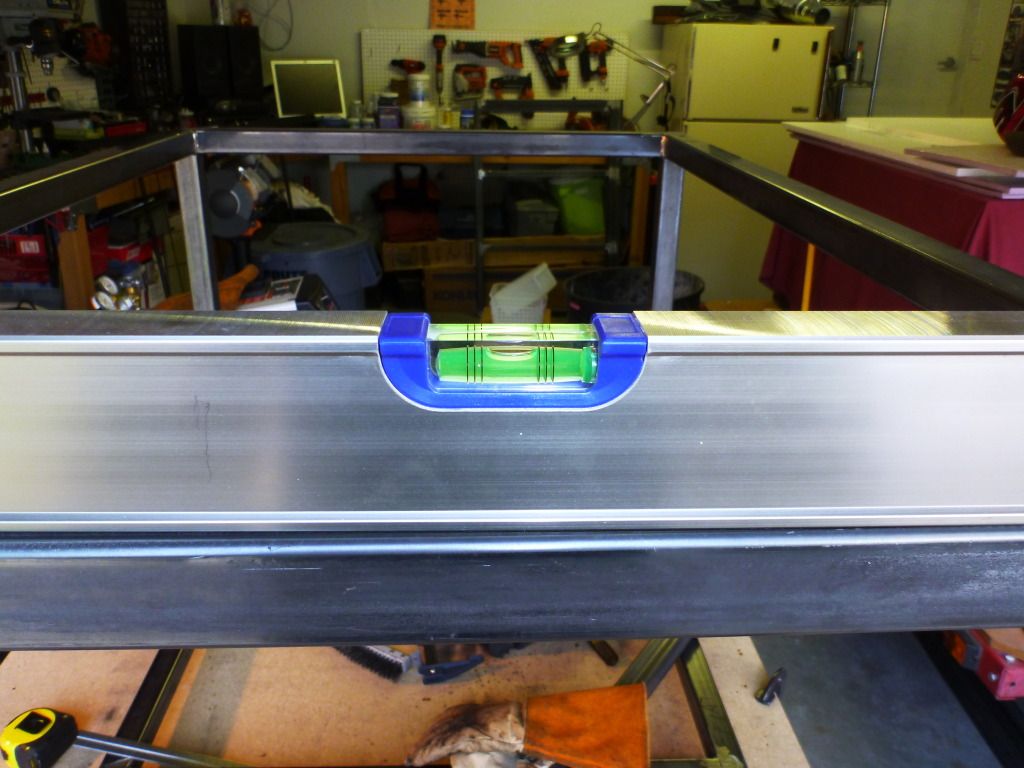
I built a larger table than I had for making the other stands for the sump and the mixing station. I used part of an old stand I had built for my 120 and some 4x4 posts with leveling feet so I could get a nice perfectly flat perfectly level surface to build the stand. I started with each of the four horizontal frames making them just like I did for the sump stand but this time my welds look much more professional. (or at least I think they do)


Walter White

Reef Shark
M.A.S.C Club Member
#15
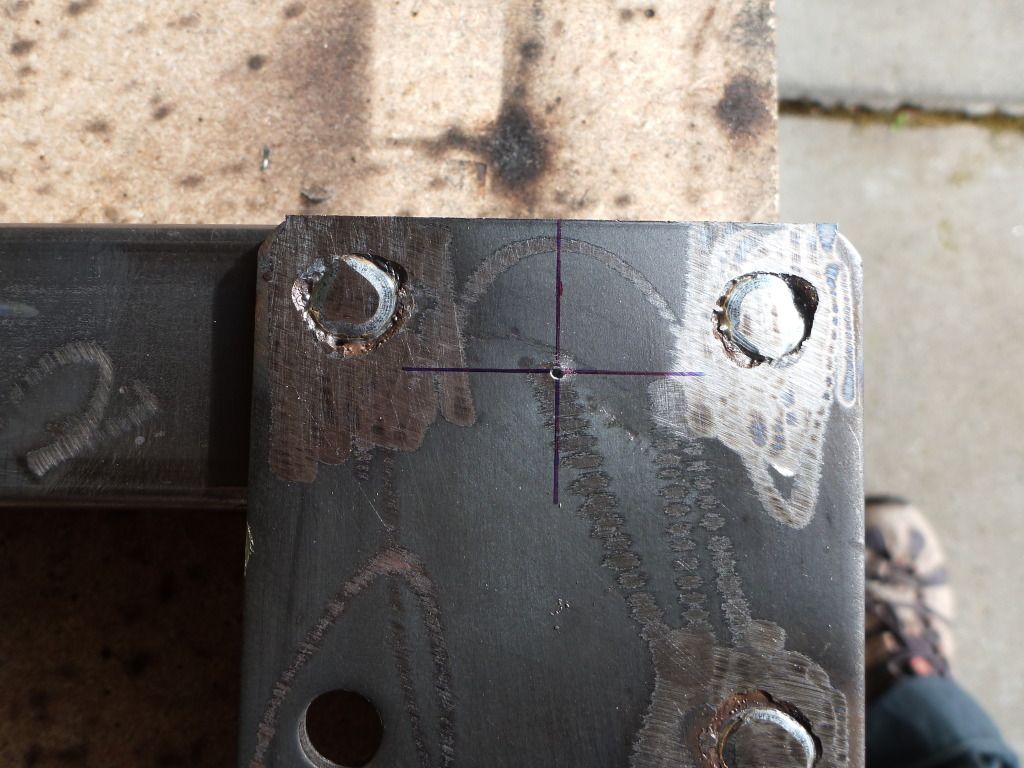
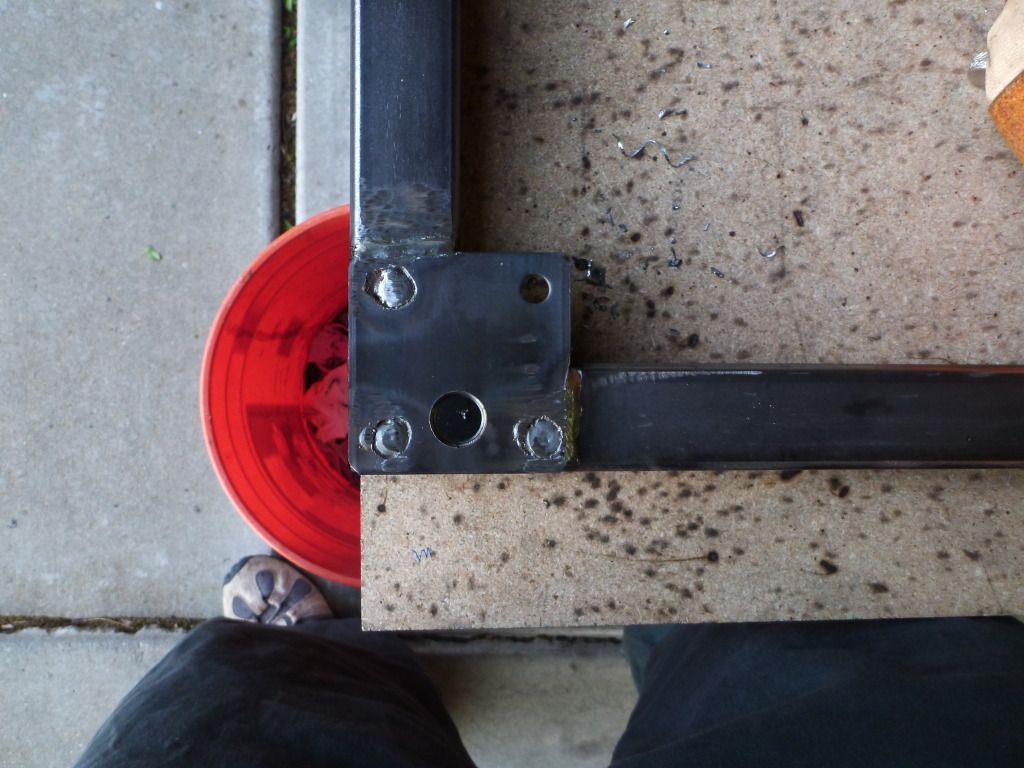
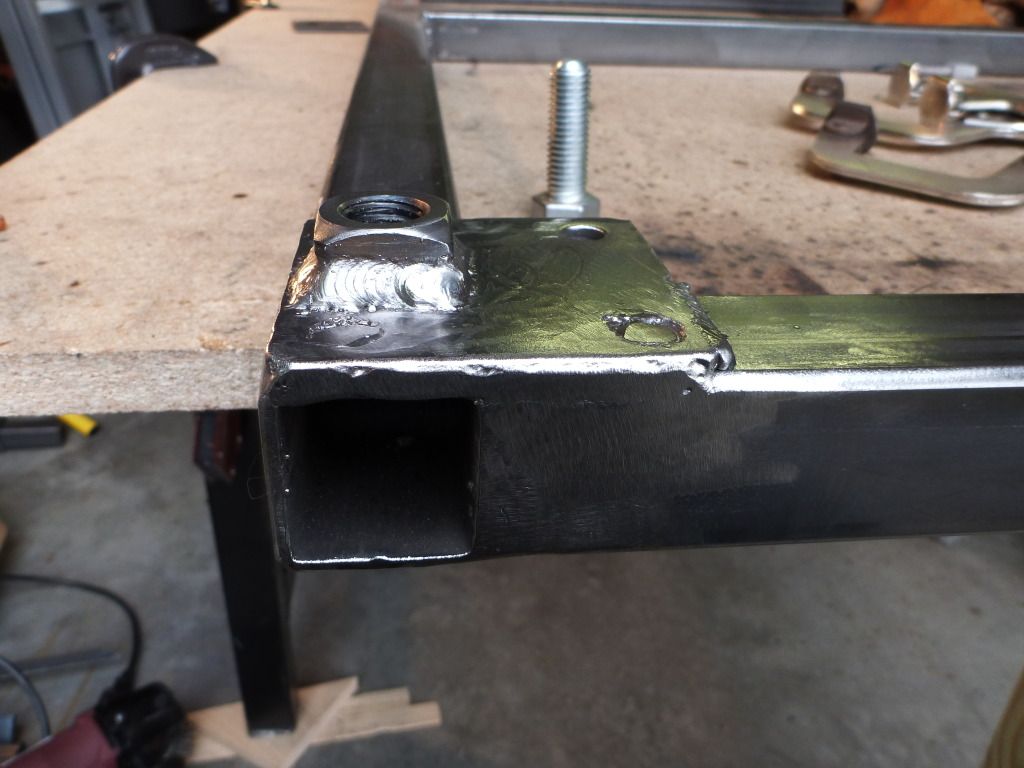
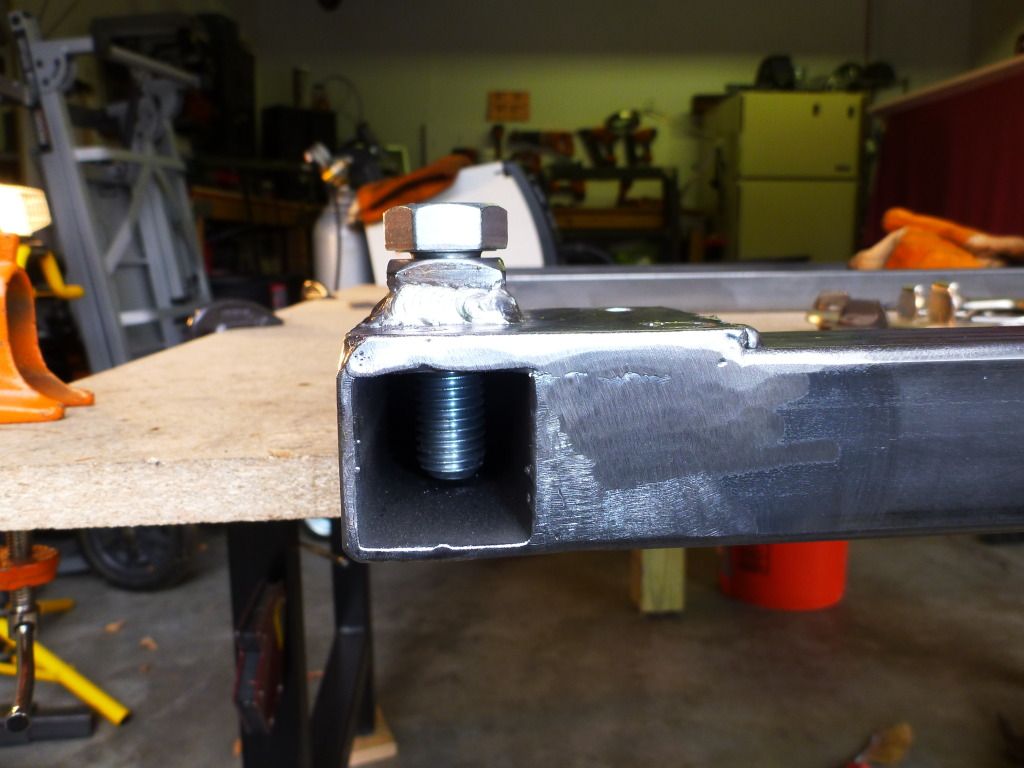
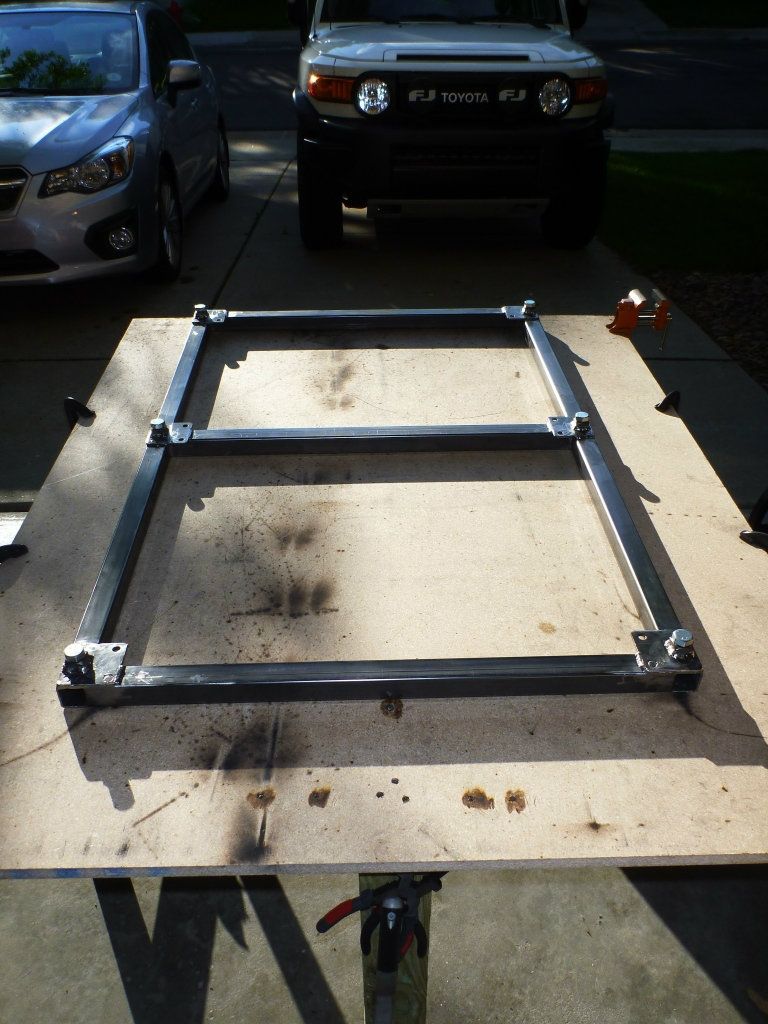
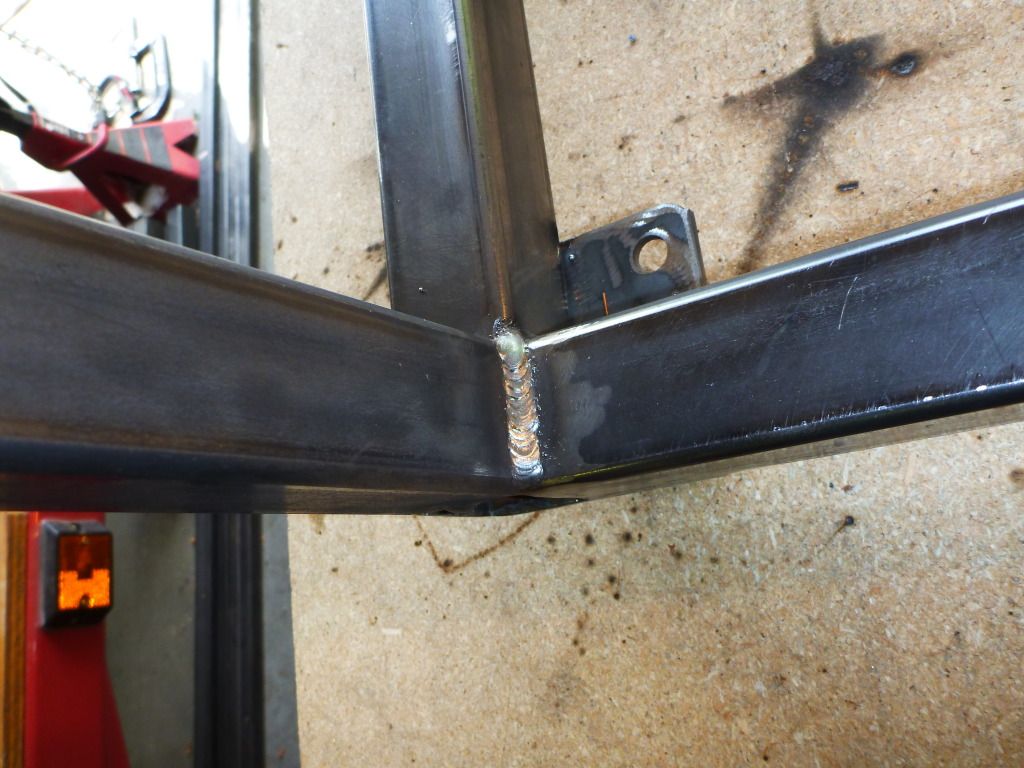
Hands down I would say the most time consuming part of building these stands is attaching the leveling feet. Considering this stand is going to be much heavier and have a lot more weight on it I decided to use 5/8” zinc plated bolts for the leveling feet. I found some really heavy duty swivel foot bolts on line but they were $30 each and the only place I could find that carried them said they would be special order and take at least 4 weeks to get. I figured standard bolts would work just fine.

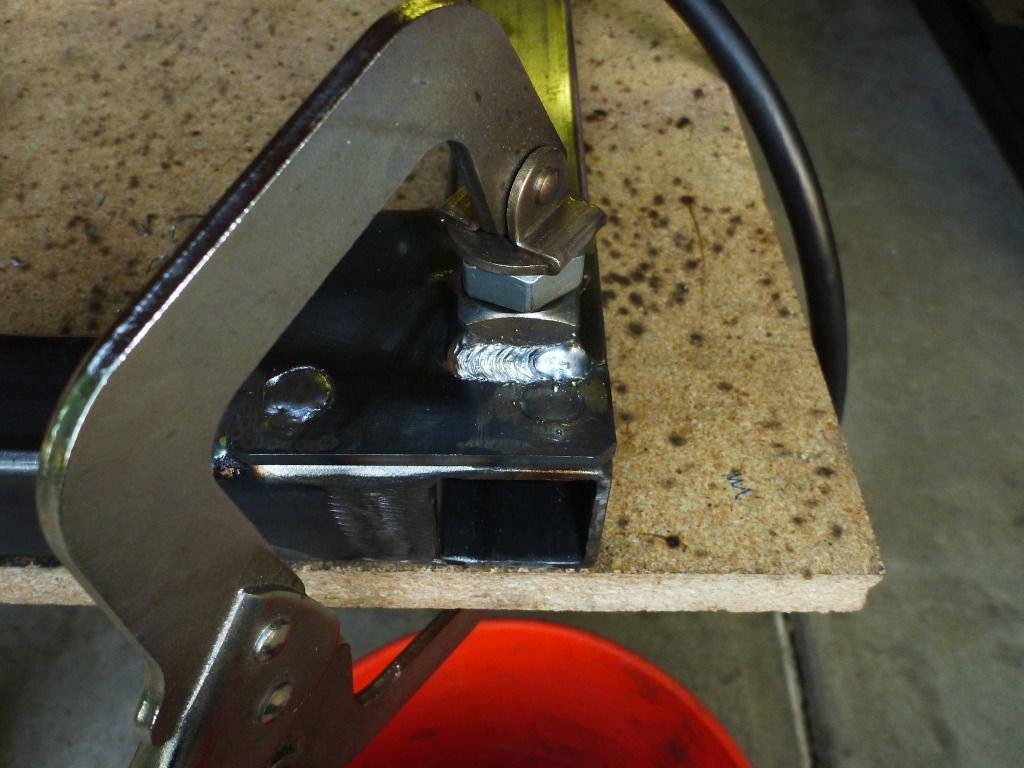
I probably could have just drilled the frame and welded the nut right to it but I like to over build thing so I opted to first weld a 3”x3” 1/8” thick plate to each corner and cross member first. These are some progression shots of the base of the stand.


Walter White

Reef Shark
M.A.S.C Club Member
#16
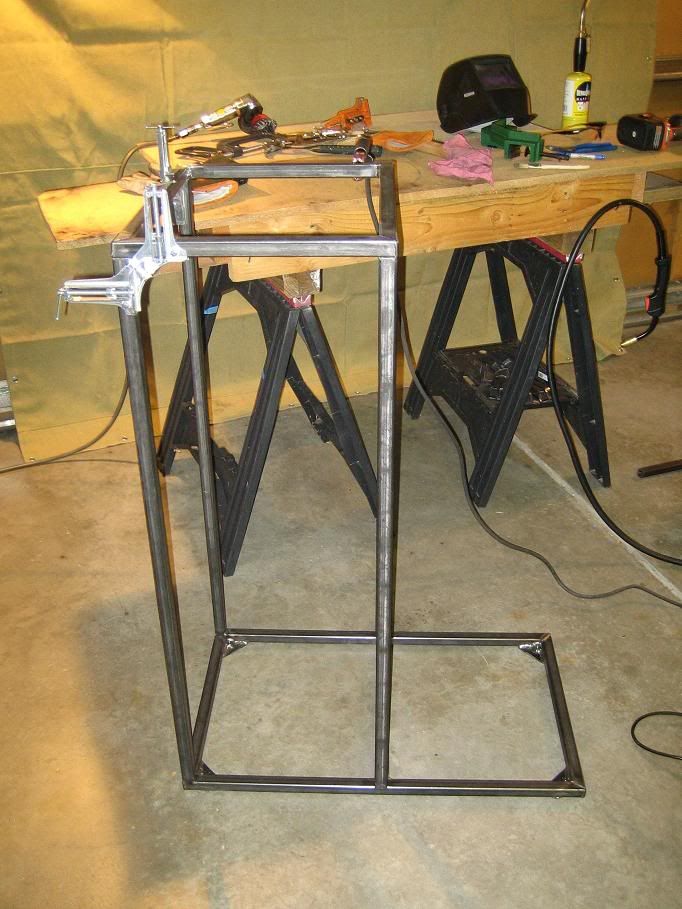
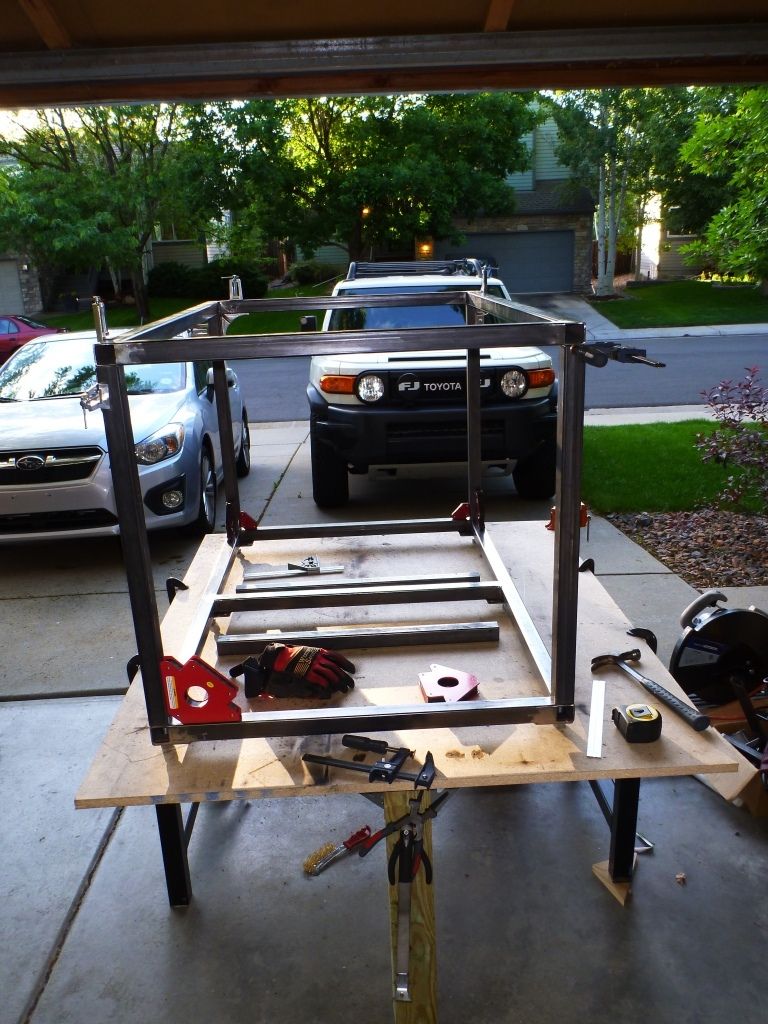
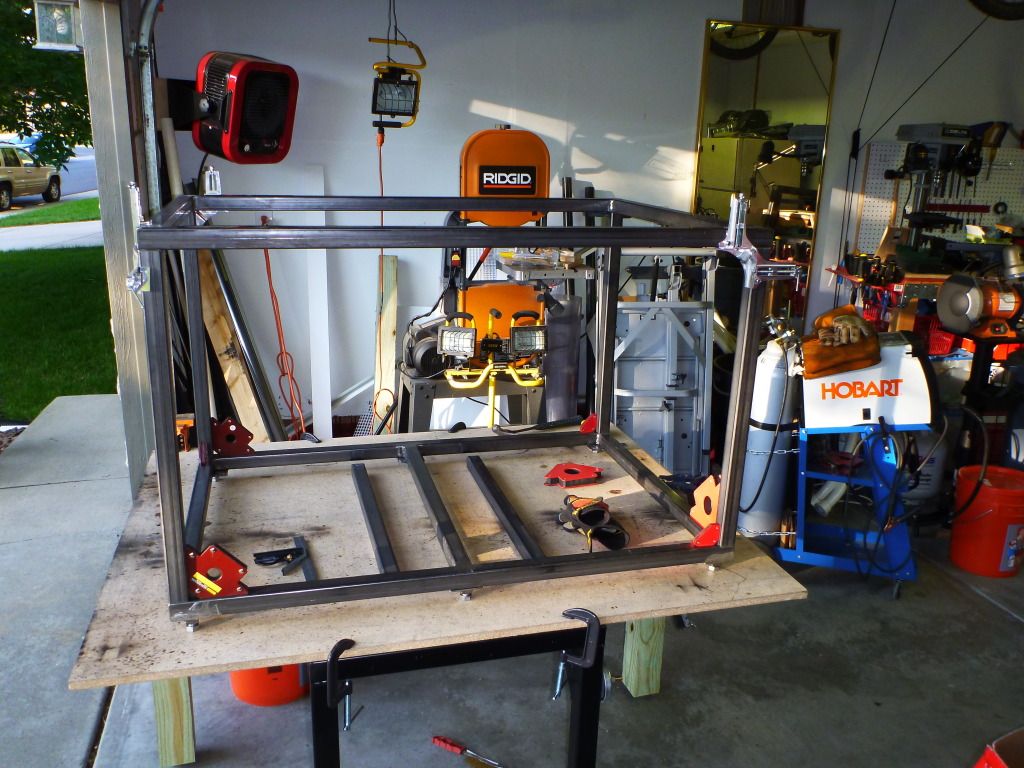
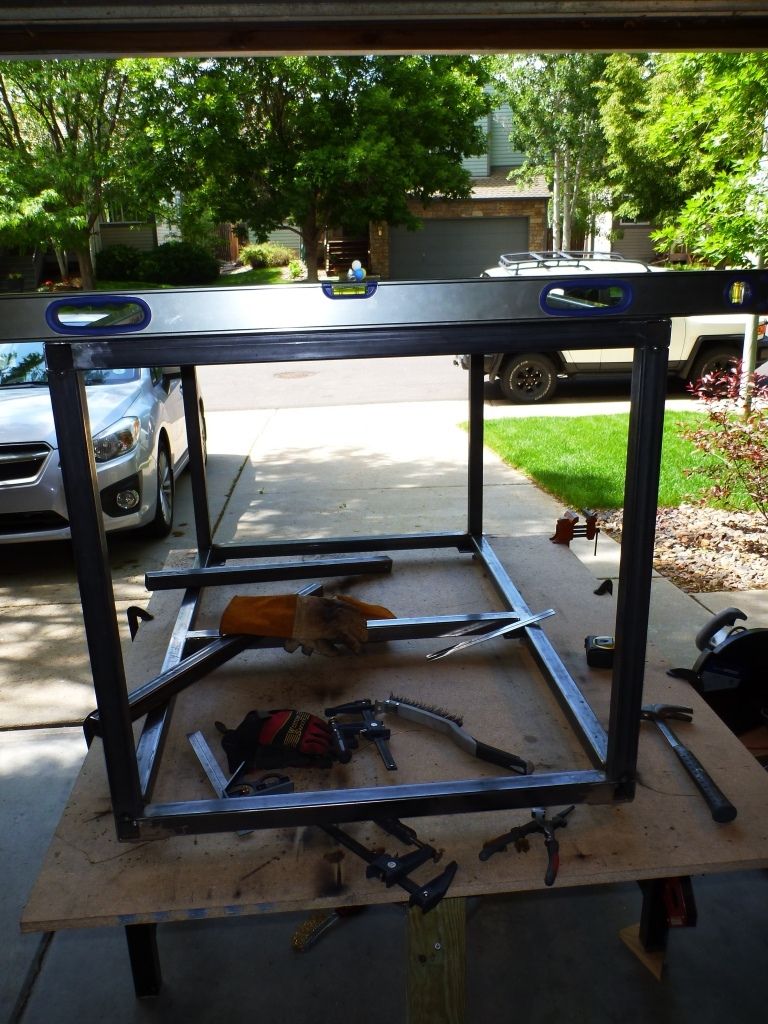
I started getting the main piece of the stand erected. I made it just tall or narrow enough to fit through the garage door going into the house at 31.3/4" tall. The door jam is 32" wide with the door off the hinges. The top piece of the stand that will stack atop the base will make up the other 8" of height and have the additional cross members along the top for support.

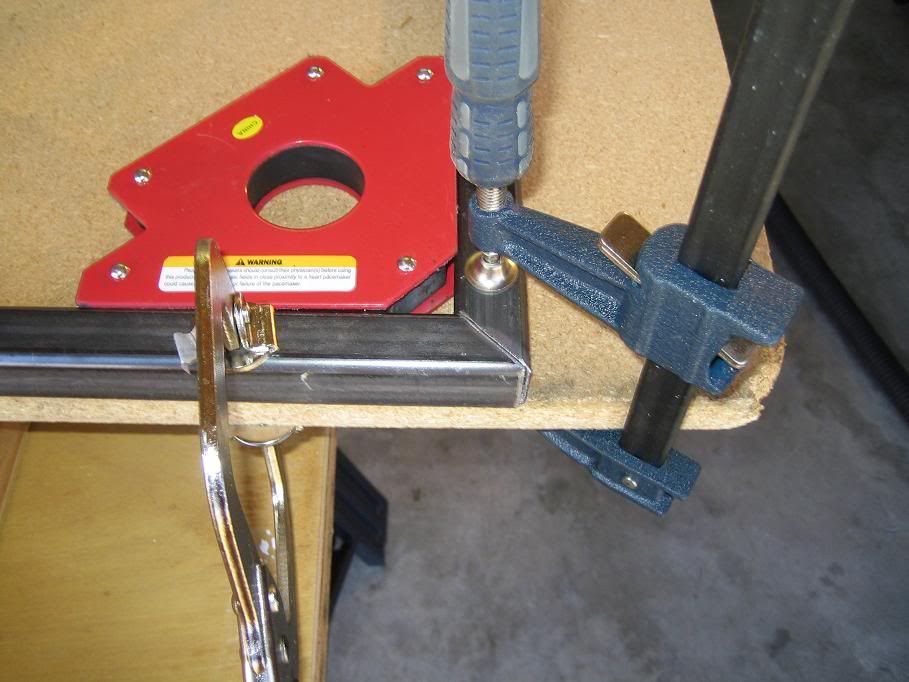
I used 90deg welding magnets and corner clamps to hold everything in place while I lined it all up then just tack welded the whole thing together before making the final welds.

That's pretty much it for tonight. I drank too much wine and now feel sick. lol :puke:


MuralReef

Administrator
Staff member
M.A.S.C Club Member
M.A.S.C. B.O.D.
MASC Vice-President
#17
Wow I mean WOW! I've heard about your build and how meticulous it was but man you thought about everything and then some. I hope to be a fraction as thoughtful if I'm ever able to do a home build. This is awesome keep it coming.
 

FinsUp

According to my watch, the time is now.
M.A.S.C Club Member
#18
You leave me, as usual, awestruck, my friend. I cannot WAIT to see this tank stocked and growing.
 

SkyShark

Dolphin
M.A.S.C Club Member
#19
I'm blown away by this build. I'm impressed with your attention to detail and patience. I think this will really show in the quality of the system and it's longevity.
Seeing how much thought has gone into the build, I'm excited to see what the reef scape and stock list will look like.
 

clowninaround7474

Tang
M.A.S.C Club Member
#20
I was absolutely blown away at the sump/water change room alone. The attention to detail is amazing. Can't wait to see this tank up and running
 
Top