CRW Reef's 20L Frag Tank

CRW Reef

Blue Whale
M.A.S.C Club Member
ex-officio
#1
So.... I have decided to build a frag tank for my ridiculous addiction to zoas.

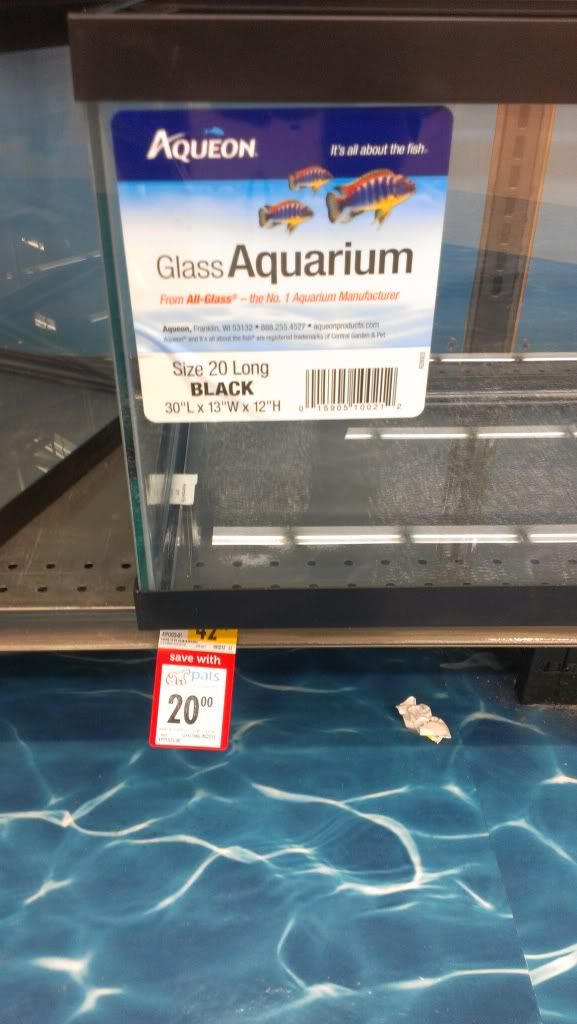
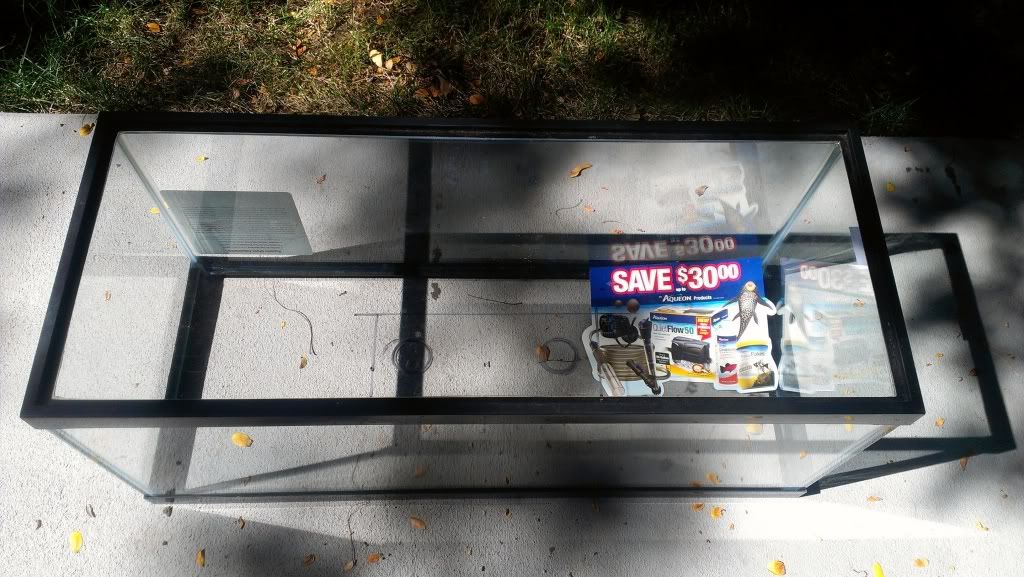
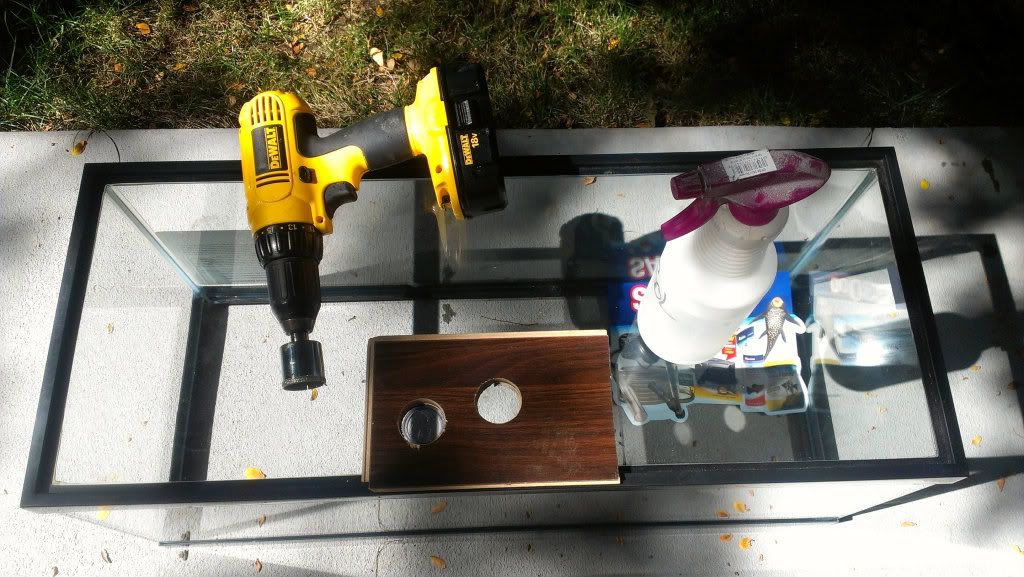
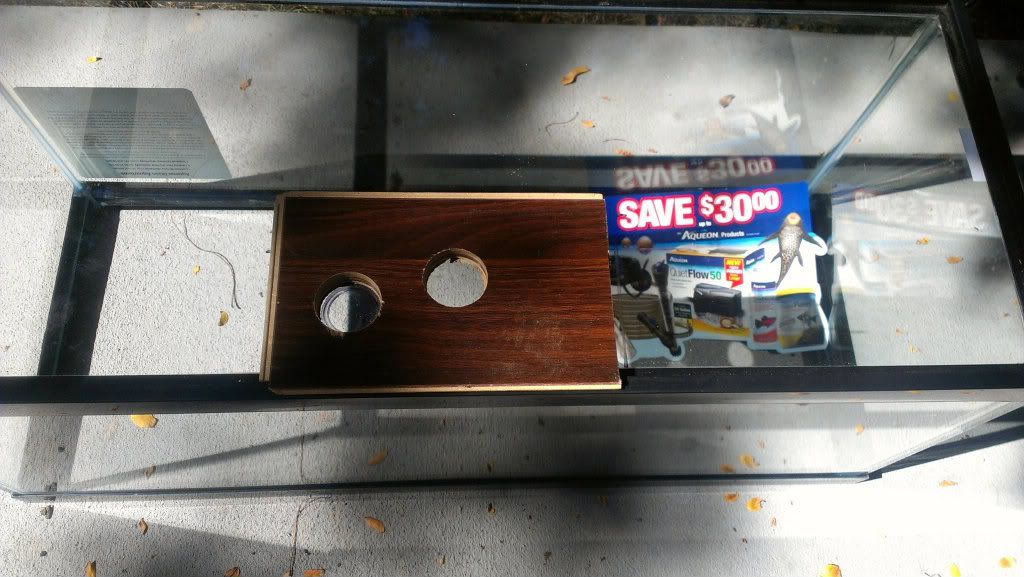
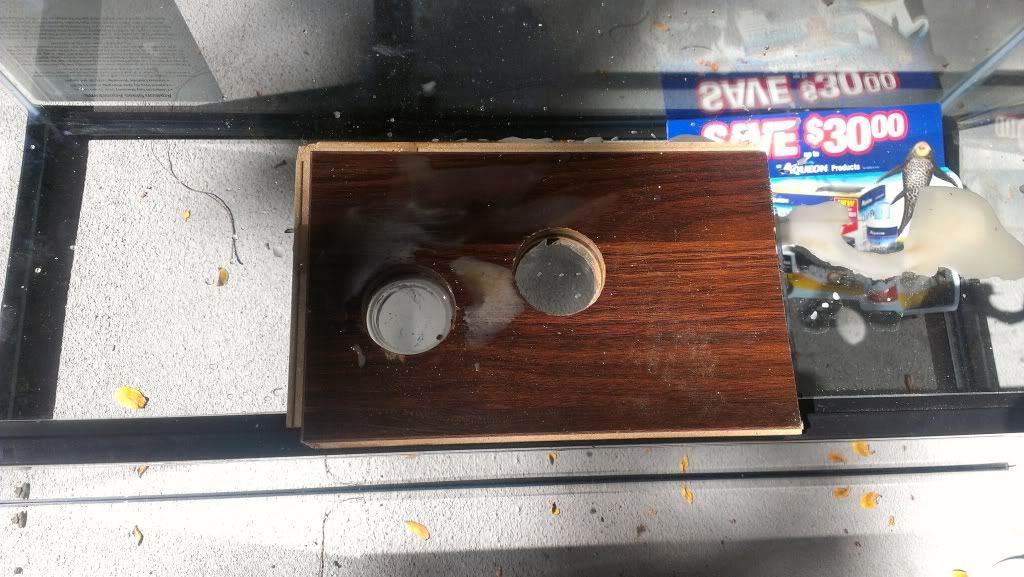
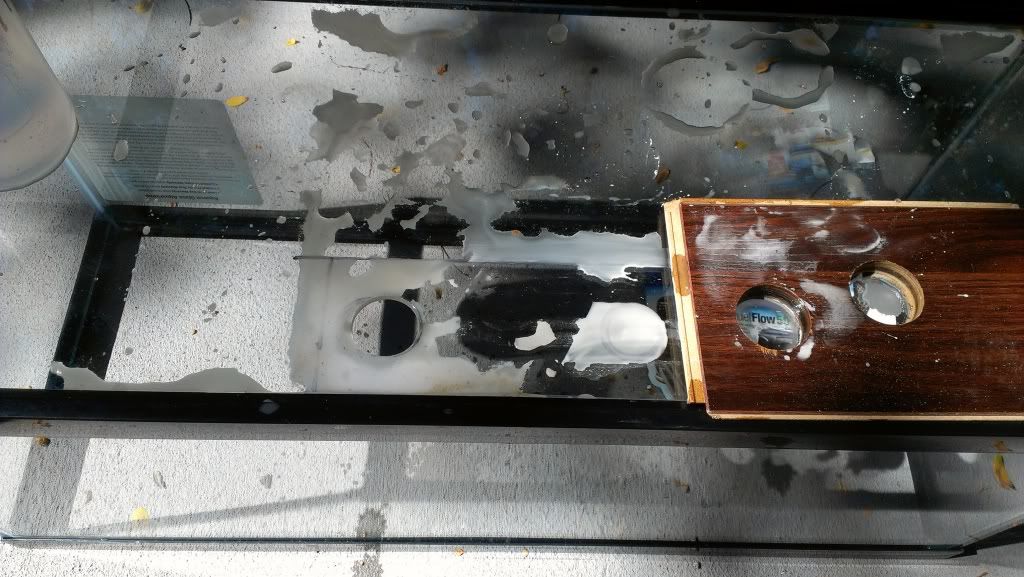
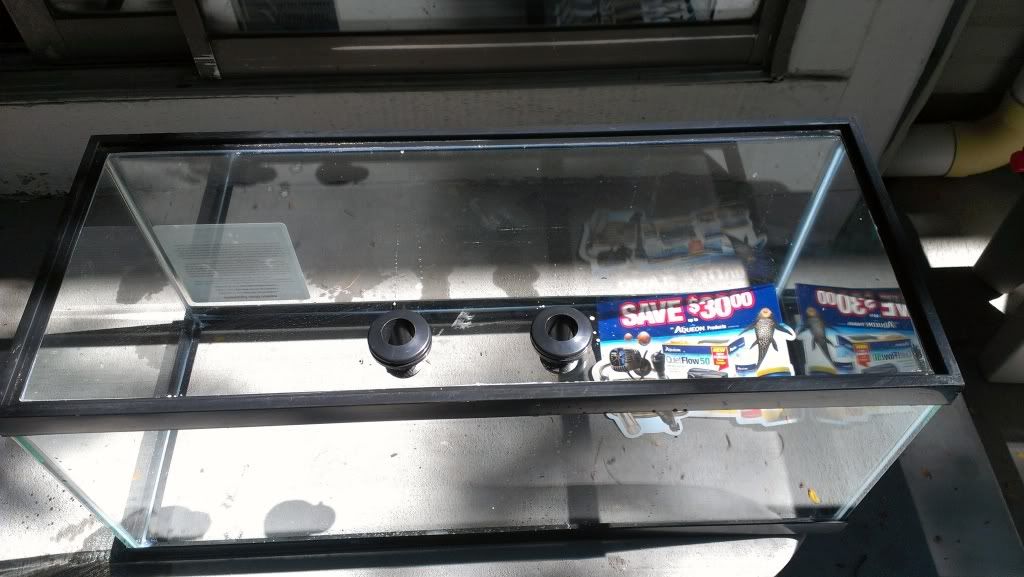
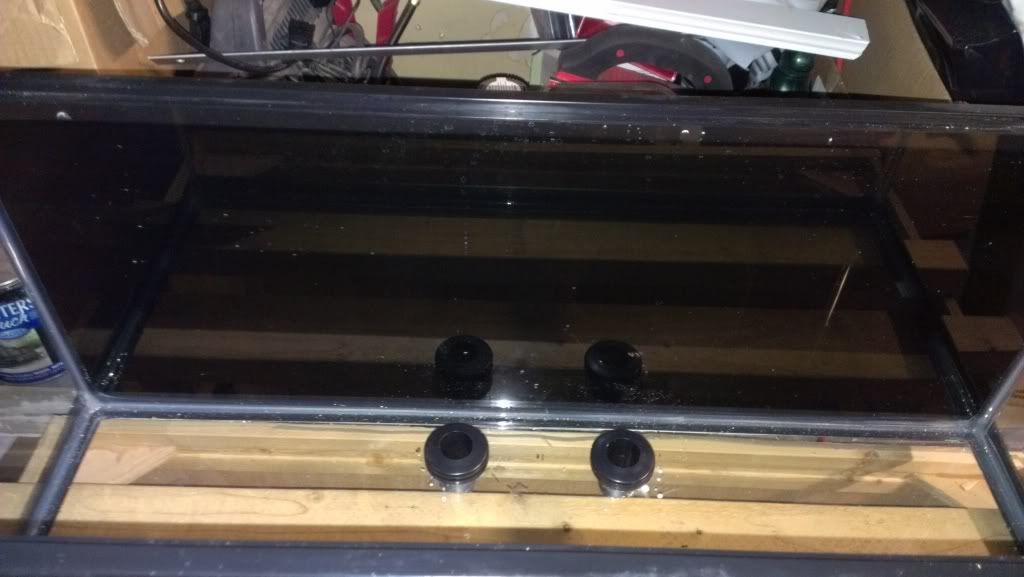
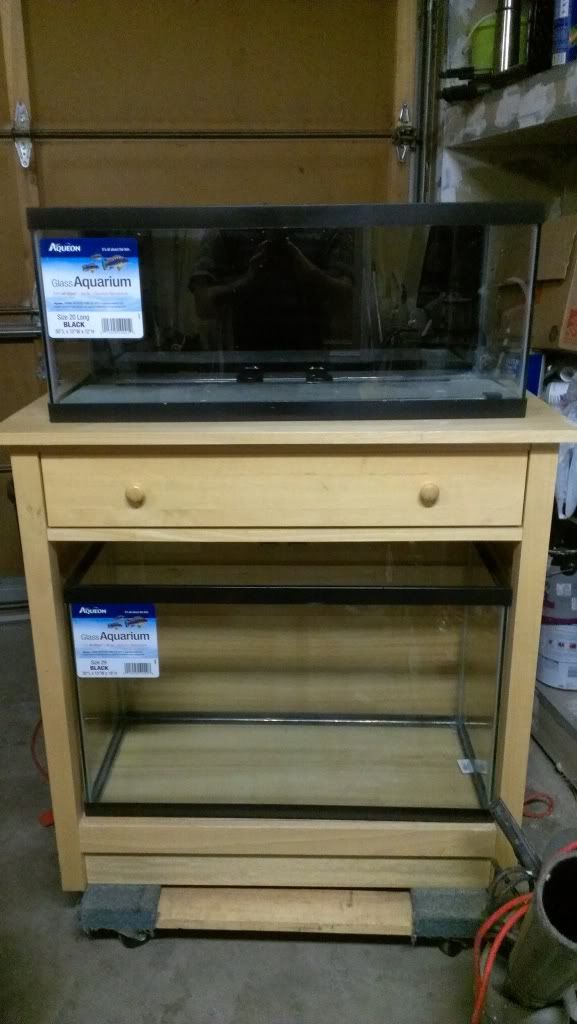
I decided that I would use a 20L for the DT and a 29T for the sump. I will be attempting to self build the stand in order to get it exactly how I want it. Really the only main requirement for it is that it have 2 doors with no center brace and everything painted white. I have both tanks sitting in garage and ready to go for the build. I just ordered a glass hole saw from BRS along with 2 bulkheads. I will be drilling the bottom of the 20L and creating my own overflow box.

Planned Equipment:

Wavemaker: Vortech MP10
DT Lighting: 2x 120w -20k LED panels
Sump Lighting:19w Par38 Mixed Colors Rapidled Bulb
Controller: Digital Aquatics - Reef Keeper Lite
Return Pump: Unknown

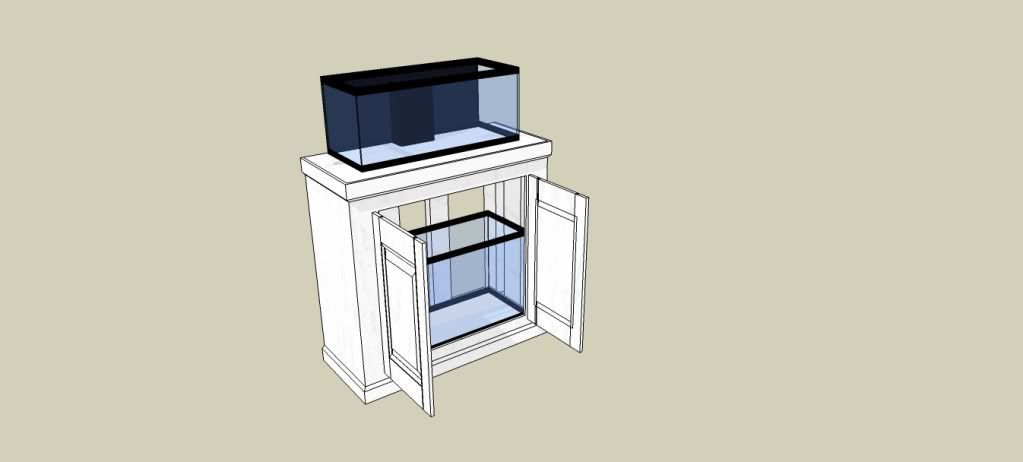
Lol I guess this as far as I have made it as of today other than creating a mock up of what i want the stand to look like. So with out any further ado here is what I have dreamed up so far!


cdrewferd

Reef Shark
M.A.S.C Club Member
#3
Go on Reef Central and look up the "DIY stand template and calculator". Make it out of 2x4's and you can have no center brace, front or back. This is how I made the stand for my Biocube and my 120.

Can't wait to see it come together.
 

CRW Reef

Blue Whale
M.A.S.C Club Member
ex-officio
#5
Well the 20L is drilled !!!!!!! Drilling was super simple and only took like 10 mins for both holes.

Tools:

spray bottle
diamond tipped hole saw from BRS
section of laminate flooring with rubber backing
towel to stop glass plug from bouncing once it drops


Last edited by a moderator:

cdrewferd

Reef Shark
M.A.S.C Club Member
#6
Nicely done.


Drew

Sent from my iPhone using Tapatalk
 

CRW Reef

Blue Whale
M.A.S.C Club Member
ex-officio
#9
Thanks guys I was totally stoked it was so easy!!!! Notice the laminate flooring serves a dual purpose as a guide and the reservoir for holding water. Just by chance I noticed the rubber absorbed water and then suctioned onto the glass and kept the water in the hole perfectly!
 

WatercolorsGuy

Nurse Shark
M.A.S.C Club Member
#10
Good tip about using a towel to keep the glass plug from bouncing around.
Could use it as a frag plug now...if you had some zoas or something to put on 'em!
Edit: I was envisioning thicker glass like on my 125 that needs to be drilled....maybe too thin for a frag plug.
 

CRW Reef

Blue Whale
M.A.S.C Club Member
ex-officio
#12
Ah ha dang it, that means my tank is upside down too right? Just needed to make sure they fit the holes for some reason lol
 

CRW Reef

Blue Whale
M.A.S.C Club Member
ex-officio
#15
Well at a stand still until I get a stand figured out but got the back painted. Oh and the bulk heads flipped over and hopefully the right way now.


WatercolorsGuy

Nurse Shark
M.A.S.C Club Member
#16
Looks good! When will you have the stand and have everything going? I can get that heater to you sometime if ya need it, decided just to empty that tank.
 

CRW Reef

Blue Whale
M.A.S.C Club Member
ex-officio
#20
OK finally got the stand started and almost ready to be sealed, primed and painted. Picked up the stand (was a microwave cart) but needed to do some reinforcing to the underside to support the sump. Also had to shorten up the drawer by 3" in order to make room for plumbing behind it. The stand does have doors, but I had to remove them in order to slide the sump in.

As you can see it appears that the 29g that I wanted to use for a sump will be to tall, so I will be switching to another 20l for the sump. Not planning to run a skimmer so, only down side will be a smaller volume of water than I originally wanted.

Hoping to get the stand finished up and the overflow done this week and then hopefully (finger crossed) water in by next week!

 
Top