A Golden Reef Tank

halmus

Registered Users
M.A.S.C Club Member
ex-officio
SynDen;660960 said:
Don't tell the wife the list is getting shorter or she will start adding to it. lol
Have you been peaking into my windows at home? Following my wife's facebook? It's like you're in her head!


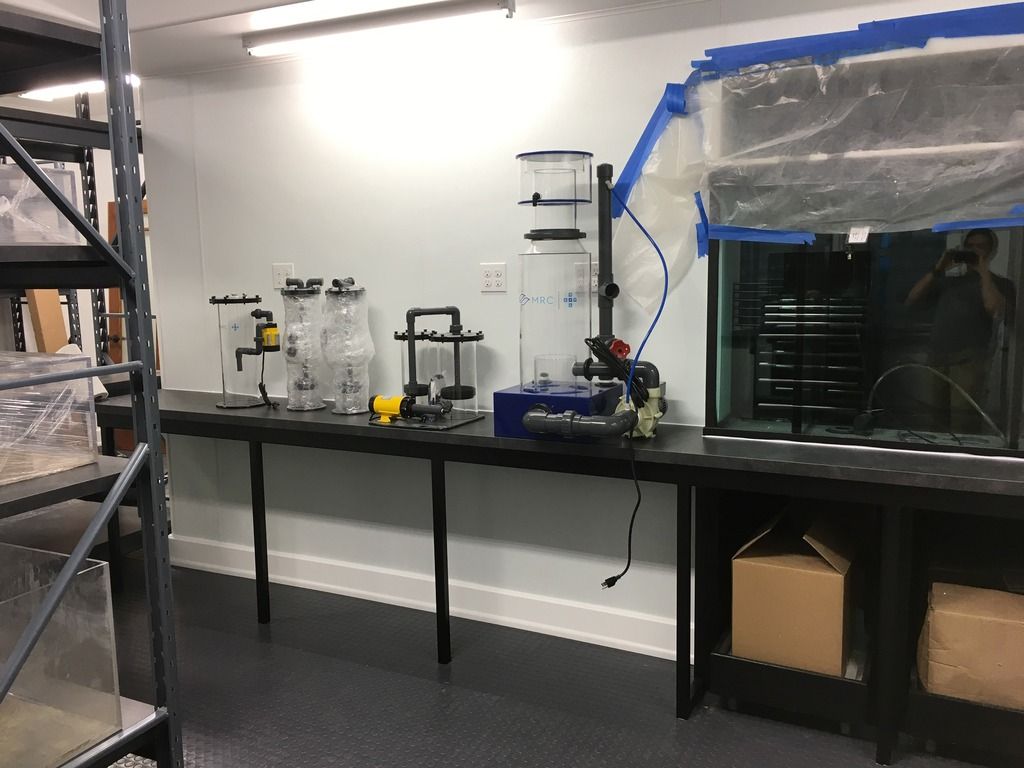
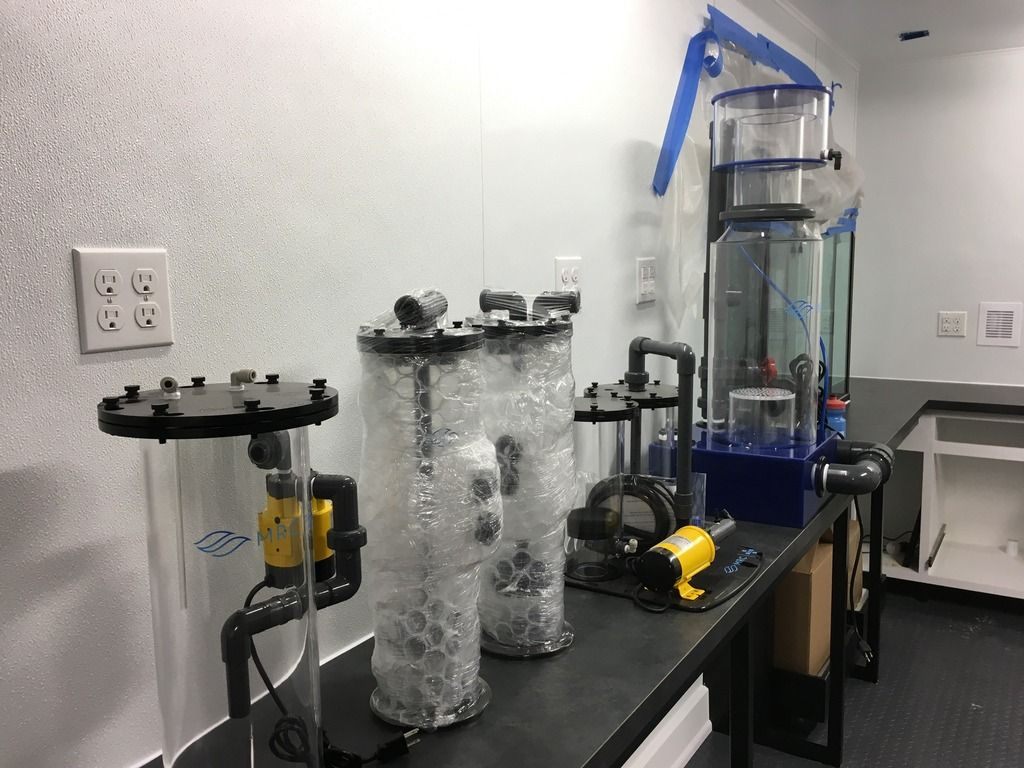
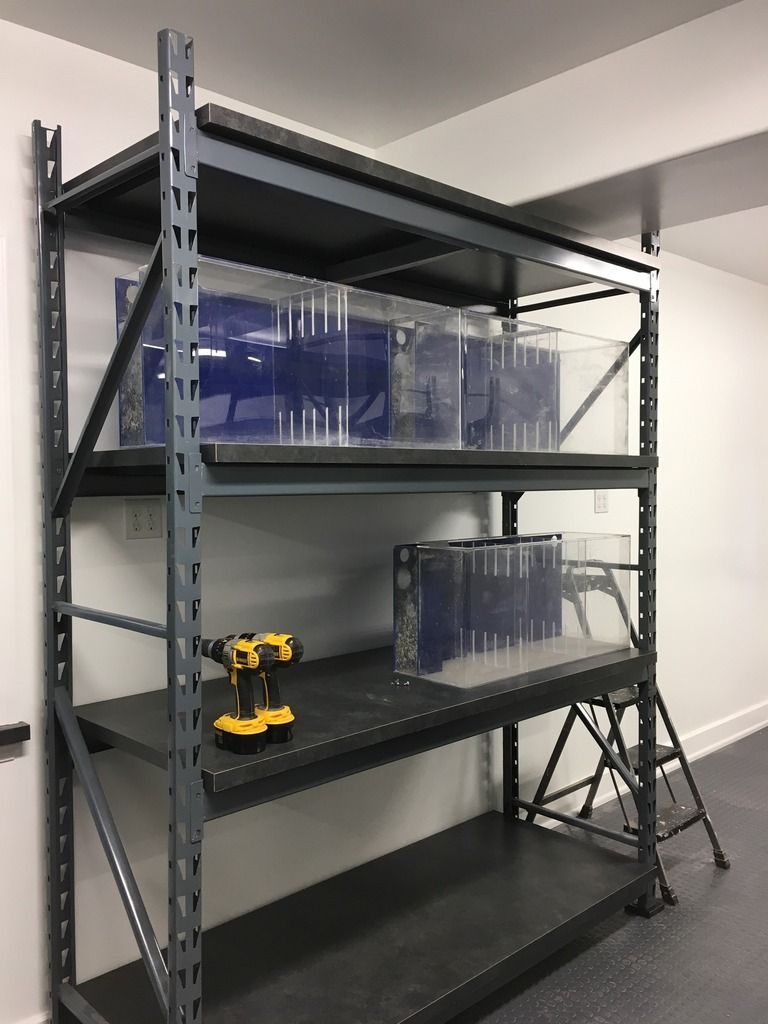
I pulled out some of the equipment to start staging it.

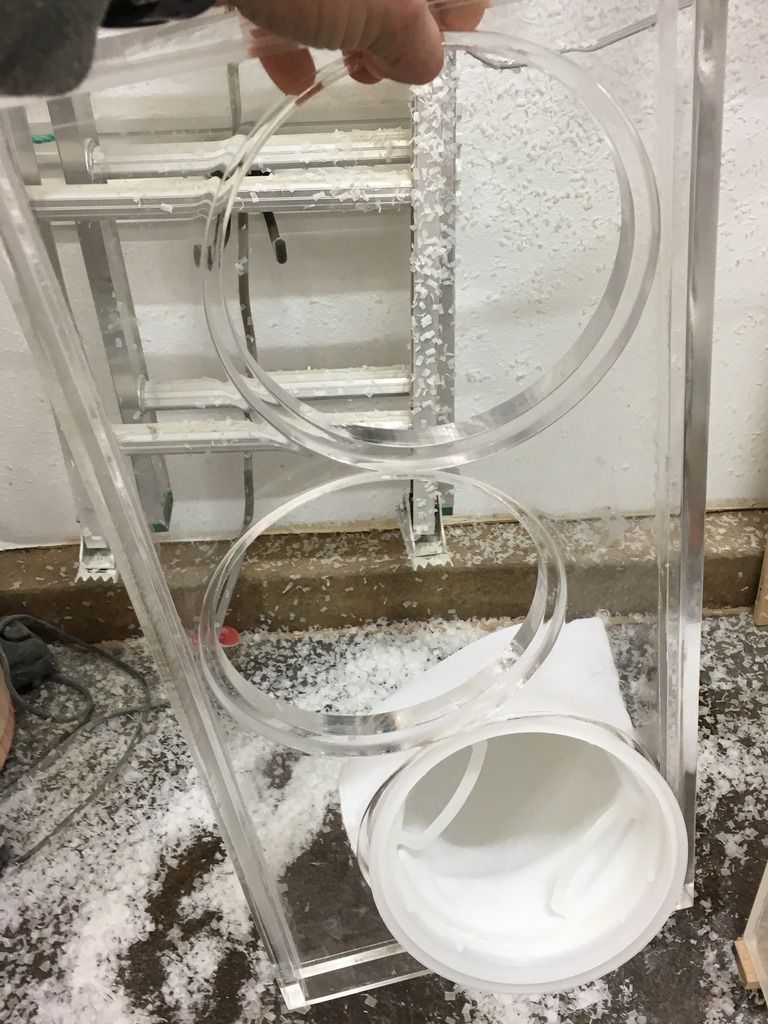
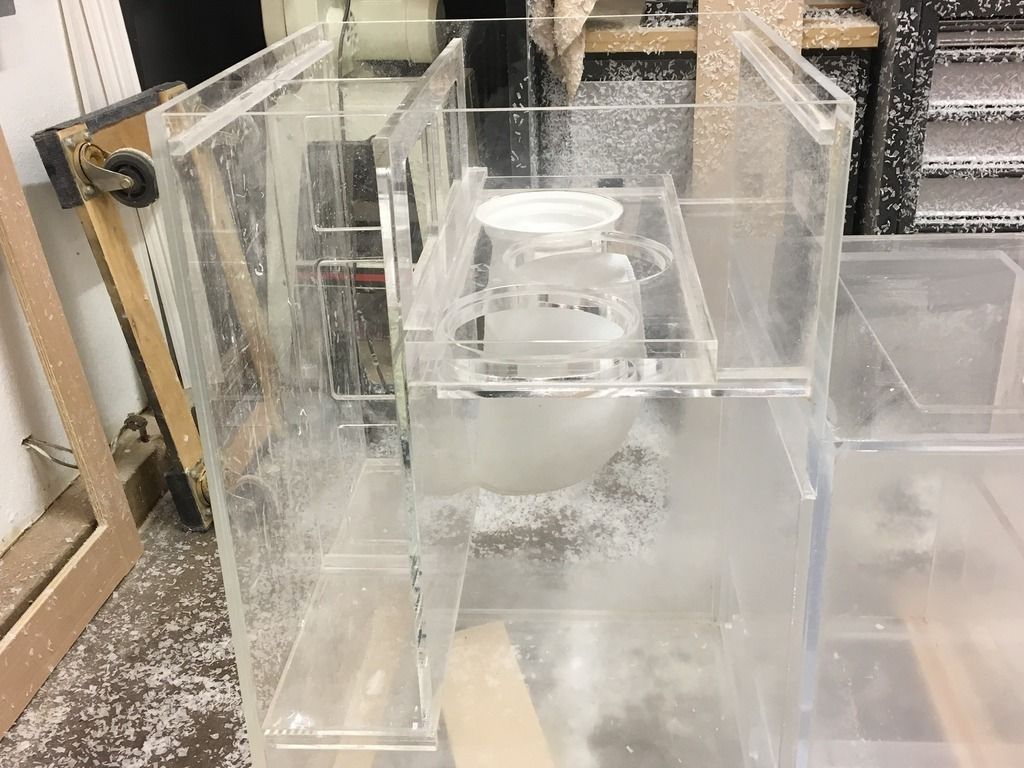
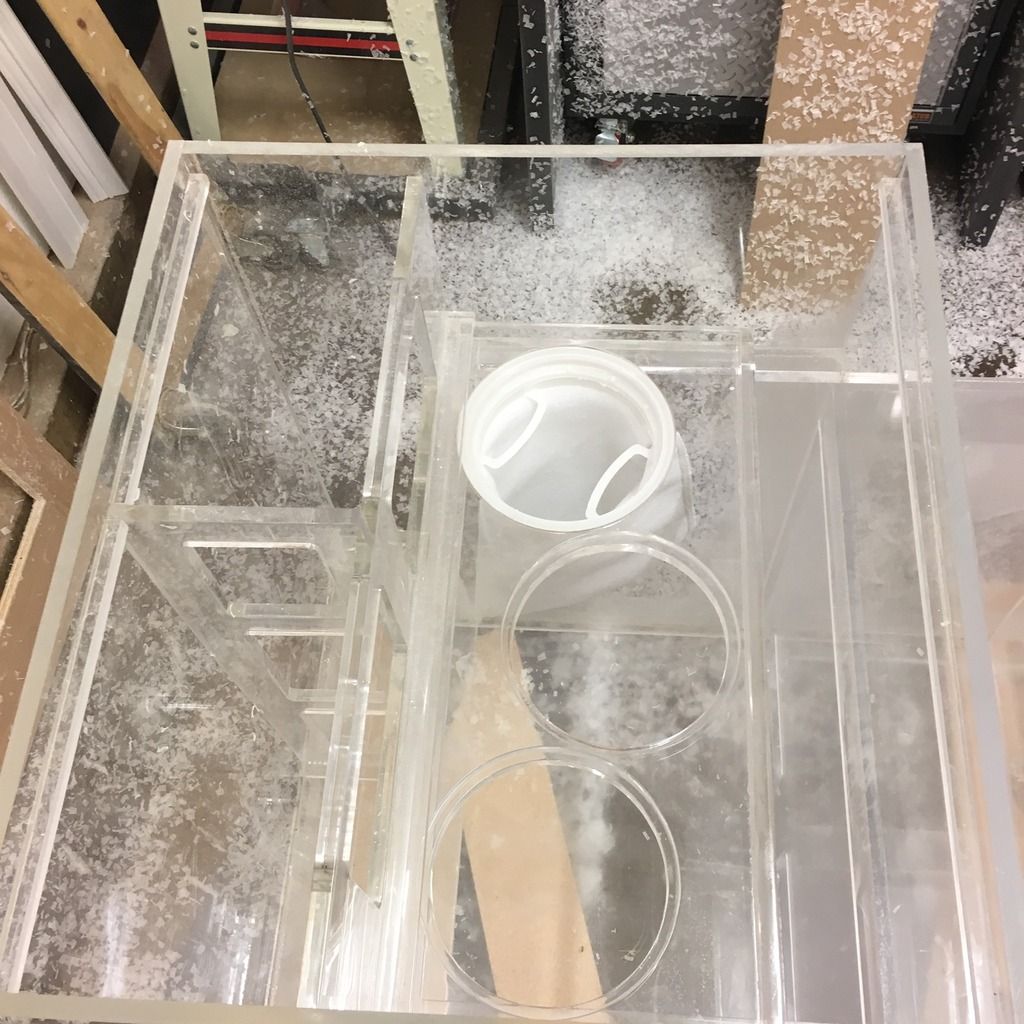
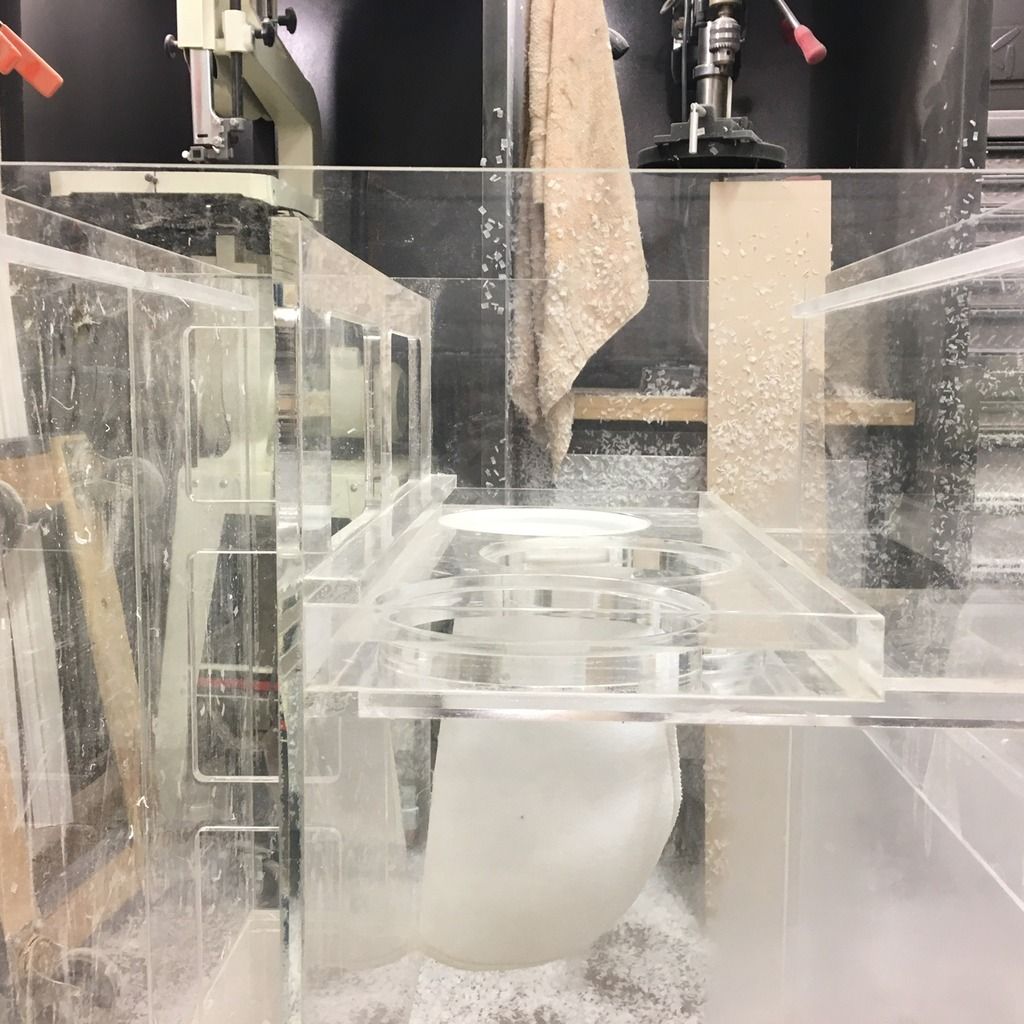
I'm going to build a "drip tray" under the skimmer to contain any potential overflows and redirect back to the sump. There will be a sensor in that drip try to alert in case water does end up there. This way, I can keep the skimmer external to the sump but minimize drama.


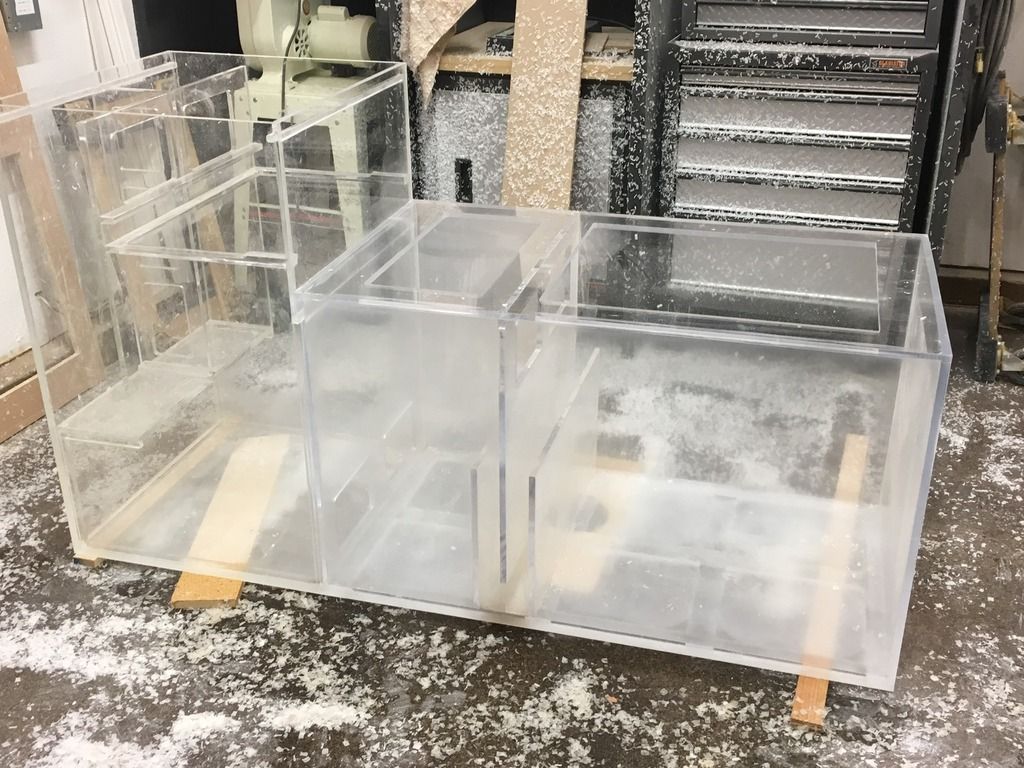
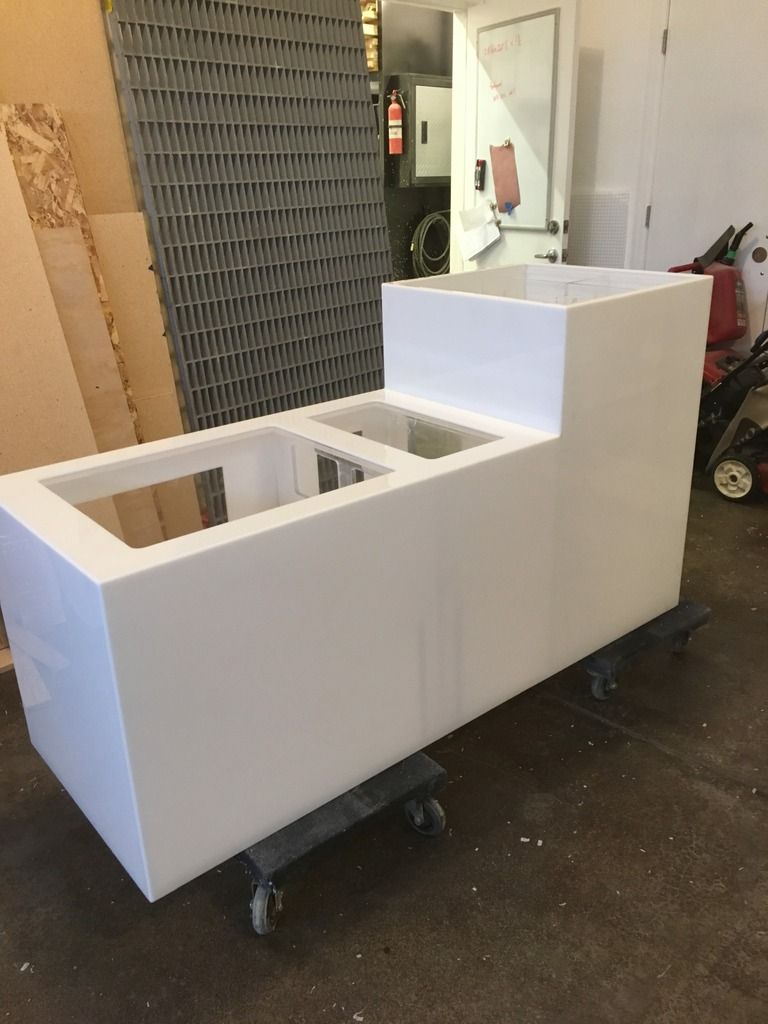
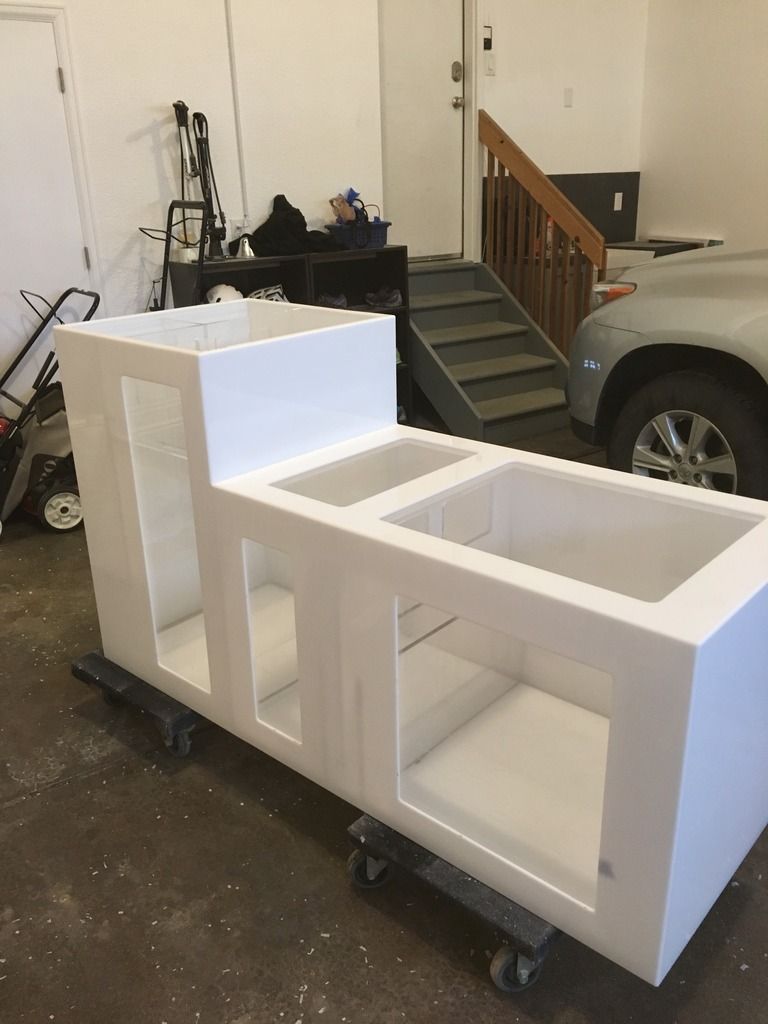
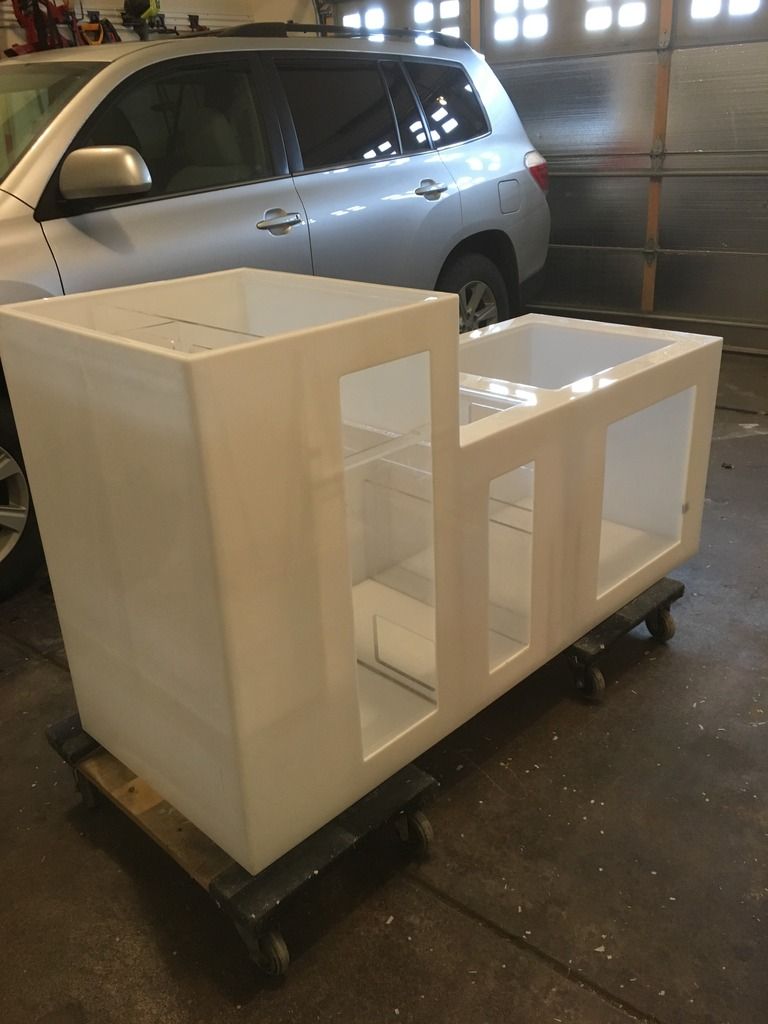
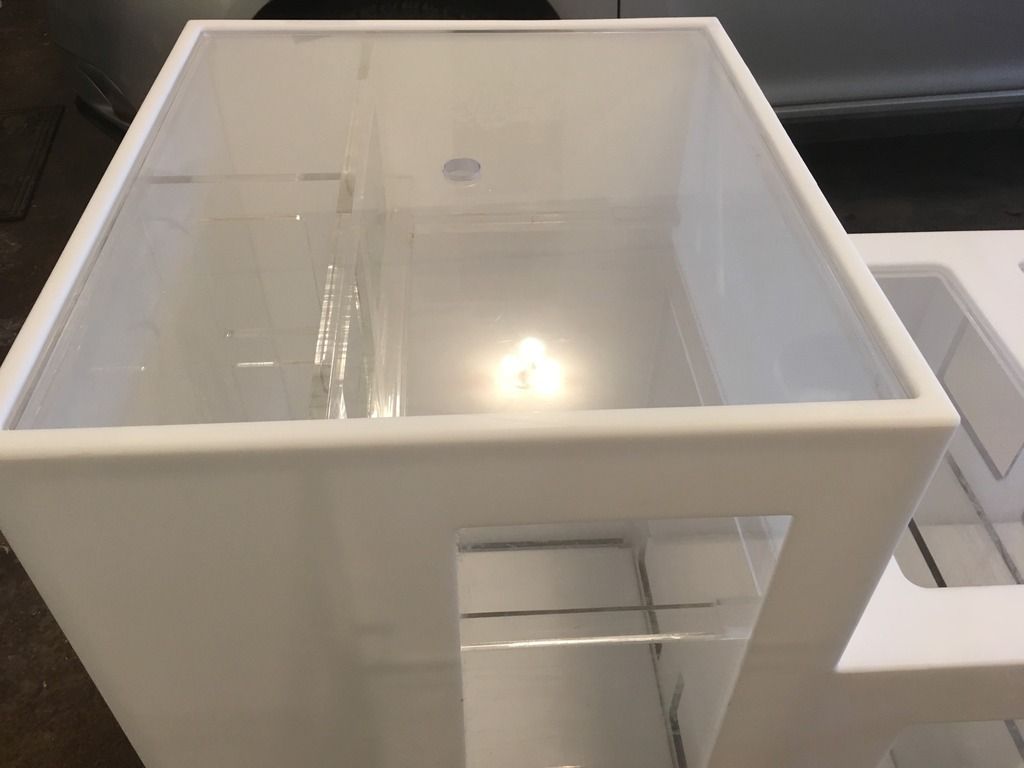
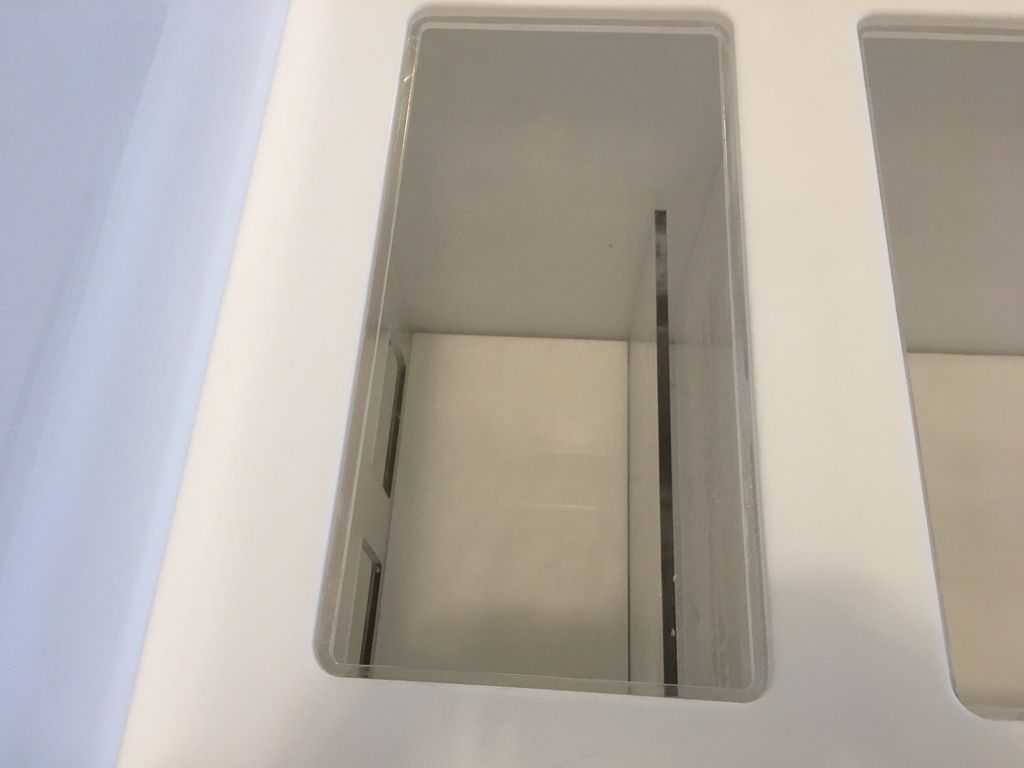
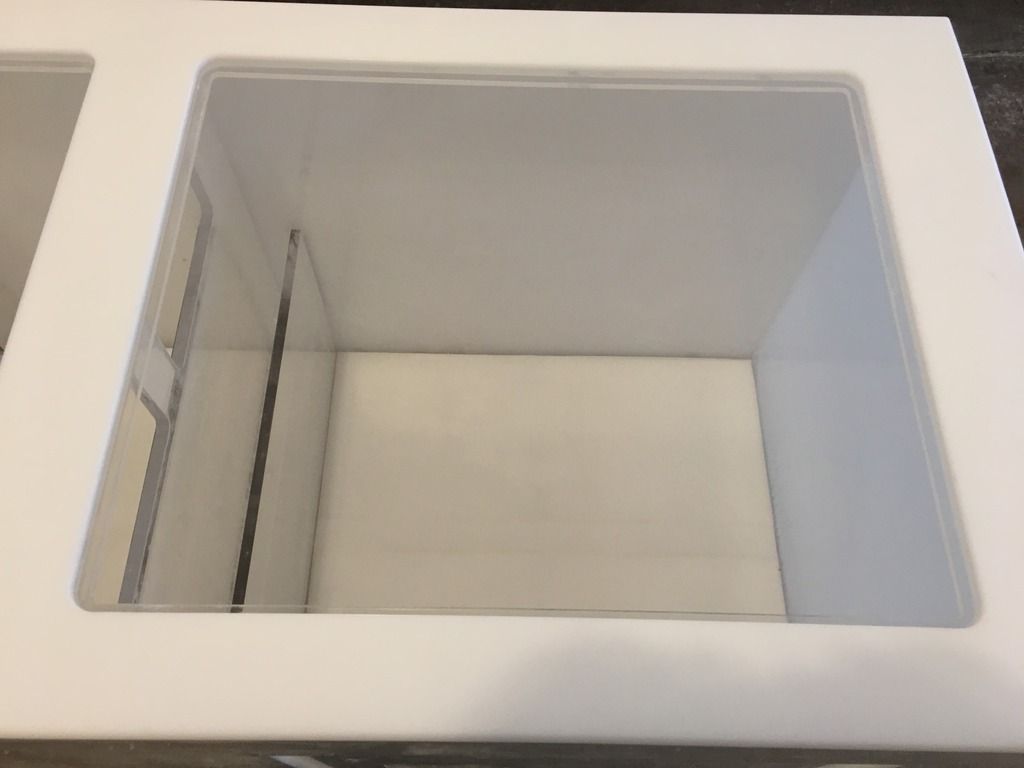
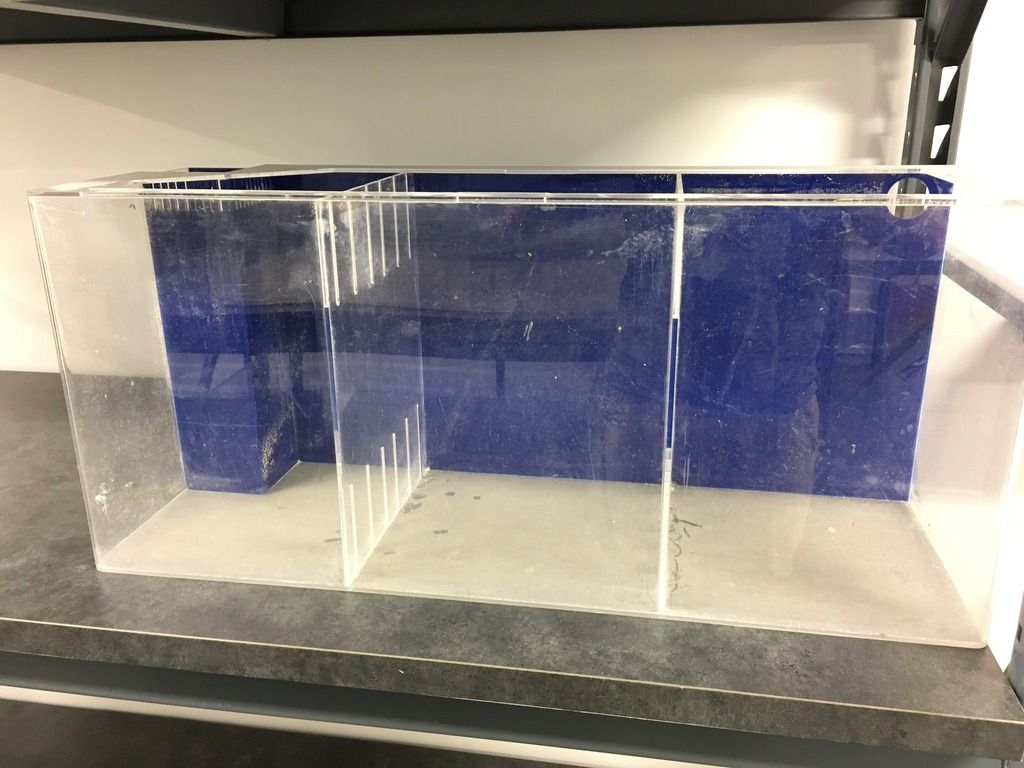
Here are a few tanks that will make up the QT section. These are the tanks I recovered from a business. They need a little TLC and buffing but will make nice QT for the fish. I'll build a separate tank for coral QT and put it on that middle shelf. The sump(s) will be below. I still need to work out the details.


Sent from my iPhone using Tapatalk
 

SynDen

Administrator
Staff member
M.A.S.C Club Member
M.A.S.C. B.O.D.
M.A.S.C President
M.A.S.C Webmaster
Mwahaha, nah I'm just psychic ;p

You been squirreling away some nice equipment there. That skimmer is pretty beastly. Going to do sch80 on it all?
 

halmus

Registered Users
M.A.S.C Club Member
ex-officio
I have a lot of equipment to hook up! It's a little daunting.

Yes, I'm probably going sch80 on everything. That's the only reason I'm not looking forward to the plumbing on the system. In the past, I was able to make multiple trips to HD for missing plumbing parts. I'll have to do a better job of planning out every pipe so that I'm not slowed down as much by waiting for parts in the mail.

I've drawn up some of the major plumbing in Sketchup. Now I just to identify pipe sizing based on what pumps I have, the bulkheads already in tanks, and common sense dimensions for return lines/drain lines. Does anyone have some spare common sense laying around? Seems to be in short supply.

I'm going to try to standardize as much as I can to simplify the process. I just have a lot of odd sized bulkheads I need to adapt.


Sent from my iPhone using Tapatalk
 

halmus

Registered Users
M.A.S.C Club Member
ex-officio
Carpet went in this weekend.

There are a few details to finish up still. But, I'm able to do some more prep work in the filtration room. Hopefully by the end of the month I'll be working on modifying sumps and/or building new ones. I need to finish making wood dust before starting on the acrylic dust. I'd like to have a clean workspace to work in without sawdust getting into the acrylic seams.


The tank looks small in this big room. I should have doubled the size.
 

SynDen

Administrator
Staff member
M.A.S.C Club Member
M.A.S.C. B.O.D.
M.A.S.C President
M.A.S.C Webmaster
Im sure once the furniture is in there it wont feel so small
 

halmus

Registered Users
M.A.S.C Club Member
ex-officio
SynDen;661714 said:
Im sure once the furniture is in there it wont feel so small
The space will fill in quick. We're shopping for furniture this weekend and a pool table.

I'm sure the first time I have to go diving to retrieve a fallen frag, I'm not going to regret not going bigger.


Sent from my iPhone using Tapatalk
 

halmus

Registered Users
M.A.S.C Club Member
ex-officio
crisc;661748 said:
You are a true craftsman Jacob! This project is really taking shape and looking incredible. When you get all the MRC stuff put together we will have to send a pic to Raj @MRC!
Thanks Cris. I'll be happy to share some pics with MRC. I just hope they don't get offended that I'll probably be making a custom sump that rips off the MRC style. I'll have to come up with my own logo to distinguish the work.


Sent from my iPhone using Tapatalk
 

halmus

Registered Users
M.A.S.C Club Member
ex-officio
One step closer....

I'm trying to finish everything this weekend that will require saw dust. Then I can clean the shop and drag out the acrylic.


Sent from my iPhone using Tapatalk
 

halmus

Registered Users
M.A.S.C Club Member
ex-officio
I started work on the acrylic sumps. Want proof????


I took an old acrylic tank that was around 4' x 2' x 30" deep (the section on the right). I cut off the top rim which was poorly made to begin with and put a new rim on and added the baffles. The rest of the tank was sound. I added a section on the end of it (the left section) around 18" to make the overall length of the sump around 60" x 24" x 36" tall. That additional section is for an elevated platform to hold the filter socks above the expected water line. I've found that filter socks work better for me when they aren't sitting down in the water.


This is the removable tray to hold 3 x 7" filter socks.


The tray will force most of the water through the socks, but it's open so that if I neglect the socks, the water can overflow into the sump with no harm done.


The section that's about 8" wide (the far left) is where water will flow into the sump from the tank's overflow. I won't have to remove any plumbing when it comes time to change socks. I'm trying to make maintenance as quick and easy as possible. It just takes some more work ahead of time.


My acrylic skills aren't enough to build displays, but I can build a solid sump. I've been experimenting with different options to polish up the old acrylic. It was pretty beat up and obviously, it's still a little hazy.

Most of this sump will be skinned with 1/4" white acrylic to hide the ugly and add an additional layer of security. I don't want any of the seams to bust! I am adding a few "cut-outs" on one side of the white acrylic where I'll be able to see into the sump. But, the rest will be white.
 

SynDen

Administrator
Staff member
M.A.S.C Club Member
M.A.S.C. B.O.D.
M.A.S.C President
M.A.S.C Webmaster
Turned out great, nice work. The first pic made me laugh
 

halmus

Registered Users
M.A.S.C Club Member
ex-officio
I finished most of the acrylic work on the sumps. I just need to go over them and do some last minute buffing and finishing. I rounded over all of the corners on the outside so that I'm not cutting myself open as I walk by the sump.


halmus

Registered Users
M.A.S.C Club Member
ex-officio
Thanks. I'm happy with how it turned out.

I actually skinned the entire outside of the clear sump with 1/4" white acrylic. It's bonded permanently to outside of the clear sump you can see in the pictures previously posted.


Sent from my iPhone using Tapatalk
 

TheRealChrisBrown

Reef Shark
M.A.S.C Club Member
ex-officio
halmus;n663339 said:
I actually skinned the entire outside of the clear sump with 1/4" white acrylic. It's bonded permanently to outside of the clear sump you can see in the pictures previously posted.
That makes so much more sense! Looks fantastic!
 

halmus

Registered Users
M.A.S.C Club Member
ex-officio
Balz3352;663337 said:
My guess is that it's white acrylic
Yep, thanks B.

TheRealChrisBrown;663351 said:
That makes so much more sense! Looks fantastic!
Thank you. I'm happy with the final product.

I have some more acrylic work to do over the next few weeks. I want those items complete so that I can focus on plumbing when the time comes.

I have a majority of the sch80 plumbing on hand. Thanks to everyone for pointing me in the right direction in suppliers. One more order to place.

I hope to start the plumbing in Jan.

Then, start cycling water and start on the rock structure.


Sent from my iPhone using Tapatalk
 
Top